
Christmas Confetti Cookies: Get ready to sprinkle some holiday magic into your kitchen! Is there anything more festive than a batch of vibrantly colored, melt-in-your-mouth cookies? These aren’t just any cookies; they’re a celebration baked into every bite, guaranteed to bring smiles to faces of all ages. I remember as a child, my grandmother would always make these, and the kitchen would be filled with the sweet aroma of vanilla and butter, a scent that instantly signaled the start of the Christmas season.
Confetti cookies, in their essence, are a modern twist on classic sugar cookies, borrowing the comforting familiarity of a well-loved recipe and injecting it with a playful burst of color. While the exact origins are debated, the joy they bring is universally understood. People adore these Christmas Confetti Cookies because they are incredibly easy to make, visually stunning, and utterly delicious. The soft, buttery texture combined with the slight crunch of the sprinkles creates a delightful sensory experience. Plus, they’re perfect for gifting, cookie exchanges, or simply enjoying with a warm cup of cocoa by the fire. So, let’s get baking and create some edible holiday cheer!

Ingredients:
- 1 cup (2 sticks) unsalted butter, softened
- 1 ½ cups granulated sugar
- 2 large eggs
- 1 teaspoon vanilla extract
- ½ teaspoon almond extract (optional, but adds a nice touch!)
- 3 cups all-purpose flour
- 1 teaspoon baking powder
- ½ teaspoon baking soda
- ½ teaspoon salt
- 1 cup Christmas-themed sprinkles (a mix of red, green, and white is perfect!)
- Optional: ½ cup white chocolate chips or chunks
Preparing the Dough:
- Cream the butter and sugar: In a large bowl, or the bowl of your stand mixer, cream together the softened butter and granulated sugar until light and fluffy. This usually takes about 3-5 minutes. Make sure your butter is truly softened, but not melted, for the best results. You want it to be easily spreadable.
- Add the eggs and extracts: Beat in the eggs one at a time, mixing well after each addition. Then, stir in the vanilla extract and almond extract (if using). The almond extract really enhances the flavor, but it’s totally optional if you’re not a fan.
- Combine the dry ingredients: In a separate medium bowl, whisk together the all-purpose flour, baking powder, baking soda, and salt. Whisking ensures that the baking powder and soda are evenly distributed, which is crucial for the cookies to rise properly.
- Gradually add the dry ingredients to the wet ingredients: Gradually add the dry ingredients to the wet ingredients, mixing on low speed until just combined. Be careful not to overmix! Overmixing can lead to tough cookies. Mix until you see no more streaks of flour.
- Stir in the sprinkles and white chocolate (optional): Gently fold in the Christmas sprinkles and white chocolate chips (if using). I like to use a rubber spatula for this step to avoid overmixing. Make sure the sprinkles are evenly distributed throughout the dough.
- Chill the dough: Cover the bowl with plastic wrap and chill the dough in the refrigerator for at least 1 hour, or preferably 2-3 hours. This is a crucial step! Chilling the dough prevents the cookies from spreading too much in the oven and helps to develop the flavors. You can even chill it overnight if you want to get a head start.
Baking the Cookies:
- Preheat the oven: Preheat your oven to 375°F (190°C). Line baking sheets with parchment paper or silicone baking mats. Parchment paper is my go-to because it prevents the cookies from sticking and makes cleanup a breeze.
- Scoop the dough: Use a cookie scoop or spoon to drop rounded tablespoons of dough onto the prepared baking sheets, leaving about 2 inches between each cookie. I usually use a medium-sized cookie scoop to ensure uniform cookies.
- Bake the cookies: Bake for 8-10 minutes, or until the edges are lightly golden brown. Keep a close eye on them, as baking times can vary depending on your oven. You want the cookies to be set but still slightly soft in the center.
- Cool the cookies: Remove the baking sheets from the oven and let the cookies cool on the baking sheets for a few minutes before transferring them to a wire rack to cool completely. This prevents them from breaking while they’re still warm and soft.
Optional Decorations:
While these cookies are delicious as they are, you can always add some extra flair with decorations! Here are a few ideas:
- Melted Chocolate Drizzle: Drizzle melted white or dark chocolate over the cooled cookies for an elegant touch.
- Royal Icing: Decorate the cookies with royal icing in festive colors. You can create intricate designs or simply add a few dots and swirls.
- Extra Sprinkles: Dip the tops of the cooled cookies in melted chocolate and then immediately dip them in more sprinkles for an extra festive look.
Tips for Perfect Confetti Cookies:
- Use softened butter: Make sure your butter is softened, but not melted. This will help the cookies have a soft and chewy texture.
- Don’t overmix the dough: Overmixing can lead to tough cookies. Mix until just combined.
- Chill the dough: Chilling the dough is crucial for preventing the cookies from spreading too much in the oven.
- Use high-quality sprinkles: The quality of your sprinkles can affect the color and texture of the cookies. I recommend using high-quality sprinkles that won’t bleed their color.
- Don’t overbake the cookies: Overbaking will result in dry, crumbly cookies. Bake until the edges are lightly golden brown and the centers are still slightly soft.
- Store the cookies properly: Store the cooled cookies in an airtight container at room temperature for up to 3-5 days.
Troubleshooting:
Sometimes, things don’t go exactly as planned in the kitchen. Here are some common issues you might encounter and how to fix them:
- Cookies are spreading too much: This is usually caused by not chilling the dough enough, using too much butter, or not measuring the flour correctly. Make sure to chill the dough for at least 1 hour, use the correct amount of butter, and measure the flour accurately (spoon it into the measuring cup and level it off).
- Cookies are too dry: This is usually caused by overbaking or using too much flour. Make sure to bake the cookies for the correct amount of time and measure the flour accurately.
- Cookies are too hard: This can be caused by overmixing the dough or using too much sugar. Be careful not to overmix the dough and use the correct amount of sugar.
- Cookies are not rising: This can be caused by using expired baking powder or baking soda. Make sure your baking powder and baking soda are fresh.
Variations:
Want to switch things up a bit? Here are a few variations you can try:
- Chocolate Confetti Cookies: Add ¼ cup of unsweetened cocoa powder to the dry ingredients for chocolate confetti cookies.
- Peppermint Confetti Cookies: Add ½ teaspoon of peppermint extract to the wet ingredients and use crushed peppermint candies instead of sprinkles.
- Lemon Confetti Cookies: Add the zest of one lemon to the wet ingredients for a bright and citrusy flavor.
- Gluten-Free Confetti Cookies: Use a gluten-free all-purpose flour blend instead of regular all-purpose flour. Make sure to choose a blend that contains xanthan gum for the best results.
Make Ahead Tips:
These cookies are perfect for making ahead of time! Here are a few tips:
- Dough: The dough can be made ahead of time and stored in the refrigerator for up to 3 days. Just make sure to wrap it tightly in plastic wrap. You can also freeze the dough for up to 2 months. Thaw it in the refrigerator overnight before baking.
- Baked Cookies: The baked cookies can be stored in an airtight container at room temperature for up to 3-5 days. You can also freeze the baked cookies for up to 2 months. Thaw them at room temperature before serving.
Serving Suggestions:
These Christmas Confetti Cookies are perfect for:
- Holiday Parties: They’re a festive and delicious addition to any holiday party.
- Cookie Exchanges: They’re always a hit at cookie exchanges.
- Gifts: Package them up in a cute box or tin for a thoughtful homemade gift.
- Snacking: Enjoy them with a glass of milk or a cup of hot cocoa for a cozy treat.
Nutritional Information (Approximate):
Please note that the nutritional information is an estimate and may vary depending on the specific ingredients used and portion sizes.
- Calories: 150-200 per cookie
- Fat: 8-10g
- Saturated Fat: 5-6g
- Cholesterol: 30-40mg
- Sodium: 50-70mg
- Carbohydrates: 20-25g
- Sugar: 12-15g
- Protein: 1-2g
Why These Cookies Are Special:
These Christmas Confetti Cookies aren’t just any cookies; they’re a celebration in every bite! The combination of the buttery, vanilla-infused dough with the vibrant sprinkles creates a delightful sensory experience. They’re perfect for spreading holiday cheer and creating lasting memories with loved ones. Plus, they’re incredibly easy to make, making them a great option for bakers of
Conclusion:
And there you have it! These Christmas Confetti Cookies are more than just a treat; they’re a burst of holiday cheer in every bite. I truly believe this recipe is a must-try this Christmas season, and here’s why: it’s incredibly easy to follow, even for beginner bakers. The vibrant colors and festive sprinkles make them visually stunning, perfect for gifting or displaying on your holiday dessert table. But most importantly, the taste is simply divine a delightful combination of buttery goodness, vanilla sweetness, and a satisfyingly soft texture.
These cookies are guaranteed to be a hit with both kids and adults alike. Imagine the smiles on your loved ones’ faces when they see a plate piled high with these colorful delights! They’re the perfect addition to any Christmas gathering, from cozy family nights in to grand holiday parties.
But the fun doesn’t stop there! Feel free to get creative with your serving suggestions and variations. For a truly decadent experience, try sandwiching two cookies together with a layer of creamy vanilla buttercream frosting. Or, dip the cooled cookies in melted white chocolate and sprinkle with even more festive sprinkles. You could also experiment with different extracts, such as almond or peppermint, to add a unique twist to the flavor profile.
For a more sophisticated touch, consider using edible gold or silver leaf to decorate the cookies. This will instantly elevate them to a whole new level of elegance. Another fun idea is to create a cookie decorating station at your next holiday party, allowing your guests to personalize their own Christmas Confetti Cookies with a variety of sprinkles, candies, and frostings.
If you’re looking for a healthier option, you can substitute some of the butter with applesauce or Greek yogurt. This will reduce the fat content without sacrificing too much of the flavor or texture. You can also use whole wheat flour instead of all-purpose flour for a boost of fiber.
These cookies are also incredibly versatile when it comes to storage. They can be stored in an airtight container at room temperature for up to a week, or in the freezer for up to three months. This makes them perfect for making ahead of time and enjoying throughout the holiday season.
I’m so confident that you’ll love this recipe as much as I do. It’s a simple, yet satisfying way to spread holiday joy and create lasting memories with your loved ones. So, gather your ingredients, preheat your oven, and get ready to bake up a batch of these irresistible Christmas Confetti Cookies!
I can’t wait to hear about your baking adventures! Please, don’t hesitate to share your photos and experiences with me. Let me know what variations you tried, what your family and friends thought, and any tips or tricks you discovered along the way. Your feedback is invaluable and helps me to continue creating delicious and easy-to-follow recipes for you to enjoy. Happy baking, and Merry Christmas!
Christmas Confetti Cookies: A Festive & Delicious Recipe
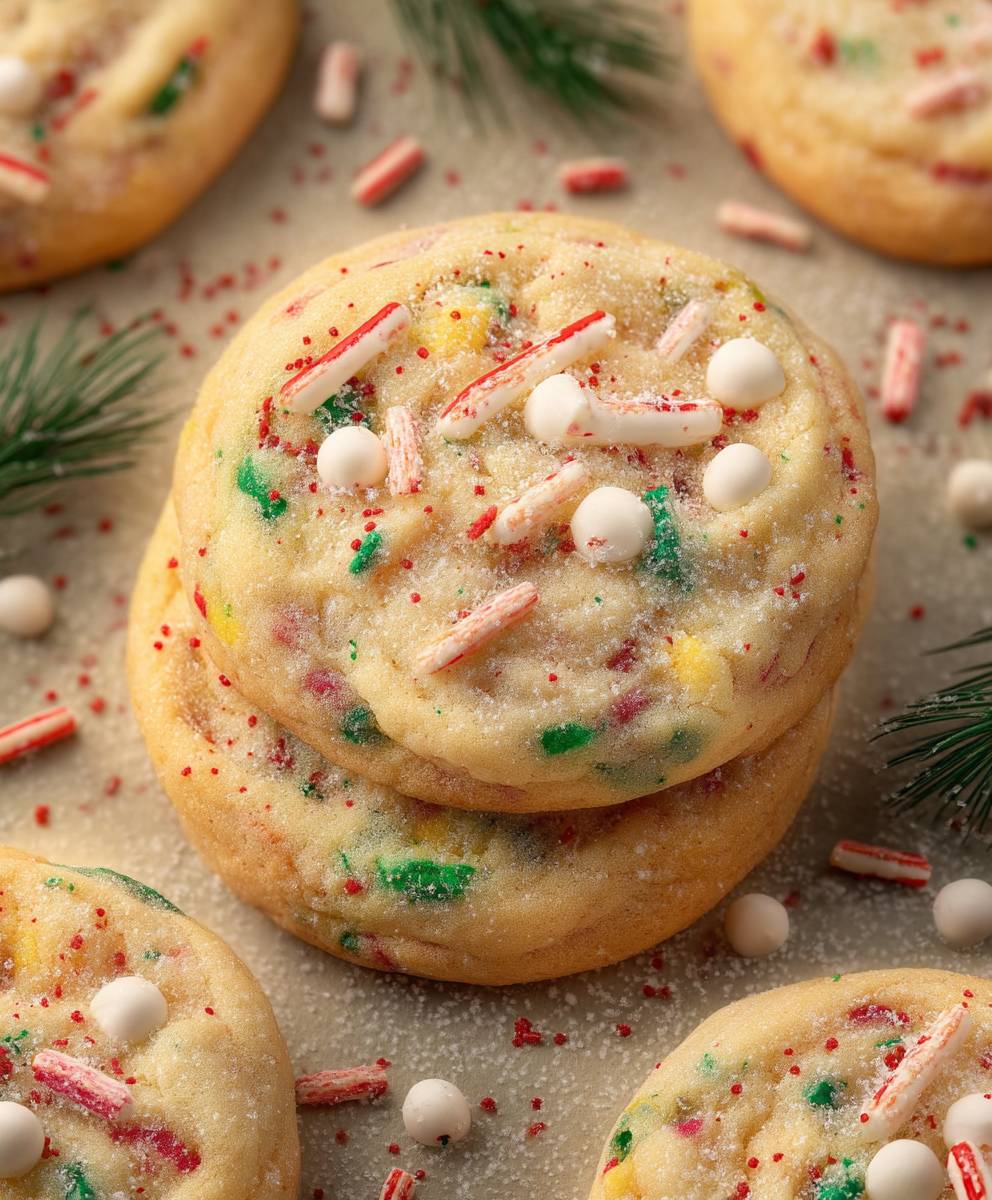
Soft, buttery Christmas Confetti Cookies loaded with colorful sprinkles, perfect for holiday parties and sweet treats.
Ingredients
- 1 cup (2 sticks) unsalted butter, softened
- 1 ½ cups granulated sugar
- 2 large eggs
- 1 teaspoon vanilla extract
- ½ teaspoon almond extract (optional)
- 3 cups all-purpose flour
- 1 teaspoon baking powder
- ½ teaspoon baking soda
- ½ teaspoon salt
- 1 cup Christmas-themed sprinkles (red, green, and white mix)
- Optional: ½ cup white chocolate chips or chunks
Instructions
- Cream Butter and Sugar: In a large bowl, cream together the softened butter and granulated sugar until light and fluffy (3-5 minutes).
- Add Eggs and Extracts: Beat in the eggs one at a time, mixing well after each addition. Stir in the vanilla extract and almond extract (if using).
- Combine Dry Ingredients: In a separate bowl, whisk together the flour, baking powder, baking soda, and salt.
- Combine Wet and Dry: Gradually add the dry ingredients to the wet ingredients, mixing on low speed until just combined. Do not overmix.
- Add Sprinkles and Chocolate: Gently fold in the Christmas sprinkles and white chocolate chips (if using).
- Chill Dough: Cover and chill the dough in the refrigerator for at least 1 hour (preferably 2-3 hours, or overnight).
- Preheat Oven: Preheat oven to 375°F (190°C). Line baking sheets with parchment paper.
- Scoop Dough: Use a cookie scoop or spoon to drop rounded tablespoons of dough onto the prepared baking sheets, leaving 2 inches between each cookie.
- Bake: Bake for 8-10 minutes, or until the edges are lightly golden brown.
- Cool: Let the cookies cool on the baking sheets for a few minutes before transferring them to a wire rack to cool completely.
Notes
- Make sure butter is softened, but not melted.
- Chilling the dough is crucial to prevent spreading.
- Don’t overmix the dough.
- Use high-quality sprinkles for best color and texture.
- Don’t overbake the cookies.
- Store in an airtight container at room temperature for 3-5 days.
- Dough can be made ahead and stored in the refrigerator for up to 3 days or frozen for up to 2 months.
- Baked cookies can be frozen for up to 2 months.