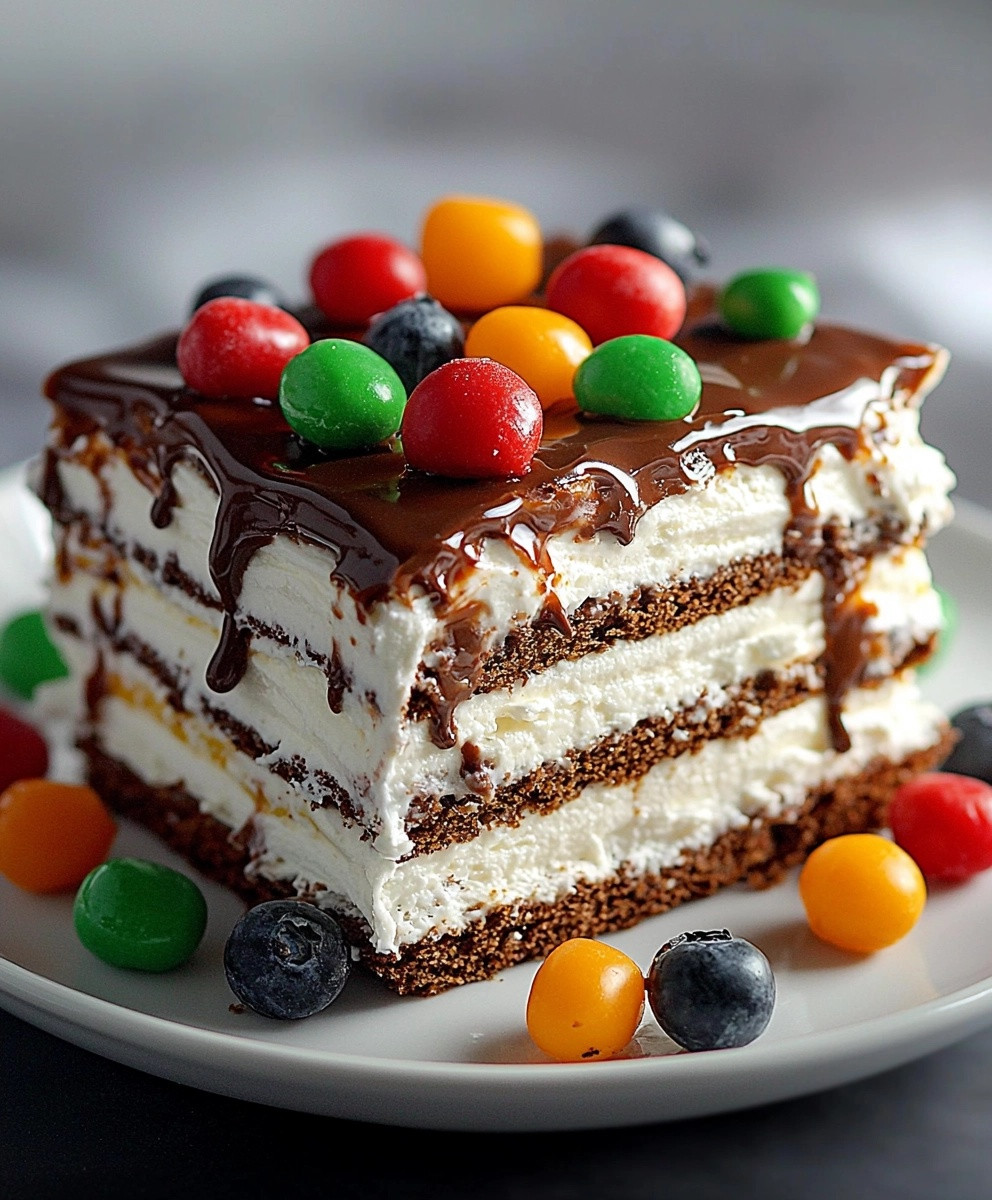
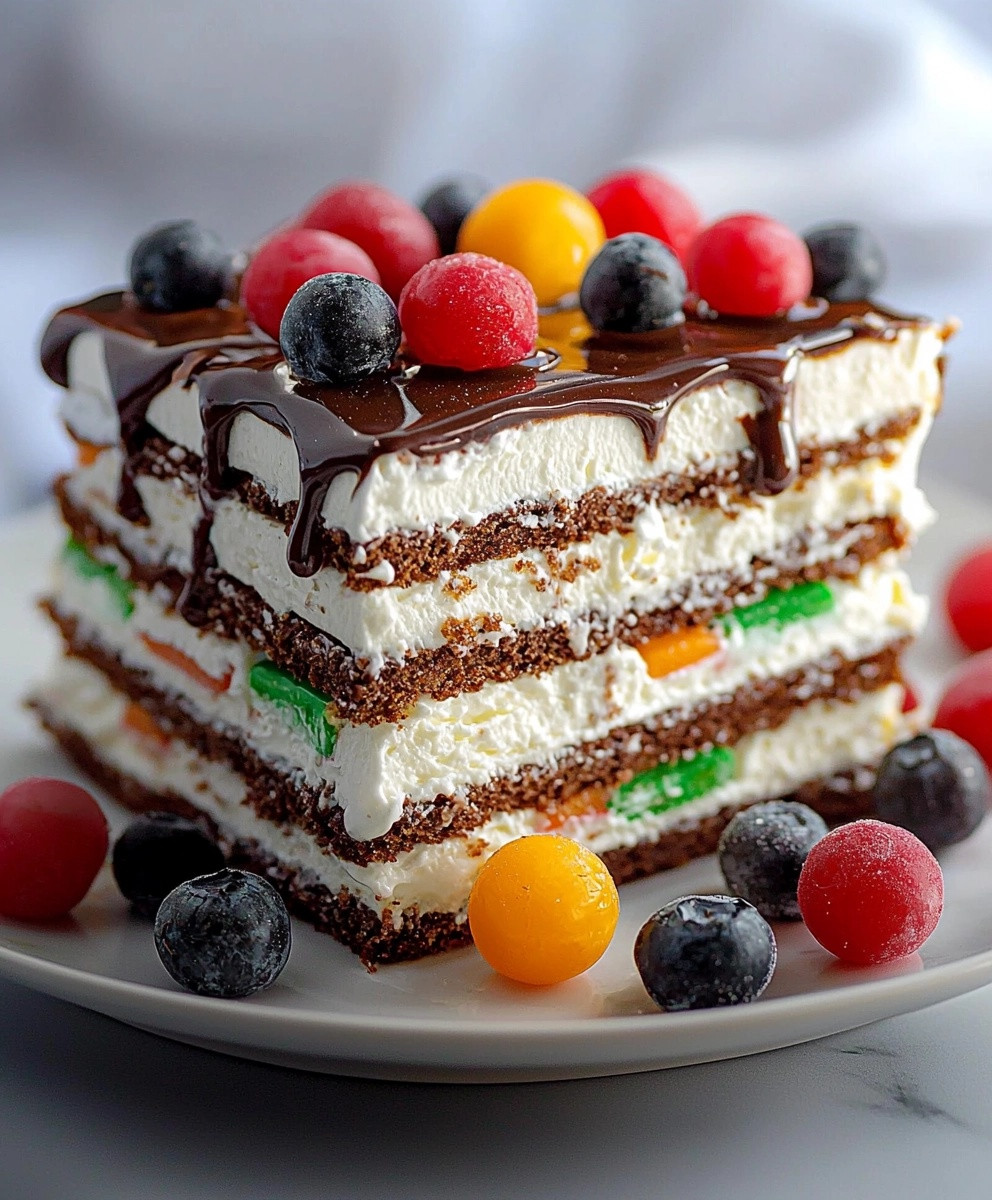
Ice Cream Sandwich Cake is a delightful dessert that brings back fond memories of summer days and childhood treats. This no-bake wonder combines the creamy goodness of ice cream with the soft, chewy texture of ice cream sandwiches, creating a dessert that is both indulgent and incredibly easy to make. Originating from the classic ice cream sandwich, this cake has evolved into a beloved favorite at family gatherings, birthday parties, and potlucks. People adore this dish not only for its rich flavors but also for its conveniencewho doesnt love a dessert that requires minimal effort yet delivers maximum satisfaction? With layers of ice cream sandwiches, whipped cream, and your choice of toppings, Ice Cream Sandwich Cake is sure to impress your guests and leave them asking for seconds!
Ingredients:
- 1 box of ice cream sandwiches (about 12 sandwiches)
- 1 tub (8 oz) of whipped topping (like Cool Whip)
- 1 cup of chocolate syrup
- 1 cup of crushed cookies (like Oreos or chocolate wafers)
- 1 cup of mini chocolate chips
- 1 cup of chopped nuts (optional)
- 1/2 cup of sprinkles (optional)
- 1/2 cup of caramel sauce (optional)
Preparing the Base
- Start by gathering all your ingredients on a clean countertop. This will make the process smoother and more enjoyable.
- Take a rectangular baking dish (9×13 inches works perfectly) and line it with parchment paper. This will help with easy removal later on.
- Unwrap the ice cream sandwiches. You can do this while watching your favorite show or listening to some music. Its a fun task!
- Once unwrapped, lay down a single layer of ice cream sandwiches in the bottom of the prepared baking dish. Make sure they are placed side by side, covering the entire bottom of the dish.
Creating the First Layer
- Now, grab your tub of whipped topping. Using a spatula, spread half of the whipped topping evenly over the layer of ice cream sandwiches. Make sure to cover them completely for a nice, creamy layer.
- Next, drizzle half of the chocolate syrup over the whipped topping. You can be generous here; it adds a delicious chocolatey flavor!
- Sprinkle half of the crushed cookies over the chocolate syrup. This adds a delightful crunch to your cake.
- If youre a fan of chocolate chips, nows the time to sprinkle half of the mini chocolate chips over the crushed cookies. This will give your cake an extra chocolatey kick!
Building the Layers
- Now its time to repeat the process! Start by adding another layer of ice cream sandwiches on top of the first layer you just created. Make sure to align them neatly.
- Spread the remaining whipped topping over this new layer of ice cream sandwiches, just like you did before. Take your time to make it smooth and even.
- Drizzle the remaining chocolate syrup over the whipped topping. Dont be shy; this is what makes it so delicious!
- Next, sprinkle the remaining crushed cookies over the chocolate syrup. This will add texture and flavor to the cake.
- Finally, sprinkle the remaining mini chocolate chips on top. If youre using nuts, now is the time to add them as well. They add a nice crunch and flavor contrast.
Finishing Touches
- If youre feeling extra indulgent, drizzle some caramel sauce over the top. This is optional, but it adds a lovely sweetness that pairs well with the chocolate.
- For a festive touch, sprinkle some colorful sprinkles over the top. This is especially fun if youre making this cake for a party or celebration!
- Cover the baking dish with plastic wrap or aluminum foil. Make sure its sealed well to prevent freezer burn.
- Place the cake in the freezer for at least 4 hours, or overnight if you can wait! This allows the layers to set and meld together beautifully.
Serving the Cake
- Once the cake is fully frozen, its time to serve! Remove it from the freezer and let it sit at room temperature for about 10-15 minutes. This will make slicing easier.
- Using a sharp knife, cut the cake into squares or rectangles, depending on your preference. Wipe the knife with a damp cloth between cuts for cleaner slices.
- Serve the slices on individual plates. You can add an extra drizzle of chocolate or caramel sauce on top if you like.
- Enjoy your delicious ice cream sandwich cake with family and friends! Its a perfect treat for warm days or any celebration.
Storage Tips
- If you have any leftovers (which is rare!),

Conclusion:
In summary, this Ice Cream Sandwich Cake is an absolute must-try for anyone looking to indulge in a delightful dessert that combines the creamy goodness of ice cream with the nostalgic charm of cake. Its incredibly easy to make, requiring minimal ingredients and no baking, which makes it perfect for those hot summer days or any occasion where you want to impress your friends and family without spending hours in the kitchen. For serving suggestions, consider adding a drizzle of chocolate or caramel sauce on top, or sprinkle some crushed cookies or nuts for an extra crunch. You can also customize this cake by using different flavors of ice cream or even incorporating layers of fruit for a refreshing twist. The possibilities are endless, and thats what makes this recipe so versatile! I wholeheartedly encourage you to give this Ice Cream Sandwich Cake a try. I promise you wont regret it! Once youve made it, Id love to hear about your experience. Share your thoughts, any variations you tried, or even a picture of your creation. Lets spread the joy of this delicious dessert together! So grab your ingredients and get started on this delightful treat thats sure to become a favorite in your household. Happy baking! Print
Ice Cream Sandwich Cake: A Deliciously Easy Dessert Recipe
- Total Time: 260 minutes
- Yield: 12 servings 1x
Description
This Ice Cream Sandwich Cake is a fun and easy dessert that layers ice cream sandwiches with whipped topping, chocolate syrup, and crunchy cookies. Perfect for parties or a refreshing treat on a warm day, it’s customizable with your favorite toppings and can be made ahead of time for convenience. Enjoy a delightful combination of creamy and crunchy textures in every bite!
Ingredients
Scale- 1 box of ice cream sandwiches (about 12 sandwiches)
- 1 tub (8 oz) of whipped topping (like Cool Whip)
- 1 cup of chocolate syrup
- 1 cup of crushed cookies (like Oreos or chocolate wafers)
- 1 cup of mini chocolate chips
- 1 cup of chopped nuts (optional)
- 1/2 cup of sprinkles (optional)
- 1/2 cup of caramel sauce (optional)
Instructions
- Start by gathering all your ingredients on a clean countertop.
- Take a rectangular baking dish (9×13 inches works perfectly) and line it with parchment paper.
- Unwrap the ice cream sandwiches.
- Once unwrapped, lay down a single layer of ice cream sandwiches in the bottom of the prepared baking dish.
- Grab your tub of whipped topping and spread half of it evenly over the layer of ice cream sandwiches.
- Drizzle half of the chocolate syrup over the whipped topping.
- Sprinkle half of the crushed cookies over the chocolate syrup.
- Sprinkle half of the mini chocolate chips over the crushed cookies.
- Add another layer of ice cream sandwiches on top of the first layer.
- Spread the remaining whipped topping over this new layer of ice cream sandwiches.
- Drizzle the remaining chocolate syrup over the whipped topping.
- Sprinkle the remaining crushed cookies over the chocolate syrup.
- Sprinkle the remaining mini chocolate chips on top and add nuts if using.
- Drizzle some caramel sauce over the top (optional).
- Sprinkle some colorful sprinkles over the top (optional).
- Cover the baking dish with plastic wrap or aluminum foil.
- Place the cake in the freezer for at least 4 hours, or overnight.
- Once the cake is fully frozen, remove it from the freezer and let it sit at room temperature for about 10-15 minutes.
- Using a sharp knife, cut the cake into squares or rectangles.
- Serve the slices on individual plates and add an extra drizzle of chocolate or caramel sauce if desired.
- Enjoy your delicious ice cream sandwich cake with family and friends!
Notes
- Feel free to customize the toppings based on your preferences. You can use different types of cookies or add fruits for a fresh twist.
- This cake can be made ahead of time and stored in the freezer for a quick dessert option.
- Prep Time: 20 minutes
- Cook Time: 0 minutes

