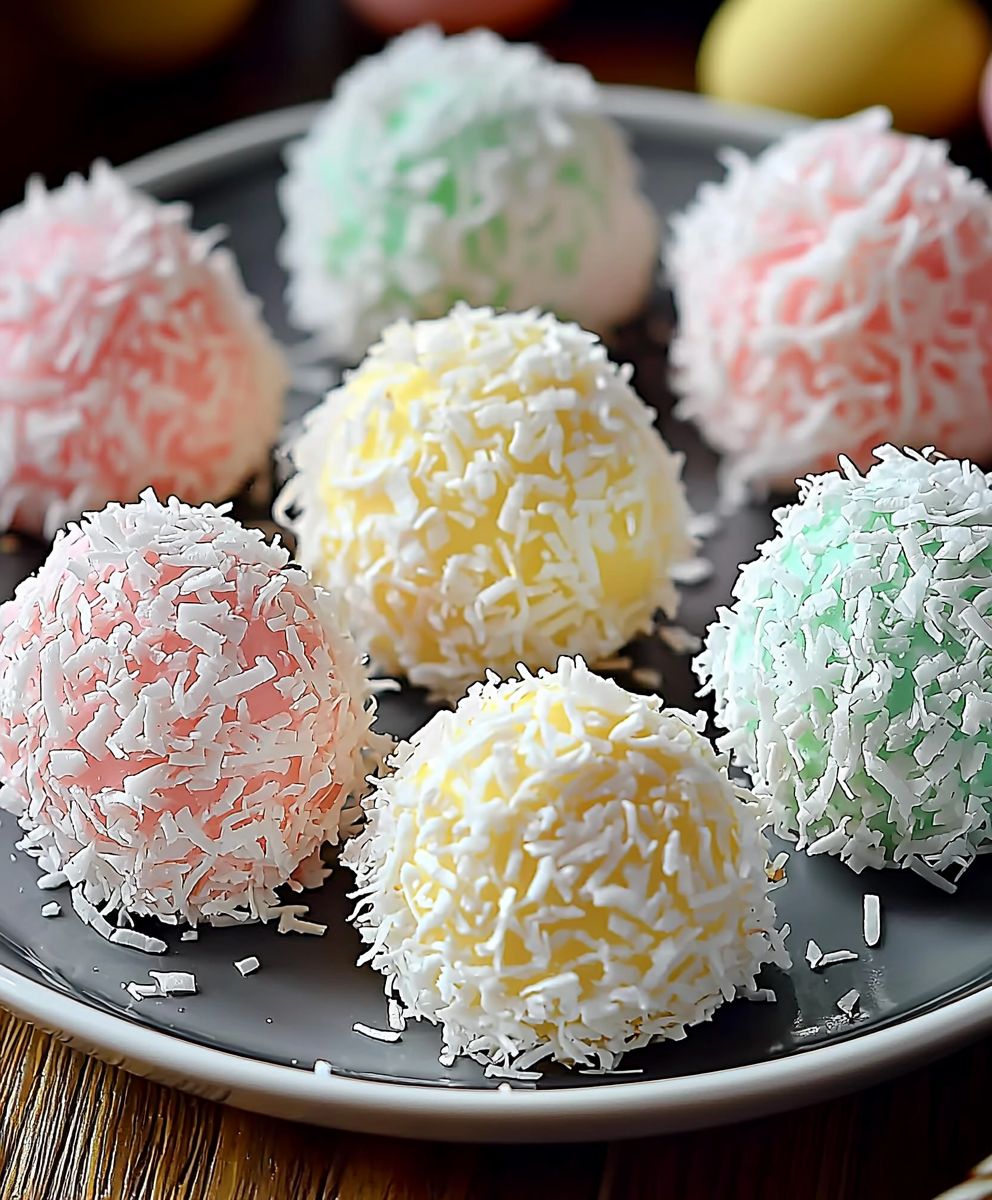
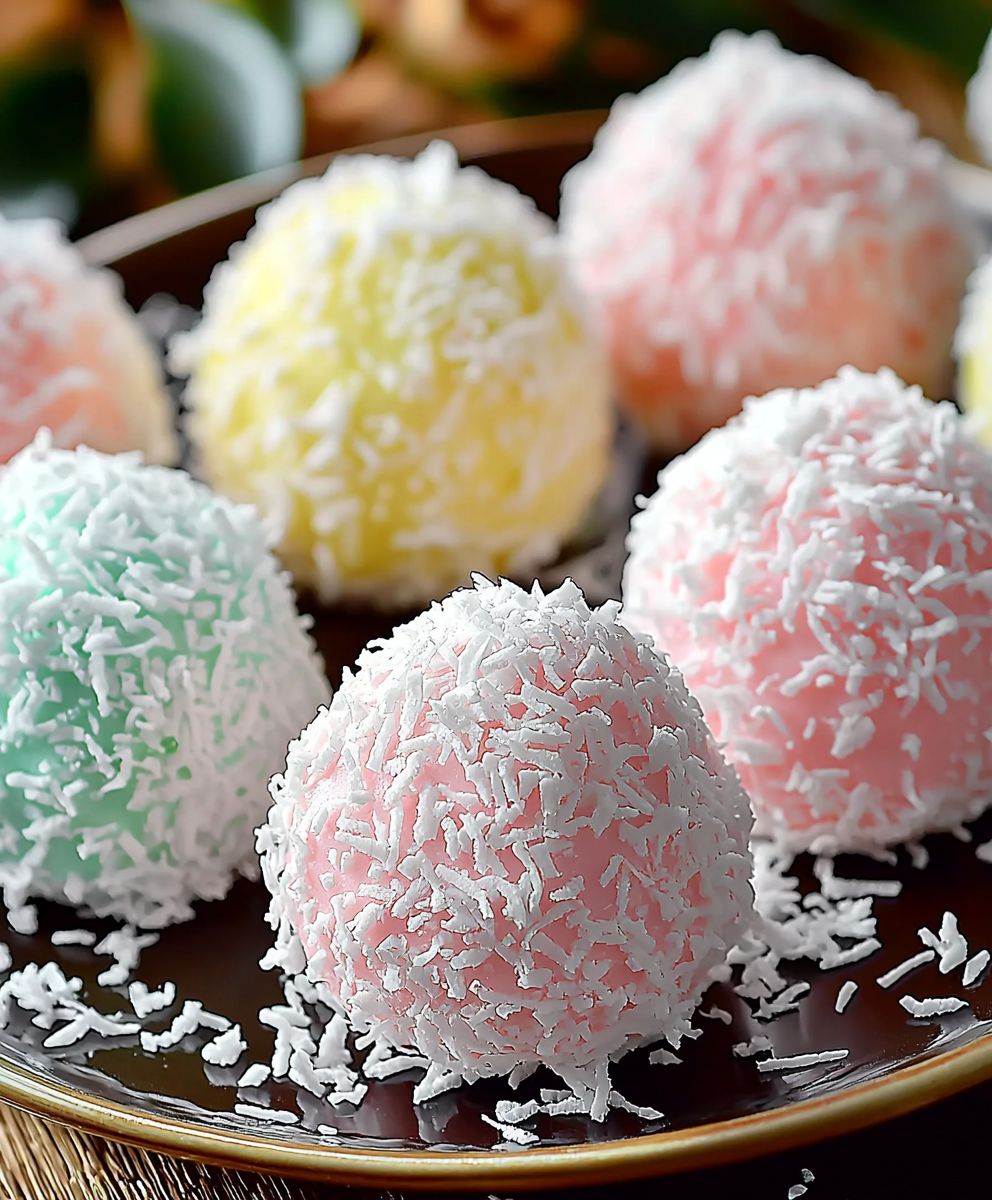
Easter Bunny Coconut Treats are a delightful way to celebrate the joy of Easter while indulging in a sweet, coconut-infused treat. As a child, I remember eagerly anticipating the arrival of Easter, not just for the egg hunts but also for the delicious goodies that came with it. These charming little bunny-shaped confections have become a beloved tradition in many households, symbolizing the arrival of spring and the festive spirit of the holiday.
What makes Easter Bunny Coconut Treats so special is their delightful combination of flavors and textures. The soft, chewy coconut mingles perfectly with a hint of sweetness, creating a treat that is both satisfying and fun to eat. Not only are they a hit with kids, but adults also find themselves reaching for these adorable bunnies, making them a perfect addition to any Easter celebration. Plus, they are incredibly easy to make, allowing you to whip up a batch in no time and share the joy with family and friends. Join me as we dive into this delightful recipe that will surely become a staple in your Easter festivities!
Ingredients:
- 4 cups shredded coconut (sweetened or unsweetened, based on preference)
- 1 cup sweetened condensed milk
- 1 teaspoon vanilla extract
- 1/2 teaspoon almond extract (optional)
- 1/4 teaspoon salt
- 1 cup white chocolate chips
- 1/2 cup pastel-colored candy melts (pink, blue, yellow, etc.)
- 1/2 cup mini chocolate chips (for eyes)
- 1/2 cup jelly beans or candy-coated chocolate eggs (for decoration)
- Cooking spray or parchment paper (for lining the baking sheet)
Preparing the Coconut Mixture
- In a large mixing bowl, combine the shredded coconut, sweetened condensed milk, vanilla extract, almond extract (if using), and salt. Stir the mixture until all the coconut is evenly coated with the condensed milk. This will create a sticky, sweet base for our treats.
- Once everything is well combined, let the mixture sit for about 10 minutes. This allows the coconut to absorb the moisture from the condensed milk, making it easier to shape later.
Shaping the Bunny Treats
- Prepare a baking sheet by lining it with parchment paper or lightly greasing it with cooking spray. This will prevent the treats from sticking.
- Using your hands, take a small amount of the coconut mixture (about 2 tablespoons) and shape it into an oval for the bunny’s body. Place it on the prepared baking sheet. Repeat this process until all the mixture is shaped into bunny bodies, leaving some space between each one.
- Next, for the bunny heads, take a smaller amount of the mixture (about 1 tablespoon) and shape it into a smaller oval. Place it on top of the larger oval body, slightly overlapping it. This will create the head and body of the bunny. Repeat until all bunnies are formed.
- For the ears, take a small amount of the coconut mixture and shape it into two elongated ovals for each bunny. Attach the ears to the top of the bunny head by gently pressing them into place. You can also shape the ears to be slightly pointed at the top for a more realistic bunny look.
Chilling the Treats
- Once all the bunnies are shaped, place the baking sheet in the refrigerator for about 30 minutes. This will help the treats firm up and hold their shape better when we dip them in chocolate.
Melting the Chocolate
- While the bunnies are chilling, its time to melt the white chocolate chips. You can do this using a microwave or a double boiler. If using a microwave, place the chocolate chips in a microwave-safe bowl and heat in 30-second intervals, stirring in between, until fully melted and smooth.
- If you prefer the double boiler method, fill a pot with a couple of inches of water and bring it to a simmer. Place a heatproof bowl on top of the pot, making sure it doesnt touch the water. Add the white chocolate chips to the bowl and stir until melted.
- Once melted, remove the bowl from heat and let it cool slightly. This will prevent the chocolate from being too hot when you dip the bunnies.
Dipping the Bunny Treats
- Take the chilled bunny treats out of the refrigerator. Using a fork or a toothpick, dip each bunny into the melted white chocolate, ensuring it is fully coated. Allow any excess chocolate to drip off before placing it back on the parchment-lined baking sheet.
- Repeat this process for all the bunny treats. If you want to add a little extra flair, you can sprinkle some colorful sprinkles on top of the chocolate before it sets.
- Once all the bunnies are dipped, place the baking sheet back in the refrigerator for about 15-20 minutes, or until the chocolate has fully set.
Decorating the Bunny Treats
- After the chocolate has set, its time to decorate! Melt the pastel-colored candy melts in the same way you melted the white chocolate. You can

Conclusion:
In summary, these Easter Bunny Coconut Treats are an absolute must-try for anyone looking to add a touch of whimsy and sweetness to their holiday celebrations. Not only are they incredibly easy to make, but they also bring a delightful combination of flavors and textures that will have everyone hopping for joy! The fluffy coconut paired with the creamy chocolate creates a treat that is both satisfying and fun to eat. For serving suggestions, consider presenting these adorable treats on a festive platter surrounded by colorful Easter eggs or alongside a refreshing fruit salad. You can also get creative with variationstry adding a hint of almond extract for a nutty twist, or use different types of chocolate to suit your taste. If you want to make them even more festive, consider decorating them with edible glitter or sprinkles to give them that extra sparkle. I encourage you to give this recipe a try and share your experience with friends and family. Whether youre making them for an Easter gathering or just for a fun afternoon treat, I promise these Easter Bunny Coconut Treats will be a hit! Dont forget to snap a picture and share it on social media; Id love to see your creations! Happy baking, and may your Easter be filled with joy and delicious treats! Print
Easter Bunny Coconut Treats: Delightful Recipes for a Festive Celebration
- Total Time: 60 minutes
- Yield: 12–15 treats 1x
Description
These Coconut Bunny Treats are a charming and sweet dessert ideal for Easter or spring festivities. Made with shredded coconut and sweetened condensed milk, they are shaped into adorable bunnies, coated in white chocolate, and decorated with colorful candy melts and chocolate chips, making them both cute and delicious!
Ingredients
- 4 cups shredded coconut (sweetened or unsweetened)
- 1 cup sweetened condensed milk
- 1 teaspoon vanilla extract
- 1/2 teaspoon almond extract (optional)
- 1/4 teaspoon salt
- 1 cup white chocolate chips
- 1/2 cup pastel-colored candy melts (pink, blue, yellow, etc.)
- 1/2 cup mini chocolate chips (for eyes)
- 1/2 cup jelly beans or candy-coated chocolate eggs (for decoration)
- Cooking spray or parchment paper (for lining the baking sheet)
Instructions
- In a large mixing bowl, combine the shredded coconut, sweetened condensed milk, vanilla extract, almond extract (if using), and salt. Stir until all the coconut is evenly coated.
- Let the mixture sit for about 10 minutes to allow the coconut to absorb the moisture.
- Prepare a baking sheet by lining it with parchment paper or greasing it with cooking spray.
- Take about 2 tablespoons of the coconut mixture and shape it into an oval for the bunny’s body. Place it on the prepared baking sheet. Repeat until all mixture is shaped into bunny bodies.
- For the bunny heads, take about 1 tablespoon of the mixture and shape it into a smaller oval. Place it on top of the larger oval body, slightly overlapping. Repeat until all bunnies are formed.
- For the ears, shape small amounts of the mixture into two elongated ovals for each bunny and attach them to the top of the bunny head.
- Place the baking sheet in the refrigerator for about 30 minutes to firm up the treats.
- Melt the white chocolate chips using a microwave or double boiler. If using a microwave, heat in 30-second intervals, stirring until smooth. For the double boiler, stir until melted over simmering water.
- Let the melted chocolate cool slightly.
- Dip each chilled bunny into the melted white chocolate, ensuring full coverage. Allow excess chocolate to drip off before placing back on the baking sheet.
- Optionally, sprinkle colorful sprinkles on top before the chocolate sets.
- Refrigerate for 15-20 minutes until the chocolate has fully set.
- Melt the pastel-colored candy melts in the same way as the white chocolate. Use them to decorate the bunnies as desired, adding mini chocolate chips for eyes and jelly beans for extra decoration.
Notes
- Feel free to customize the decorations based on your preferences or available candies.
- These treats can be stored in an airtight container in the refrigerator for up to a week.
- Prep Time: 20 minutes
- Cook Time: 10 minutes

