
Vanilla ice cream homemade just the thought conjures up images of sunny afternoons, laughter, and that unmistakable creamy sweetness melting on your tongue. Forget the store-bought stuff; we’re diving headfirst into a world of pure, unadulterated flavor with this incredibly easy homemade recipe. Have you ever wondered why vanilla ice cream is such a classic? Its history stretches back centuries, with early versions being a delicacy reserved for royalty. The simple elegance of vanilla allows it to perfectly complement everything from warm apple pie to rich chocolate cake, making it the ultimate versatile dessert.
What makes vanilla ice cream homemade so irresistible? It’s the texture, the taste, and the sheer joy of creating something so delicious from scratch. The velvety smoothness, the delicate vanilla aroma, and the satisfaction of knowing exactly what ingredients went into your treat it’s an experience that store-bought ice cream simply can’t replicate. Plus, making your own allows you to customize the sweetness and intensity of the vanilla flavor to perfectly suit your preferences. Get ready to impress your friends and family with this foolproof recipe that will have everyone begging for seconds!

Ingredients:
- 2 cups heavy cream (at least 36% milkfat)
- 1 cup whole milk
- ¾ cup granulated sugar
- 1 vanilla bean, split lengthwise and seeds scraped (or 2 teaspoons pure vanilla extract)
- Pinch of salt
Preparing the Vanilla Infusion
Okay, let’s get started! The first step is to infuse our cream and milk with that beautiful vanilla flavor. This is where the magic happens, trust me!
-
Combine the cream, milk, and sugar in a medium saucepan. Make sure you use a saucepan that’s large enough to prevent it from boiling over later. We don’t want any messes!
-
Add the vanilla bean and its seeds to the saucepan. If you’re using vanilla extract instead of a bean, hold off on adding it until after the mixture has cooled. The heat can diminish the flavor of the extract.
-
Heat the mixture over medium heat, stirring constantly, until the sugar is dissolved. You don’t want any gritty sugar in your ice cream! Keep stirring until you can’t feel any sugar granules at the bottom of the pan.
-
Bring the mixture to a simmer, then immediately remove it from the heat. A simmer is when you see small bubbles forming around the edges of the pan. Don’t let it boil! Boiling can change the texture of the ice cream.
-
Cover the saucepan and let the mixture steep for at least 30 minutes, or up to 2 hours, for a stronger vanilla flavor. The longer it steeps, the more intense the vanilla flavor will be. I usually go for at least an hour for that perfect vanilla punch.
-
Remove the vanilla bean. If you used a vanilla bean, carefully remove it from the mixture. You can rinse and dry the bean and store it in an airtight container with sugar to make vanilla sugar a great way to reuse it!
Chilling the Base
Now that we’ve infused our cream and milk with vanilla, it’s time to chill the base. This is a crucial step for achieving a smooth and creamy ice cream texture.
-
Pour the mixture into a bowl. Use a bowl that’s easy to pour from later.
-
Cover the bowl with plastic wrap, pressing it directly onto the surface of the mixture. This prevents a skin from forming on top of the ice cream base. Nobody wants a skin on their ice cream!
-
Refrigerate the mixture for at least 4 hours, or preferably overnight. The colder the base, the better the ice cream will churn. I usually make the base the day before I plan to churn it.
Churning the Ice Cream
Alright, the moment we’ve been waiting for! It’s time to churn that chilled base into delicious, homemade vanilla ice cream.
-
Prepare your ice cream maker according to the manufacturer’s instructions. This usually involves freezing the bowl for at least 24 hours. Make sure your bowl is completely frozen solid before you start churning!
-
Pour the chilled ice cream base into the frozen ice cream maker bowl. If you used vanilla extract, add it now.
-
Churn the ice cream according to the manufacturer’s instructions, usually for about 20-25 minutes, or until it reaches a soft-serve consistency. The churning time will vary depending on your ice cream maker. Keep an eye on it and stop when it looks like soft-serve ice cream.
-
Check the consistency. The ice cream should be thick and creamy, but still soft enough to scoop. If it’s too soft, you can freeze it for a bit longer.
Freezing and Serving
We’re almost there! Now we just need to harden the ice cream in the freezer before we can enjoy it.
-
Transfer the ice cream to an airtight container. This will prevent freezer burn and keep your ice cream fresh.
-
Press a piece of plastic wrap onto the surface of the ice cream before sealing the container. This helps prevent ice crystals from forming on top.
-
Freeze the ice cream for at least 2-3 hours, or until it reaches a scoopable consistency. This will allow the ice cream to harden properly.
-
Scoop and serve! Enjoy your homemade vanilla ice cream on its own, with your favorite toppings, or as part of a delicious dessert.
Tips for the Best Vanilla Ice Cream
- Use high-quality ingredients. The better the ingredients, the better the ice cream.
- Don’t over-churn the ice cream. Over-churning can result in a grainy texture.
- Freeze the ice cream thoroughly before serving. This will ensure that it’s firm enough to scoop.
- Experiment with different flavors. Once you’ve mastered the basic vanilla ice cream recipe, you can add other flavors like chocolate chips, fruit, or nuts.
- Clean your ice cream maker promptly. This will prevent any lingering flavors from affecting future batches.
Troubleshooting
- Ice cream is too icy: This can be caused by not chilling the base long enough, over-churning, or not freezing the ice cream quickly enough.
- Ice cream is too grainy: This can be caused by over-churning or using low-quality ingredients.
- Ice cream is too soft: This can be caused by not freezing the ice cream maker bowl long enough or not freezing the ice cream thoroughly after churning.
And there you have it! Homemade vanilla ice cream that’s sure to impress. Enjoy!
Conclusion:
And there you have it! This homemade vanilla ice cream recipe is truly a must-try for anyone who appreciates the simple pleasures in life. Forget the store-bought stuff loaded with artificial flavors and preservatives. This recipe delivers a creamy, dreamy, and intensely vanilla-flavored experience that will redefine your understanding of what ice cream can be. It’s the perfect balance of sweet and rich, with a texture that’s unbelievably smooth and melts in your mouth. But why is it a must-try, you ask? Beyond the superior taste and texture, it’s about the experience. Making your own ice cream is surprisingly therapeutic. From gently heating the cream and milk to patiently waiting for the custard to chill, each step is a small act of self-care that culminates in a truly rewarding treat. Plus, you have complete control over the ingredients, ensuring that you’re only using the best quality vanilla and avoiding any unwanted additives. Now, let’s talk serving suggestions! This vanilla ice cream is incredibly versatile. Of course, it’s divine all on its own, served in a simple bowl or cone. But it also shines as a complement to other desserts. Imagine a scoop of this creamy goodness melting over a warm slice of apple pie, a decadent brownie, or a freshly baked cobbler. It’s the perfect partner for any sweet treat. And the variations are endless! Feeling adventurous? Try adding a swirl of homemade caramel sauce or a handful of chopped pecans for a salted caramel pecan ice cream. Or, infuse the cream with lavender for a floral and fragrant twist. For a chocolate lover’s dream, fold in some dark chocolate shavings or chunks of your favorite chocolate bar. You could even add a splash of your favorite liqueur, like bourbon or rum, for an adult-friendly treat. Don’t be afraid to experiment and create your own signature flavor combinations! Here are a few more ideas to get your creative juices flowing:Serving Suggestions:
- Classic Sundae: Top with hot fudge, whipped cream, sprinkles, and a cherry.
- Affogato: Pour a shot of hot espresso over a scoop of vanilla ice cream.
- Milkshake: Blend with milk and your favorite toppings for a creamy milkshake.
- Ice Cream Sandwiches: Sandwich between cookies, brownies, or even waffles.
- Baked Alaska: Use as the base for this impressive dessert.
Vanilla Ice Cream Variations:
- Strawberry Vanilla: Fold in fresh, chopped strawberries.
- Coffee Vanilla: Add a tablespoon of instant coffee to the custard base.
- Mint Chocolate Chip: Add mint extract and chocolate chips.
- Brown Butter Pecan: Brown the butter before adding it to the custard, and fold in toasted pecans.
- Salted Caramel: Swirl in homemade salted caramel sauce.

Vanilla Ice Cream Homemade: The Ultimate Guide to Creamy Perfection
- Total Time: 265 minutes
- Yield: 1 quart 1x
Description
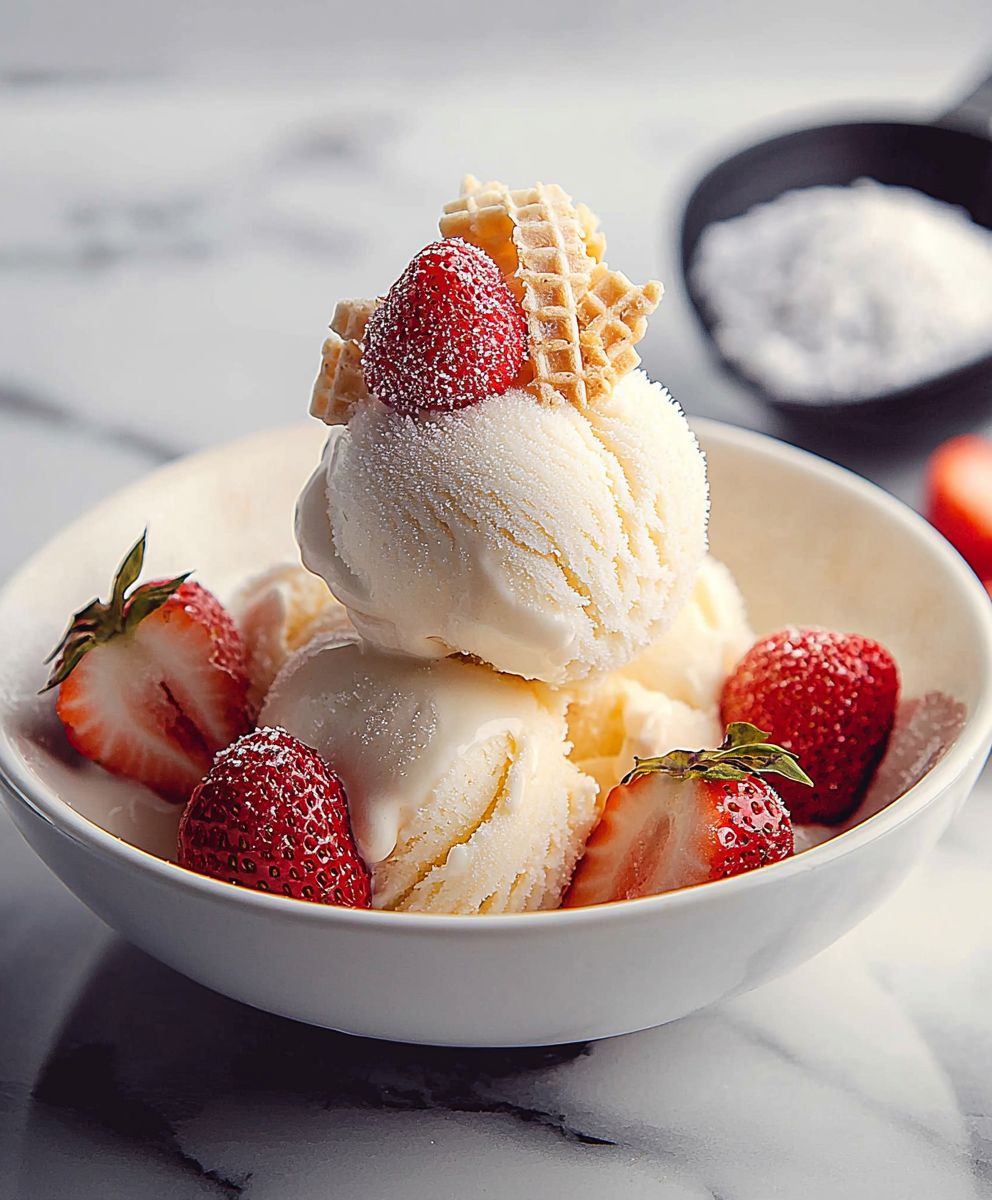
Rich, creamy homemade vanilla ice cream infused with real vanilla bean for an unforgettable flavor.
Ingredients
- 2 cups heavy cream (at least 36% milkfat)
- 1 cup whole milk
- ¾ cup granulated sugar
- 1 vanilla bean, split lengthwise and seeds scraped (or 2 teaspoons pure vanilla extract)
- Pinch of salt
Instructions
- Combine heavy cream, whole milk, and granulated sugar in a medium saucepan.
- Add the vanilla bean and its seeds to the saucepan. If using vanilla extract, hold off on adding it until after the mixture has cooled.
- Heat the mixture over medium heat, stirring constantly, until the sugar is dissolved.
- Bring the mixture to a simmer, then immediately remove it from the heat.
- Cover the saucepan and let the mixture steep for at least 30 minutes, or up to 2 hours, for a stronger vanilla flavor.
- Remove the vanilla bean. Rinse and dry the bean and store it in an airtight container with sugar to make vanilla sugar.
- Pour the mixture into a bowl.
- Cover the bowl with plastic wrap, pressing it directly onto the surface of the mixture.
- Refrigerate the mixture for at least 4 hours, or preferably overnight.
- Prepare your ice cream maker according to the manufacturer’s instructions.
- Pour the chilled ice cream base into the frozen ice cream maker bowl. If you used vanilla extract, add it now.
- Churn the ice cream according to the manufacturer’s instructions, usually for about 20-25 minutes, or until it reaches a soft-serve consistency.
- Check the consistency. The ice cream should be thick and creamy, but still soft enough to scoop. If it’s too soft, you can freeze it for a bit longer.
- Transfer the ice cream to an airtight container.
- Press a piece of plastic wrap onto the surface of the ice cream before sealing the container.
- Freeze the ice cream for at least 2-3 hours, or until it reaches a scoopable consistency.
- Scoop and serve! Enjoy your homemade vanilla ice cream on its own, with your favorite toppings, or as part of a delicious dessert.
Notes
- Use high-quality ingredients for the best flavor.
- Don’t over-churn the ice cream, as it can result in a grainy texture.
- Freeze the ice cream thoroughly before serving to ensure it’s firm enough to scoop.
- Steeping the vanilla bean longer will result in a more intense vanilla flavor.
- If the ice cream is too icy, it may be caused by not chilling the base long enough, over-churning, or not freezing the ice cream quickly enough.
- If the ice cream is too grainy, it may be caused by over-churning or using low-quality ingredients.
- If the ice cream is too soft, it may be caused by not freezing the ice cream maker bowl long enough or not freezing the ice cream thoroughly after churning.
- Prep Time: 20 minutes
- Cook Time: 5 minutes