
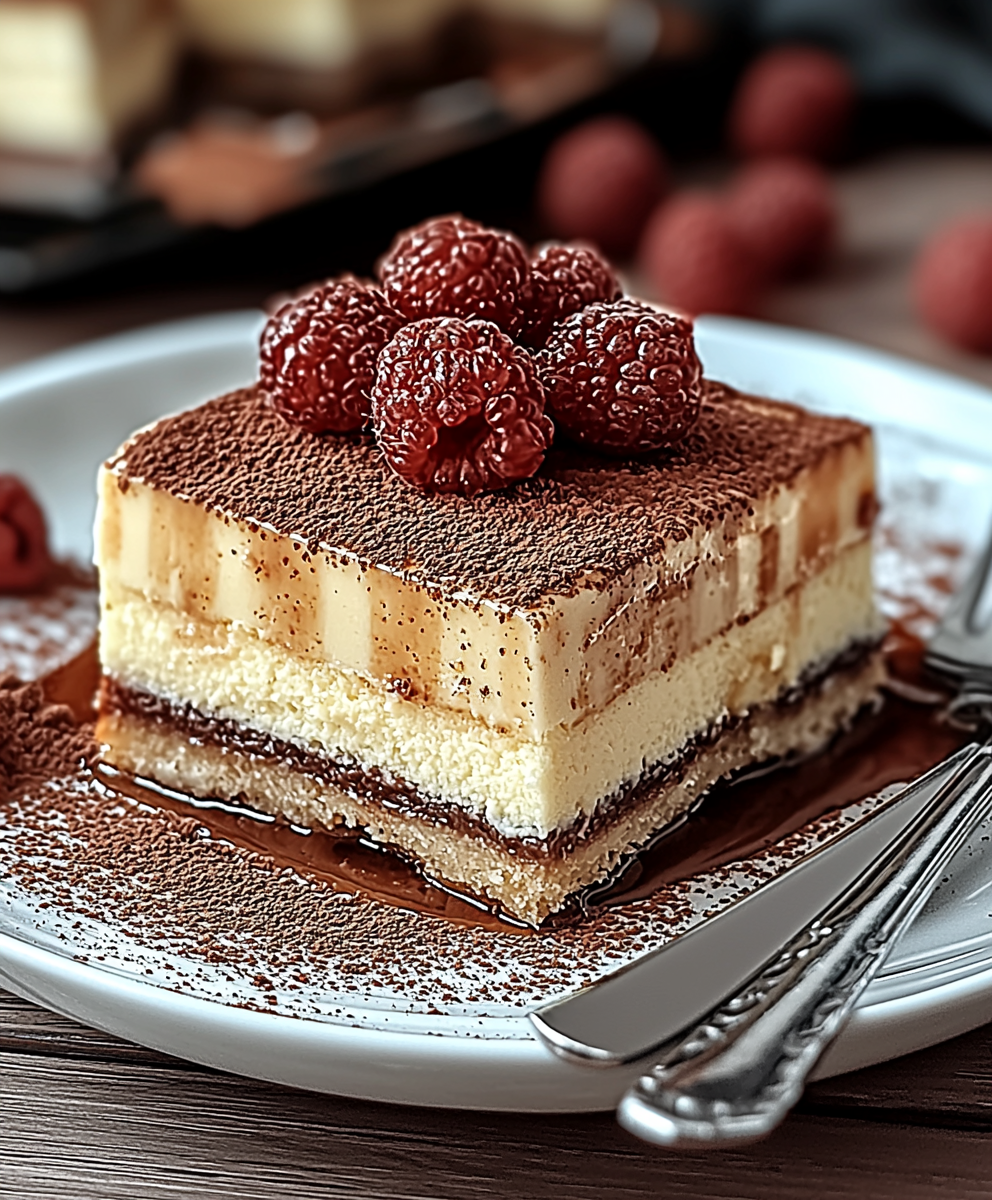
Nobake Pudding Cake: the dessert that proves deliciousness doesn’t always require an oven! Imagine sinking your fork into layers of creamy, dreamy pudding, soft, chocolatey cookies, and a cloud of whipped topping. This isn’t just a cake; it’s a symphony of textures and flavors that will have everyone begging for seconds.
While the exact origins of this delightful treat are shrouded in mystery, no-bake desserts have been a staple in home kitchens for generations, particularly during warmer months when turning on the oven is the last thing anyone wants to do. This particular iteration, the nobake pudding cake, likely gained popularity with the rise of convenient packaged ingredients like instant pudding and pre-made whipped topping, making it a breeze for busy families to whip up a crowd-pleasing dessert.
What’s not to love? This cake is incredibly easy to make, requiring minimal effort and readily available ingredients. The combination of the rich, smooth pudding, the slightly softened cookies, and the light, airy whipped topping creates a textural masterpiece. Plus, the customizable nature of this recipe allows you to tailor it to your own preferences – use different flavors of pudding, experiment with various cookies, or add fresh fruit for an extra burst of flavor. It’s the perfect dessert for potlucks, parties, or simply a sweet treat on a weeknight. Get ready to experience dessert heaven with this simple yet satisfying recipe!

Ingredients:
- 1 (14.3 ounce) package chocolate sandwich cookies (like Oreos)
- 6 tablespoons unsalted butter, melted
- 2 (3.4 ounce) packages instant chocolate pudding mix
- 3 cups milk
- 1 (8 ounce) package cream cheese, softened
- 1 (12 ounce) container frozen whipped topping, thawed, divided
- Chocolate shavings or extra crushed cookies, for garnish (optional)
Crust Preparation:
- Crush the cookies: The first step is to create the cookie crust. You can use a food processor for this, pulsing the cookies until they are finely ground. If you don’t have a food processor, you can place the cookies in a large zip-top bag and crush them with a rolling pin. Make sure there are no large chunks remaining for a smooth crust.
- Combine with melted butter: In a medium bowl, combine the crushed cookies and the melted butter. Mix well until the crumbs are evenly moistened. The mixture should resemble wet sand. This is what will hold your crust together.
- Press into the pan: Press the cookie crumb mixture into the bottom of a 9×13 inch baking dish. Use the bottom of a measuring cup or your fingers to firmly press the crumbs into an even layer. This is important for a stable crust that won’t crumble when you cut the cake.
- Chill the crust: Place the baking dish in the refrigerator to chill while you prepare the pudding layers. This will help the crust set and prevent it from becoming soggy. A minimum of 30 minutes is recommended, but longer is fine.
Pudding Layers:
- Prepare the chocolate pudding: In a large bowl, whisk together the instant chocolate pudding mix and the milk. Whisk vigorously for about 2 minutes, or until the pudding begins to thicken. Let the pudding stand for 5 minutes to fully set. It should be thick enough to spread easily.
- Soften the cream cheese: Make sure your cream cheese is properly softened. This is crucial for a smooth and creamy layer. If it’s not soft enough, you’ll end up with lumps in your cream cheese mixture. You can soften it at room temperature for about an hour, or microwave it in 15-second intervals until softened, being careful not to melt it.
- Combine cream cheese and whipped topping: In a separate bowl, beat the softened cream cheese with an electric mixer until smooth and creamy. Gradually fold in half of the thawed whipped topping until well combined. This creates a light and airy cream cheese layer. Be gentle when folding in the whipped topping to avoid deflating it.
- Layer the pudding: Once the crust has chilled, spread the chocolate pudding evenly over the cookie crust. Use a spatula to ensure a smooth and even layer.
- Layer the cream cheese mixture: Carefully spread the cream cheese mixture over the chocolate pudding layer. Again, use a spatula to create a smooth and even layer. Try not to mix the layers together.
- Top with remaining whipped topping: Spread the remaining thawed whipped topping over the cream cheese layer. You can create swirls or patterns with a spoon or spatula for a more decorative look.
Chilling and Serving:
- Chill the cake: Cover the baking dish with plastic wrap and refrigerate for at least 4 hours, or preferably overnight. This allows the flavors to meld together and the layers to set completely. The longer it chills, the better the texture will be.
- Garnish (optional): Before serving, garnish the cake with chocolate shavings or extra crushed cookies, if desired. This adds a nice visual appeal and enhances the chocolate flavor.
- Cut and serve: Cut the cake into squares and serve chilled. Enjoy! This no-bake pudding cake is perfect for parties, potlucks, or any occasion where you need a quick and easy dessert.
Tips and Variations:
- Cookie Variations: While chocolate sandwich cookies are the classic choice, you can experiment with other types of cookies for the crust. Golden Oreos, graham crackers, or even chocolate chip cookies would all work well. Adjust the amount of butter as needed depending on the cookie you choose.
- Pudding Variations: You can also try different flavors of instant pudding. Vanilla, butterscotch, or even cheesecake pudding would be delicious alternatives to chocolate.
- Add-ins: Feel free to add other ingredients to the pudding layers. Chopped nuts, chocolate chips, or even a layer of sliced bananas would be great additions.
- Whipped Cream: If you prefer, you can use homemade whipped cream instead of store-bought whipped topping. Just make sure to stabilize it with a little powdered sugar or gelatin to prevent it from weeping.
- Make it Gluten-Free: To make this cake gluten-free, simply use gluten-free chocolate sandwich cookies.
- Individual Servings: For a more elegant presentation, you can assemble this cake in individual serving dishes or glasses. Layer the crushed cookies, pudding, and cream cheese mixture in each dish.
- Freezing: While this cake is best served chilled, you can freeze it for longer storage. Wrap it tightly in plastic wrap and then in foil. Thaw it in the refrigerator overnight before serving. The texture may change slightly after freezing.
Troubleshooting:
- Crust is too crumbly: If your crust is too crumbly, you may not have used enough butter. Add a little more melted butter, a tablespoon at a time, until the crumbs are moistened enough to hold together.
- Pudding is too thin: If your pudding is too thin, you may not have whisked it long enough or you may have used too much milk. Make sure to whisk the pudding vigorously for at least 2 minutes and use the correct amount of milk.
- Cream cheese layer is lumpy: If your cream cheese layer is lumpy, your cream cheese was not soft enough. Make sure to soften the cream cheese completely before mixing it with the whipped topping.
- Cake is too sweet: If you find the cake too sweet, you can reduce the amount of sugar in the pudding mix or use a less sweet cookie for the crust.
Storage Instructions:
Store the no-bake pudding cake in the refrigerator, covered, for up to 3 days. The cake is best served within the first 24 hours, as the cookie crust may become slightly softer over time.
Nutritional Information (Approximate):
(Note: Nutritional information is an estimate and may vary based on specific ingredients and serving size.)
- Calories: 450-550 per serving
- Fat: 25-35g
- Saturated Fat: 15-20g
- Cholesterol: 50-70mg
- Sodium: 300-400mg
- Carbohydrates: 50-60g
- Sugar: 35-45g
- Protein: 5-7g
Why This Recipe Works:
This no-bake pudding cake is a winner because it’s incredibly easy to make, requires no baking, and is always a crowd-pleaser. The combination of the crunchy cookie crust, creamy pudding layers, and light whipped topping creates a delightful texture and flavor contrast that everyone loves. It’s also a versatile recipe that can be easily customized to suit your preferences. Plus, it’s a great make-ahead dessert, perfect for busy weeknights or special occasions.
Serving Suggestions:
- Serve with a scoop of vanilla ice cream or a dollop of whipped cream.
- Pair with fresh berries for a refreshing contrast.
- Drizzle with chocolate sauce or caramel sauce.
- Serve with a cup of coffee or tea.
Equipment Needed:
- 9×13 inch baking dish
- Food processor or zip-top bag and rolling pin
- Mixing bowls
- Electric mixer
- Spatula
- Measuring cups and spoons
A Little History:
No-bake desserts have been around for ages, offering a convenient and delicious alternative to traditional baked goods. This particular no-bake pudding cake likely evolved from similar layered desserts, taking advantage of the ease and convenience of instant pudding mixes and pre-made cookies. It’s a testament to how simple ingredients can be combined to create something truly special and satisfying.
Enjoy Your Delicious No-Bake Pudding Cake!
Conclusion:
This Nobake Pudding Cake is truly a dessert game-changer, and I wholeheartedly believe you need to experience its creamy, dreamy goodness for yourself! It’s the perfect solution for those hot summer days when turning on the oven feels like a Herculean task, or when you simply crave a satisfying treat without the fuss of baking. The layers of moist graham crackers, luscious pudding, and fluffy whipped topping create a symphony of textures and flavors that will have everyone begging for seconds.
But why is this recipe a must-try? Beyond its ease of preparation, it’s incredibly versatile. The base recipe is a blank canvas, ready to be customized to your heart’s content. Think of it as your personal pudding cake playground!
Serving Suggestions and Variations:
* Berry Bliss: Add fresh berries like strawberries, blueberries, or raspberries between the layers for a burst of fruity freshness. A mixed berry compote swirled into the pudding would also be divine.
* Chocolate Lover’s Dream: Use chocolate pudding and sprinkle chocolate shavings or mini chocolate chips on top. You could even add a layer of crushed Oreos for an extra chocolatey crunch.
* Peanut Butter Paradise: Swirl peanut butter into the vanilla pudding or use peanut butter pudding altogether. Top with chopped peanuts and a drizzle of chocolate syrup.
* Coffee Kick: Dip the graham crackers in coffee before layering them for a subtle coffee flavor. A dusting of cocoa powder on top would complement the coffee perfectly.
* Tropical Twist: Use coconut pudding and add shredded coconut and chopped pineapple between the layers. A sprinkle of macadamia nuts would complete the tropical vibe.
* Seasonal Sensations: Adapt the recipe to the seasons! In the fall, use pumpkin spice pudding and add a sprinkle of cinnamon and nutmeg. In the winter, use peppermint pudding and crushed candy canes.
The possibilities are truly endless! You can even experiment with different types of cookies instead of graham crackers, such as chocolate wafers or shortbread cookies. And don’t be afraid to get creative with the toppings! Sprinkles, chopped nuts, caramel sauce, or even a dollop of your favorite jam would all be delicious additions.
This Nobake Pudding Cake is not just a recipe; it’s an invitation to have fun in the kitchen and create a dessert that’s uniquely yours. It’s a guaranteed crowd-pleaser, perfect for potlucks, parties, or simply a sweet treat for yourself.
I’m so excited for you to try this recipe and experience the joy of a delicious, easy-to-make dessert. I truly believe it will become a staple in your recipe repertoire.
So, what are you waiting for? Gather your ingredients, grab your mixing bowl, and get ready to whip up this incredible Nobake Pudding Cake. I can’t wait to hear about your creations! Please, share your photos and variations in the comments below. Let me know what you think and what creative twists you added. Happy pudding cake making!
Nobake Pudding Cake: The Easiest Dessert Recipe Ever
Easy and delicious no-bake chocolate pudding cake with an Oreo cookie crust, creamy chocolate pudding and cream cheese layers, topped with whipped cream. A perfect make-ahead dessert!
Ingredients
- 1 (14.3 ounce) package chocolate sandwich cookies (like Oreos)
- 6 tablespoons unsalted butter, melted
- 2 (3.4 ounce) packages instant chocolate pudding mix
- 3 cups milk
- 1 (8 ounce) package cream cheese, softened
- 1 (12 ounce) container frozen whipped topping, thawed, divided
- Chocolate shavings or extra crushed cookies, for garnish (optional)
Instructions
- Crush the cookies: Use a food processor or place cookies in a zip-top bag and crush with a rolling pin until finely ground.
- Combine with melted butter: In a medium bowl, combine crushed cookies and melted butter. Mix well until evenly moistened.
- Press into the pan: Press the cookie crumb mixture into the bottom of a 9×13 inch baking dish. Press firmly to create an even layer.
- Chill the crust: Refrigerate the crust for at least 30 minutes.
- Prepare the chocolate pudding: In a large bowl, whisk together instant chocolate pudding mix and milk. Whisk for 2 minutes until thickened. Let stand for 5 minutes.
- Soften the cream cheese: Ensure cream cheese is softened.
- Combine cream cheese and whipped topping: In a separate bowl, beat softened cream cheese until smooth. Gradually fold in half of the thawed whipped topping until combined.
- Layer the pudding: Spread the chocolate pudding evenly over the chilled cookie crust.
- Layer the cream cheese mixture: Carefully spread the cream cheese mixture over the chocolate pudding layer.
- Top with remaining whipped topping: Spread the remaining thawed whipped topping over the cream cheese layer.
- Chill the cake: Cover and refrigerate for at least 4 hours, or preferably overnight.
- Garnish (optional): Before serving, garnish with chocolate shavings or extra crushed cookies.
- Cut and serve: Cut into squares and serve chilled.
Notes
- Cookie Variations: Experiment with other cookies like Golden Oreos or graham crackers.
- Pudding Variations: Try vanilla, butterscotch, or cheesecake pudding.
- Add-ins: Add chopped nuts, chocolate chips, or sliced bananas to the pudding layers.
- Whipped Cream: Use homemade whipped cream instead of store-bought. Stabilize it with powdered sugar or gelatin.
- Gluten-Free: Use gluten-free chocolate sandwich cookies.
- Individual Servings: Assemble in individual dishes or glasses.
- Freezing: Wrap tightly and freeze. Thaw in the refrigerator overnight.
- Crust is too crumbly: Add more melted butter.
- Pudding is too thin: Whisk longer or use less milk.
- Cream cheese layer is lumpy: Ensure cream cheese is fully softened.
- Cake is too sweet: Reduce sugar in pudding or use less sweet cookies.
- Storage: Store in the refrigerator, covered, for up to 3 days.