
Double Chocolate Ice Cream, oh, where do I even begin? Imagine a dessert so intensely chocolatey, so unbelievably creamy, that every spoonful feels like a decadent dream. This isn’t just ice cream; it’s an experience, a journey into the heart of chocolate bliss. Forget those store-bought tubs that promise the world and deliver well, less. We’re talking about homemade, intensely flavored, melt-in-your-mouth Double Chocolate Ice Cream that will redefine your definition of the perfect frozen treat.
While the exact origins of chocolate ice cream are shrouded in a bit of mystery, its popularity is undeniable. Chocolate itself has a rich history, dating back to ancient Mesoamerica, where it was consumed as a bitter drink. Over time, it evolved into the sweet treat we know and love today, and its incorporation into ice cream was a natural progression. It’s a testament to our enduring love affair with chocolate, a flavor that transcends cultures and generations.
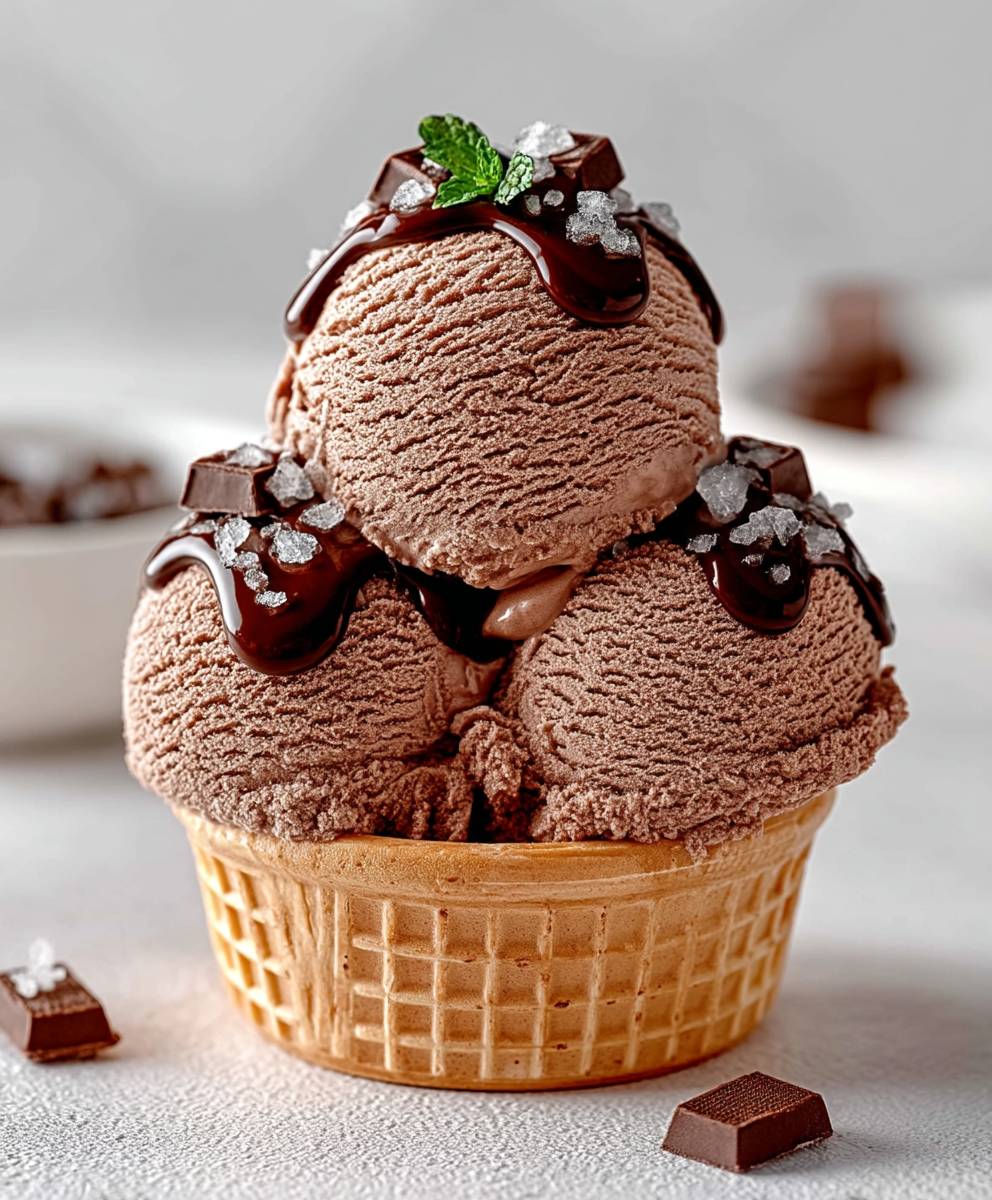
But why do people adore double chocolate ice cream so much? It’s simple: the taste! The rich, deep chocolate flavor, amplified by the double dose of cocoa and chocolate chunks, is irresistible. The creamy texture is the perfect complement, creating a symphony of sensations in your mouth. Plus, let’s be honest, a scoop of this decadent delight is the ultimate comfort food, perfect for a hot summer day or a cozy night in. So, are you ready to embark on this delicious adventure with me? Let’s get churning!

Ingredients:
- 1 cup (240ml) heavy cream
- 2 cups (480ml) whole milk
- ¾ cup (150g) granulated sugar
- ½ cup (50g) unsweetened cocoa powder, preferably Dutch-processed
- ? teaspoon salt
- 6 ounces (170g) bittersweet chocolate, finely chopped
- 1 teaspoon vanilla extract
- ½ cup (approximately 85g) mini chocolate chips (optional, for extra chocolatey goodness!)
Preparing the Chocolate Base:
Okay, let’s get started! The key to amazing double chocolate ice cream is a rich, deeply chocolatey base. We’re going to achieve that by creating a sort of chocolate ganache that will then be chilled and churned.
- Combine the Cream, Milk, Sugar, Cocoa Powder, and Salt: In a medium saucepan, whisk together the heavy cream, whole milk, granulated sugar, unsweetened cocoa powder, and salt. Make sure there are no lumps of cocoa powder remaining. Whisk, whisk, whisk! This is important for a smooth final product.
- Heat the Mixture: Place the saucepan over medium heat. Stir constantly with a heat-resistant spatula or wooden spoon. We want to heat the mixture until it’s just steaming and the sugar is completely dissolved. You should be able to rub a little of the mixture between your fingers and not feel any sugar granules. This usually takes about 5-7 minutes. Be careful not to let it boil!
- Melt the Chocolate: Remove the saucepan from the heat. Add the finely chopped bittersweet chocolate to the hot cream mixture. Let it sit for about a minute to soften the chocolate.
- Whisk Until Smooth: Now, whisk vigorously until the chocolate is completely melted and the mixture is smooth and glossy. This might take a couple of minutes, but be patient and keep whisking. You want a homogenous, beautiful chocolate base.
- Incorporate Vanilla Extract: Stir in the vanilla extract. This adds a lovely depth of flavor to the ice cream.
Chilling the Chocolate Base:
This is a crucial step! Chilling the base allows the flavors to meld together and also helps the ice cream churn properly. If you skip this step, your ice cream might be icy or not freeze properly.
- Cool Slightly: Let the chocolate base cool slightly at room temperature for about 30 minutes. This will prevent condensation from forming when you transfer it to the refrigerator.
- Refrigerate Thoroughly: Pour the cooled chocolate base into an airtight container. Cover it tightly and refrigerate for at least 4 hours, or preferably overnight. The longer it chills, the better the flavor and texture of the ice cream will be. I usually aim for at least 8 hours.
Churning the Ice Cream:
Finally, the fun part! This is where the magic happens and our chocolate base transforms into creamy, dreamy ice cream.
- Prepare Your Ice Cream Maker: Make sure your ice cream maker bowl is completely frozen according to the manufacturer’s instructions. This usually means freezing it for at least 24 hours. A properly frozen bowl is essential for successful ice cream churning.
- Pour in the Chilled Base: Remove the chilled chocolate base from the refrigerator. Give it a quick stir to ensure it’s still smooth. Pour the base into the frozen ice cream maker bowl.
- Churn According to Manufacturer’s Instructions: Turn on your ice cream maker and churn the mixture according to the manufacturer’s instructions. This usually takes about 20-30 minutes. The ice cream is ready when it has a soft-serve consistency.
- Add Chocolate Chips (Optional): If you’re using mini chocolate chips, add them during the last few minutes of churning. This will ensure they are evenly distributed throughout the ice cream.
Freezing and Serving:
Almost there! Now we just need to harden the ice cream in the freezer.
- Transfer to an Airtight Container: Transfer the soft-serve ice cream to an airtight container. A freezer-safe container is best.
- Freeze to Harden: Press a piece of plastic wrap directly onto the surface of the ice cream to prevent ice crystals from forming. Seal the container tightly and freeze for at least 2-3 hours, or until the ice cream is firm enough to scoop.
- Scoop and Serve: Remove the ice cream from the freezer about 5-10 minutes before serving to allow it to soften slightly. Scoop and enjoy! You can serve it plain, with whipped cream, chocolate sauce, or any other toppings you like.
Tips for the Best Double Chocolate Ice Cream:
- Use High-Quality Chocolate: The quality of the chocolate you use will greatly impact the flavor of the ice cream. I recommend using a good quality bittersweet chocolate with a cocoa content of around 60-70%.
- Don’t Skip the Chilling Step: As mentioned earlier, chilling the base is crucial for the best texture and flavor.
- Adjust Sweetness to Taste: If you prefer a less sweet ice cream, you can reduce the amount of sugar slightly.
- Experiment with Flavors: Feel free to add other flavors to your ice cream, such as a pinch of espresso powder, a splash of bourbon, or some chopped nuts.
- Store Properly: To prevent freezer burn, store the ice cream in an airtight container with a piece of plastic wrap pressed onto the surface.
Troubleshooting:
- Ice Cream is Icy: This is usually caused by not chilling the base long enough or by not using enough fat (heavy cream and whole milk). Make sure to chill the base for at least 4 hours and use the recommended amounts of heavy cream and whole milk.
- Ice Cream is Too Soft: This could be due to a number of factors, such as not freezing the ice cream maker bowl properly, not chilling the base long enough, or churning for too short a time. Make sure your bowl is completely frozen, chill the base thoroughly, and churn until the ice cream has a soft-serve consistency.
- Ice Cream is Grainy: This can be caused by ice crystals forming during storage. Make sure to store the ice cream in an airtight container with a piece of plastic wrap pressed onto the surface.
Conclusion:
So there you have it! This Double Chocolate Ice Cream recipe isn’t just another dessert; it’s an experience. The intense chocolate flavor, the creamy texture, and the sheer joy of making something so delicious from scratch make it a must-try for any ice cream lover. I promise, once you taste this, you’ll never look at store-bought chocolate ice cream the same way again. It’s truly in a league of its own.
But why is it a must-try? Beyond the obvious deliciousness, it’s about control. You control the ingredients, ensuring only the best goes into your ice cream. You control the sweetness, adjusting it to your personal preference. And you control the experience, from the anticipation of the churning process to the pure bliss of that first spoonful. It’s a rewarding journey from start to finish.
Now, let’s talk serving suggestions and variations because the fun doesn’t stop with the basic recipe! For a classic treat, serve it in a waffle cone or a simple bowl. But if you’re feeling adventurous, try these:
* Ice Cream Sandwiches: Press scoops of the ice cream between two chocolate cookies (homemade or store-bought no judgment here!). Freeze for a few minutes to firm up, and you’ve got an instant crowd-pleaser.
* Affogato: Pour a shot of hot espresso over a scoop of the ice cream for a delightful contrast of hot and cold, bitter and sweet. It’s the perfect after-dinner treat.
* Milkshakes: Blend the ice cream with a little milk (or almond milk for a dairy-free option) for an incredibly rich and decadent milkshake. Add a swirl of chocolate syrup for extra flair.
* Sundae Bar: Set up a sundae bar with various toppings like whipped cream, sprinkles, chopped nuts, chocolate sauce, caramel sauce, and cherries. Let everyone customize their own perfect sundae.
* Brownie Parfaits: Layer crumbled brownies with scoops of the ice cream and whipped cream in a tall glass for a truly indulgent parfait.
And for variations, consider these tweaks to personalize your Double Chocolate Ice Cream:
* Add-ins: Stir in chopped chocolate chunks, mini marshmallows, peanut butter cups, or even a swirl of Nutella after churning for added texture and flavor.
* Spices: A pinch of cinnamon or chili powder can add a subtle warmth and complexity to the chocolate flavor.
* Boozy Boost: A tablespoon or two of your favorite liqueur (like Kahlua or Baileys) can add a sophisticated touch. Add it towards the end of the churning process.
* Vegan Version: Substitute the heavy cream and milk with coconut cream and almond milk for a delicious dairy-free alternative. Just be sure to use a high-quality coconut cream for the best results.
I truly believe that this recipe will become a staple in your household. It’s perfect for special occasions, a comforting treat on a bad day, or simply a way to indulge your sweet tooth.
So, what are you waiting for? Gather your ingredients, dust off your ice cream maker, and get ready to create some magic. I’m confident that you’ll absolutely love this Double Chocolate Ice Cream.
And most importantly, I want to hear about your experience! Did you try any of the serving suggestions or variations? Did you make any tweaks to the recipe? What did your family and friends think? Share your photos, stories, and feedback in the comments below. I can’t wait to see what you create! Happy ice cream making!
Double Chocolate Ice Cream: The Ultimate Guide to Homemade Bliss
Rich, decadent double chocolate ice cream with a deeply chocolatey base and optional mini chocolate chips.
Ingredients
- 1 cup (240ml) heavy cream
- 2 cups (480ml) whole milk
- ¾ cup (150g) granulated sugar
- ½ cup (50g) unsweetened cocoa powder, preferably Dutch-processed
- ? teaspoon salt
- 6 ounces (170g) bittersweet chocolate, finely chopped
- 1 teaspoon vanilla extract
- ½ cup (approximately 85g) mini chocolate chips (optional)
Instructions
- Combine Ingredients: In a medium saucepan, whisk together heavy cream, whole milk, granulated sugar, cocoa powder, and salt until smooth.
- Heat Mixture: Place saucepan over medium heat. Stir constantly until steaming and sugar is dissolved (5-7 minutes). Do not boil.
- Melt Chocolate: Remove from heat. Add chopped bittersweet chocolate and let sit for 1 minute.
- Whisk Until Smooth: Whisk vigorously until chocolate is completely melted and mixture is smooth and glossy.
- Incorporate Vanilla: Stir in vanilla extract.
- Cool Slightly: Let cool at room temperature for 30 minutes.
- Refrigerate: Pour into an airtight container and refrigerate for at least 4 hours, preferably overnight (8+ hours).
- Prepare Ice Cream Maker: Ensure ice cream maker bowl is completely frozen (usually 24 hours).
- Churn: Pour chilled base into frozen ice cream maker bowl. Churn according to manufacturer’s instructions (20-30 minutes) until soft-serve consistency.
- Add Chocolate Chips (Optional): Add mini chocolate chips during the last few minutes of churning.
- Transfer to Container: Transfer soft-serve ice cream to an airtight, freezer-safe container.
- Freeze to Harden: Press plastic wrap onto the surface of the ice cream. Freeze for at least 2-3 hours, or until firm enough to scoop.
- Scoop and Serve: Remove from freezer 5-10 minutes before serving to soften slightly. Scoop and enjoy!
Notes
- Use high-quality bittersweet chocolate (60-70% cocoa).
- Chilling the base is crucial for texture and flavor.
- Adjust sweetness to taste.
- Experiment with flavors like espresso powder, bourbon, or nuts.
- Store in an airtight container with plastic wrap on the surface to prevent freezer burn.
- If ice cream is icy, ensure base is chilled long enough and use enough fat.
- If ice cream is too soft, ensure bowl is frozen, base is chilled, and churn long enough.
- If ice cream is grainy, store properly to prevent ice crystals.