
Chocolate Marshmallow Swirl Cookies: Prepare to embark on a baking adventure that will tantalize your taste buds and leave you craving more! Imagine sinking your teeth into a soft, chewy cookie, the rich chocolate notes dancing with the sweet, gooey delight of marshmallow. It’s a symphony of flavors and textures that will make every bite an unforgettable experience.
While the exact origins of swirling marshmallow into cookies are somewhat shrouded in mystery, the combination of chocolate and marshmallow has a long and beloved history. Think s’mores around a campfire, hot chocolate with fluffy marshmallows on a cold winter’s night these pairings evoke feelings of warmth, comfort, and pure indulgence. This recipe for Chocolate Marshmallow Swirl Cookies takes that classic combination and elevates it to a whole new level of deliciousness.
People adore these cookies for so many reasons. The contrasting textures the slightly crisp edges, the soft, yielding center, and the gooey pockets of melted marshmallow create a truly satisfying experience. The rich chocolate flavor is perfectly balanced by the sweetness of the marshmallow, making them irresistible to both children and adults alike. Plus, they’re surprisingly easy to make, making them the perfect treat for a weekend baking project or a last-minute dessert for unexpected guests. Get ready to create some magic in your kitchen!

Ingredients:
- 1 cup (2 sticks) unsalted butter, softened
- ¾ cup granulated sugar
- ¾ cup packed light brown sugar
- 2 large eggs
- 1 teaspoon vanilla extract
- 2 ¼ cups all-purpose flour
- 1 teaspoon baking soda
- 1 teaspoon salt
- 1 cup semi-sweet chocolate chips
- 1 cup mini marshmallows
- ¼ cup unsweetened cocoa powder
- 2 tablespoons milk
Preparing the Chocolate Marshmallow Swirl Cookie Dough
Alright, let’s get started on these amazing Chocolate Marshmallow Swirl Cookies! First things first, we need to cream together the butter and sugars. This is a crucial step for achieving that perfect cookie texture, so don’t rush it!
- Cream the Butter and Sugars: In a large bowl (or the bowl of your stand mixer), cream together the softened butter, granulated sugar, and light brown sugar until light and fluffy. This usually takes about 3-5 minutes on medium speed. You want the mixture to be pale and airy, almost like whipped cream. Scraping down the sides of the bowl occasionally ensures everything is evenly incorporated.
- Add the Eggs and Vanilla: Beat in the eggs one at a time, making sure each egg is fully incorporated before adding the next. Then, stir in the vanilla extract. The vanilla really enhances the flavors of the chocolate and marshmallow, so don’t skip it!
- Combine Dry Ingredients: In a separate medium bowl, whisk together the all-purpose flour, baking soda, and salt. Whisking is important because it helps to evenly distribute the baking soda and salt throughout the flour, preventing clumps and ensuring a consistent rise.
- Gradually Add Dry Ingredients to Wet Ingredients: Gradually add the dry ingredients to the wet ingredients, mixing on low speed until just combined. Be careful not to overmix! Overmixing can develop the gluten in the flour, resulting in tough cookies. Mix until you see no more streaks of flour.
- Incorporate Chocolate Chips and Marshmallows: Gently fold in the chocolate chips and mini marshmallows. I like to use a rubber spatula for this step to avoid breaking the marshmallows. Make sure they’re evenly distributed throughout the dough.
Creating the Chocolate Swirl
Now for the fun part creating that beautiful chocolate swirl! This is what makes these cookies so visually appealing and adds an extra layer of chocolatey goodness.
- Divide the Dough: Divide the cookie dough in half. Place one half back in the mixing bowl.
- Prepare the Chocolate Dough: In a small bowl, whisk together the cocoa powder and milk until smooth. This creates a chocolate paste that will easily incorporate into the dough.
- Incorporate Chocolate Mixture: Add the cocoa powder mixture to one half of the cookie dough and mix until just combined. Again, be careful not to overmix. You want the chocolate dough to be evenly colored.
Chilling and Shaping the Cookies
Chilling the dough is essential for preventing the cookies from spreading too thin in the oven. It also allows the flavors to meld together, resulting in a more flavorful cookie.
- Chill the Dough: Cover both bowls of dough (the plain dough and the chocolate dough) with plastic wrap and refrigerate for at least 30 minutes, or up to 2 hours. The longer you chill the dough, the less the cookies will spread.
- Preheat Oven: While the dough is chilling, preheat your oven to 375°F (190°C). Line baking sheets with parchment paper. Parchment paper prevents the cookies from sticking and makes cleanup a breeze.
- Shape the Cookies: Remove the dough from the refrigerator. Using a cookie scoop or your hands, scoop out a small amount of each dough (about 1 tablespoon of each). Gently roll each portion into a ball.
- Create the Swirl: Place the two balls of dough (one plain, one chocolate) side by side. Gently press them together and roll them into a single ball. This creates the beautiful swirl effect. You can also gently twist the two doughs together before rolling them into a ball for a more pronounced swirl.
- Place on Baking Sheet: Place the cookie dough balls onto the prepared baking sheets, leaving about 2 inches between each cookie. This allows for proper air circulation and prevents the cookies from sticking together as they bake.
Baking the Cookies
Now it’s time to bake these beauties! Keep a close eye on them to ensure they don’t overbake. The baking time can vary depending on your oven, so it’s always best to err on the side of caution.
- Bake the Cookies: Bake for 9-11 minutes, or until the edges are lightly golden brown and the centers are set. The cookies will continue to bake slightly as they cool on the baking sheet.
- Cool on Baking Sheet: Remove the baking sheets from the oven and let the cookies cool on the baking sheets for a few minutes before transferring them to a wire rack to cool completely. This allows the cookies to firm up slightly and prevents them from breaking when you move them.
Tips and Variations
Want to customize these cookies? Here are a few ideas:
- Add Nuts: Add ½ cup of chopped walnuts or pecans to the dough for a nutty crunch.
- Use Different Chocolate: Experiment with different types of chocolate chips, such as dark chocolate, milk chocolate, or white chocolate.
- Add Sprinkles: Roll the cookie dough balls in sprinkles before baking for a festive touch.
- Make Them Bigger: Use a larger cookie scoop to make bigger cookies. Just be sure to adjust the baking time accordingly.
- Marshmallow Topping: For extra marshmallow flavor, press a few mini marshmallows into the tops of the cookies before baking.
- Salted Caramel Swirl: Add a drizzle of salted caramel to the chocolate dough for an even more decadent treat.
Storage: Store the cooled cookies in an airtight container at room temperature for up to 3 days. You can also freeze the baked cookies for up to 2 months. To freeze, place the cookies in a single layer on a baking sheet and freeze until solid. Then, transfer them to a freezer-safe bag or container.
Enjoy your delicious Chocolate Marshmallow Swirl Cookies! I hope you love them as much as I do!
Conclusion:
And there you have it! These Chocolate Marshmallow Swirl Cookies are more than just a treat; they’re an experience. From the rich, decadent chocolate dough to the gooey, toasted marshmallow swirls, every bite is a symphony of textures and flavors that will leave you wanting more. I truly believe this recipe is a must-try for any baking enthusiast, whether you’re a seasoned pro or just starting out. The process is surprisingly simple, and the results are undeniably impressive.
What makes these cookies so special? It’s the perfect balance of sweet and slightly salty, the soft and chewy texture, and that irresistible marshmallow pull. They’re the kind of cookies that disappear in minutes, leaving behind only happy smiles and sticky fingers. Trust me, once you bake a batch of these, they’ll become a regular request from family and friends.
But the fun doesn’t stop there! Feel free to get creative with your serving suggestions and variations. These cookies are fantastic on their own, of course, but they’re also incredible served warm with a scoop of vanilla ice cream. Imagine the warm cookie melting the ice cream, creating a delightful puddle of chocolate and marshmallow goodness. You could also crumble them over a chocolate milkshake for an extra indulgent treat.
Looking for variations? Consider adding chopped nuts, like pecans or walnuts, to the dough for a bit of crunch. Or, for a festive twist, incorporate some crushed peppermint candies during the holiday season. If you’re feeling adventurous, try using different flavored marshmallows, such as strawberry or caramel, to create unique and exciting flavor combinations. A personal favorite of mine is to add a sprinkle of sea salt on top of the cookies just before baking to enhance the sweetness and create a delightful salty-sweet contrast. You can even experiment with different types of chocolate, like dark chocolate or white chocolate, to customize the flavor profile to your liking. The possibilities are endless!
These Chocolate Marshmallow Swirl Cookies are also perfect for gifting. Package them in a cute box or tin, and they’ll make a thoughtful and delicious present for any occasion. Imagine the joy on someone’s face when they receive a batch of these homemade goodies!
I’m so excited for you to try this recipe and experience the magic of these cookies for yourself. I’ve poured my heart and soul into perfecting this recipe, and I’m confident that you’ll love it as much as I do. So, gather your ingredients, preheat your oven, and get ready to bake some seriously delicious cookies.
Don’t be afraid to experiment and put your own spin on the recipe. Baking is all about creativity and having fun! And most importantly, don’t forget to share your creations with me. I’d love to see your photos and hear about your experiences. You can tag me on social media using [Your Social Media Handle] or leave a comment below. I can’t wait to see what you come up with! Happy baking, and enjoy every delicious bite of these incredible Chocolate Marshmallow Swirl Cookies! I hope this recipe becomes a cherished favorite in your household, bringing joy and sweetness to every occasion.
Chocolate Marshmallow Swirl Cookies: Recipe & Baking Tips
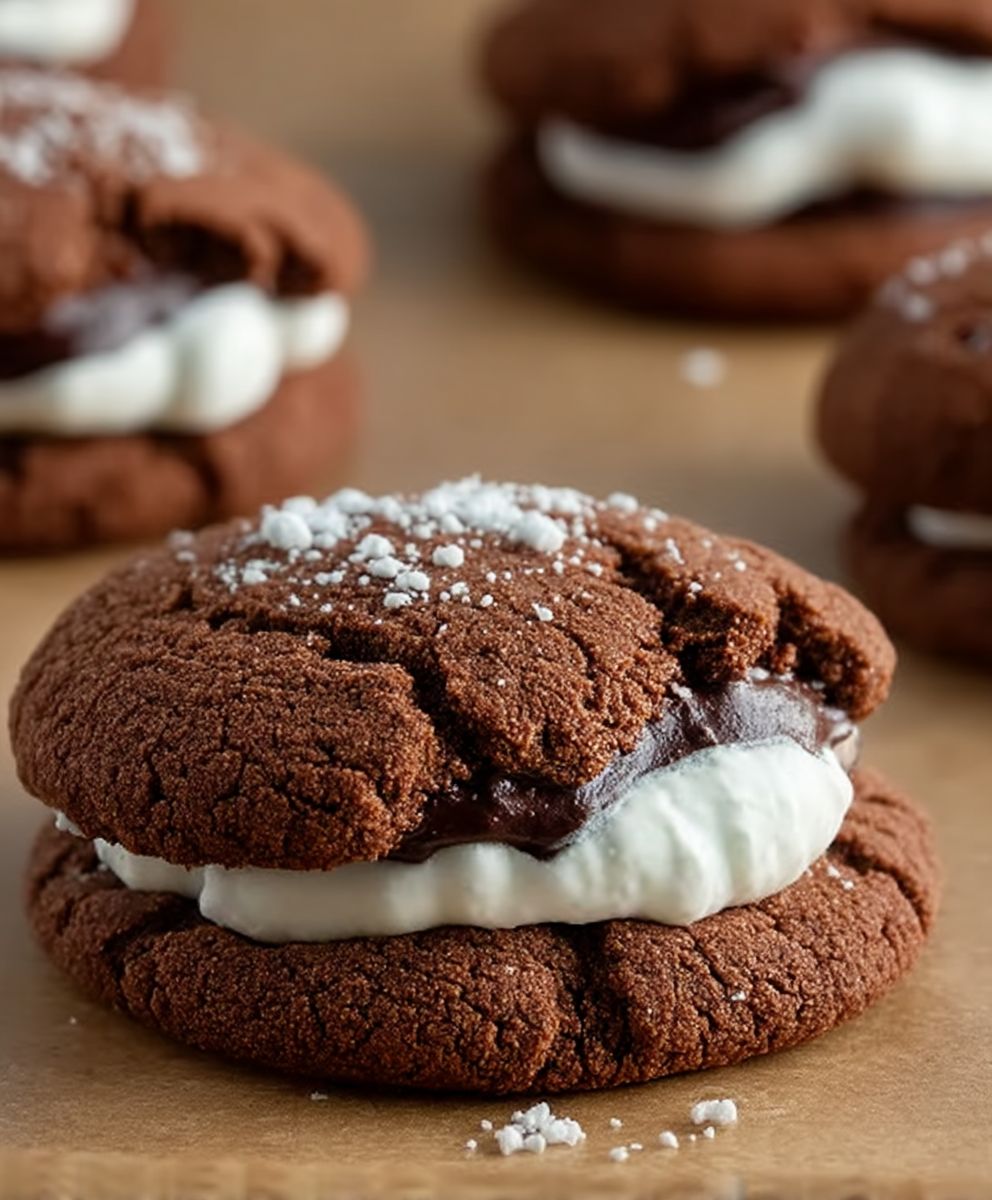
Decadent chocolate marshmallow swirl cookies with a soft, chewy texture and a beautiful marbled appearance.
Ingredients
- 1 cup (2 sticks) unsalted butter, softened
- ¾ cup granulated sugar
- ¾ cup packed light brown sugar
- 2 large eggs
- 1 teaspoon vanilla extract
- 2 ¼ cups all-purpose flour
- 1 teaspoon baking soda
- 1 teaspoon salt
- 1 cup semi-sweet chocolate chips
- 1 cup mini marshmallows
- ¼ cup unsweetened cocoa powder
- 2 tablespoons milk
Instructions
- Cream the Butter and Sugars: In a large bowl (or the bowl of your stand mixer), cream together the softened butter, granulated sugar, and light brown sugar until light and fluffy (3-5 minutes on medium speed). Scrape down the sides of the bowl occasionally.
- Add the Eggs and Vanilla: Beat in the eggs one at a time, making sure each egg is fully incorporated before adding the next. Then, stir in the vanilla extract.
- Combine Dry Ingredients: In a separate medium bowl, whisk together the all-purpose flour, baking soda, and salt.
- Gradually Add Dry Ingredients to Wet Ingredients: Gradually add the dry ingredients to the wet ingredients, mixing on low speed until just combined. Be careful not to overmix.
- Incorporate Chocolate Chips and Marshmallows: Gently fold in the chocolate chips and mini marshmallows.
- Divide the Dough: Divide the cookie dough in half. Place one half back in the mixing bowl.
- Prepare the Chocolate Dough: In a small bowl, whisk together the cocoa powder and milk until smooth.
- Incorporate Chocolate Mixture: Add the cocoa powder mixture to one half of the cookie dough and mix until just combined.
- Chill the Dough: Cover both bowls of dough (the plain dough and the chocolate dough) with plastic wrap and refrigerate for at least 30 minutes, or up to 2 hours.
- Preheat Oven: While the dough is chilling, preheat your oven to 375°F (190°C). Line baking sheets with parchment paper.
- Shape the Cookies: Remove the dough from the refrigerator. Using a cookie scoop or your hands, scoop out a small amount of each dough (about 1 tablespoon of each). Gently roll each portion into a ball.
- Create the Swirl: Place the two balls of dough (one plain, one chocolate) side by side. Gently press them together and roll them into a single ball. You can also gently twist the two doughs together before rolling them into a ball for a more pronounced swirl.
- Place on Baking Sheet: Place the cookie dough balls onto the prepared baking sheets, leaving about 2 inches between each cookie.
- Bake the Cookies: Bake for 9-11 minutes, or until the edges are lightly golden brown and the centers are set.
- Cool on Baking Sheet: Remove the baking sheets from the oven and let the cookies cool on the baking sheets for a few minutes before transferring them to a wire rack to cool completely.
Notes
- Creaming the butter and sugars well is crucial for the right cookie texture.
- Don’t overmix the dough after adding the flour.
- Chilling the dough prevents excessive spreading.
- Experiment with different chocolate chips, nuts, or sprinkles for variations.
- Store cooled cookies in an airtight container at room temperature for up to 3 days or freeze for up to 2 months.