
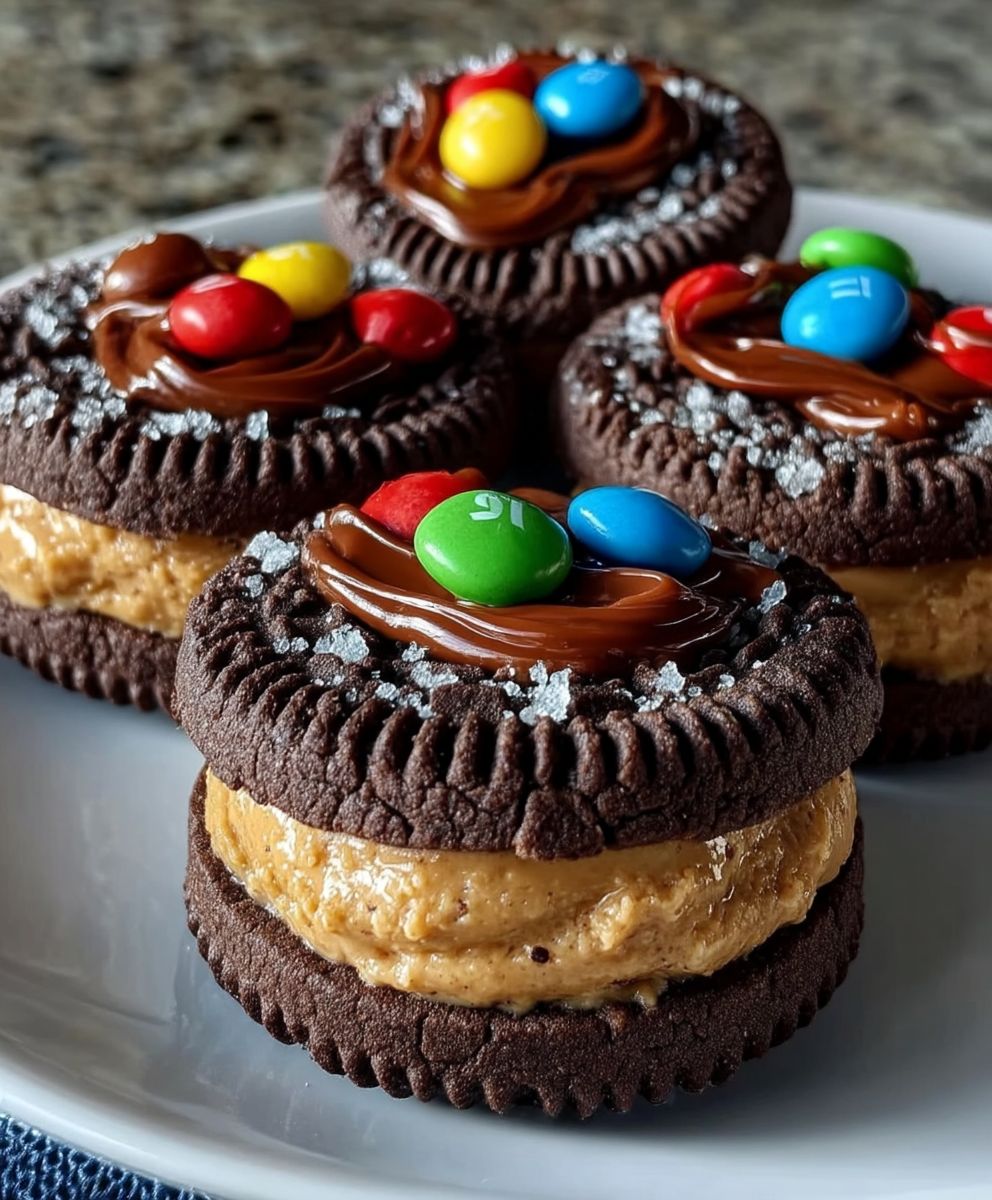
Chocolate peanut butter bites prepare to meet your new favorite no-bake treat! Imagine a symphony of rich, dark chocolate melding seamlessly with the creamy, salty goodness of peanut butter, all in a perfectly poppable, bite-sized package. These aren’t just any dessert; they’re an experience, a little burst of joy that satisfies every craving.
While the exact origins of combining chocolate and peanut butter are debated, its popularity exploded in the early 20th century, quickly becoming a beloved American classic. The combination is so iconic, it’s practically a cultural phenomenon! And what’s not to love? The slightly bitter chocolate cuts through the richness of the peanut butter, creating a balanced and utterly addictive flavor profile.
People adore chocolate peanut butter bites for so many reasons. First, they are incredibly easy and quick to make no oven required! This makes them perfect for those moments when you need a sweet fix fast. Second, the combination of flavors and textures is simply irresistible. The smooth, melt-in-your-mouth chocolate paired with the creamy, slightly gritty peanut butter is a match made in dessert heaven. Finally, their bite-sized nature makes them ideal for portion control (though we won’t judge if you eat more than one!). So, are you ready to dive into the delicious world of these delightful little treats? Let’s get started!

Ingredients:
- 1 cup creamy peanut butter (I prefer natural, but any kind works!)
- 1/2 cup powdered sugar
- 1/4 cup unsalted butter, softened
- 1 teaspoon vanilla extract
- 1/4 teaspoon salt
- 12 ounces semi-sweet chocolate chips
- 1 tablespoon coconut oil (or vegetable shortening)
- Optional: Sprinkles, chopped peanuts, sea salt for topping
Preparing the Peanut Butter Filling:
- In a medium-sized bowl, combine the peanut butter, powdered sugar, softened butter, vanilla extract, and salt. I like to use an electric mixer (either a stand mixer or a hand mixer) for this, as it really helps to get everything smooth and well combined. If you don’t have a mixer, you can definitely do it by hand, just make sure your butter is very soft and be prepared to put in a little elbow grease!
- Mix on medium speed until the mixture is smooth and creamy. It should form a dough-like consistency. Don’t worry if it seems a little dry at first; just keep mixing, and it will come together. If it’s still too dry after a minute or two, you can add a tiny splash of milk (like, 1/2 teaspoon at a time) until it reaches the right consistency.
- Taste the peanut butter mixture and adjust the sweetness if needed. If you prefer a sweeter filling, add a little more powdered sugar. If you want it less sweet, add a pinch more salt. Remember, you’ll be covering it in chocolate, so don’t go overboard!
- Line a baking sheet with parchment paper or a silicone baking mat. This will prevent the peanut butter bites from sticking and make them easier to remove later. I find parchment paper works best for me.
- Using a small cookie scoop (about 1 tablespoon) or your hands, roll the peanut butter mixture into small balls. Aim for them to be about 1 inch in diameter. Place the balls on the prepared baking sheet, spacing them about an inch apart.
- Once all the peanut butter balls are formed, gently flatten them slightly with your fingers or the bottom of a glass. This will help them adhere better to the chocolate coating.
- Place the baking sheet in the freezer for at least 30 minutes. This is a crucial step! Freezing the peanut butter balls will make them much easier to dip in the melted chocolate without them falling apart or melting too quickly. I usually leave them in for an hour just to be safe.
Melting the Chocolate:
- While the peanut butter balls are chilling in the freezer, prepare the chocolate coating. There are two main ways to melt chocolate: in the microwave or using a double boiler. I prefer the double boiler method because it gives you more control and prevents the chocolate from burning.
- Microwave Method: Place the chocolate chips and coconut oil (or shortening) in a microwave-safe bowl. Microwave in 30-second intervals, stirring well after each interval, until the chocolate is completely melted and smooth. Be very careful not to overheat the chocolate, as it can seize up and become grainy.
- Double Boiler Method: Fill a saucepan with about an inch of water and bring it to a simmer over medium heat. Place a heat-safe bowl (glass or stainless steel) on top of the saucepan, making sure the bottom of the bowl doesn’t touch the water. Add the chocolate chips and coconut oil (or shortening) to the bowl.
- Stir the chocolate constantly until it is completely melted and smooth. The steam from the simmering water will gently melt the chocolate without burning it. This method takes a little longer than the microwave, but it’s worth it for the smoother, more consistent results.
- Once the chocolate is melted, remove it from the heat and set it aside. If the chocolate starts to thicken as it cools, you can gently reheat it over low heat or in the microwave for a few seconds at a time.
Dipping and Decorating:
- Remove the baking sheet with the frozen peanut butter balls from the freezer. Work quickly, as the peanut butter will start to soften as it warms up.
- Using a fork or dipping tools, carefully dip each peanut butter ball into the melted chocolate, making sure it is completely coated. Gently tap off any excess chocolate.
- Place the dipped peanut butter bite back on the parchment-lined baking sheet.
- While the chocolate is still wet, decorate the peanut butter bites with your favorite toppings. I love to sprinkle them with sprinkles, chopped peanuts, or a pinch of sea salt. You can also drizzle them with melted white chocolate or add other decorative touches.
- If you’re using sprinkles, make sure to add them immediately after dipping, as the chocolate will set quickly.
- Repeat the dipping and decorating process until all the peanut butter balls are coated in chocolate.
- Once all the peanut butter bites are dipped and decorated, place the baking sheet back in the freezer for about 10-15 minutes to allow the chocolate to set completely. This will prevent them from being sticky and messy.
Storing Your Chocolate Peanut Butter Bites:
- Once the chocolate has set, remove the peanut butter bites from the freezer and transfer them to an airtight container.
- Store the peanut butter bites in the refrigerator for up to a week. They can also be stored in the freezer for longer storage (up to a month).
- When you’re ready to enjoy them, simply take them out of the refrigerator or freezer and let them sit at room temperature for a few minutes to soften slightly.
- These chocolate peanut butter bites are perfect for a quick snack, a sweet treat after dinner, or a homemade gift for friends and family. Enjoy!
Conclusion:
And there you have it! These chocolate peanut butter bites are truly a must-try for anyone who loves a sweet and salty treat. They’re incredibly easy to make, require minimal ingredients, and deliver a satisfying burst of flavor in every single bite. Seriously, what’s not to love? The combination of rich, dark chocolate and creamy peanut butter is a classic for a reason, and this recipe elevates it to a whole new level of deliciousness.
But the best part? You don’t have to take my word for it! I genuinely believe that once you try these, they’ll become a staple in your household. They’re perfect for satisfying a late-night craving, packing in lunchboxes, or bringing to a potluck. Plus, they’re so much healthier than store-bought candy bars, allowing you to indulge without the guilt.
Now, let’s talk about serving suggestions and variations, because the possibilities are endless! For a simple and elegant presentation, arrange the chocolate peanut butter bites on a pretty platter and dust them with a light coating of cocoa powder. You could also drizzle them with melted white chocolate for an extra touch of sweetness and visual appeal.
If you’re feeling adventurous, why not experiment with different types of chocolate? Milk chocolate would create a sweeter, more decadent bite, while white chocolate would offer a contrasting flavor profile. You could even use a combination of chocolates for a truly unique experience.
And don’t forget about the peanut butter! While creamy peanut butter is my personal favorite, you could also use crunchy peanut butter for added texture. Or, if you’re feeling really bold, try using a different nut butter altogether, like almond butter or cashew butter. The possibilities are truly endless!
For a festive twist, you could add sprinkles or chopped nuts to the top of the bites before the chocolate sets. This would be especially fun for holidays or birthday parties. You could even get the kids involved in decorating them!
Another variation I love is adding a pinch of sea salt to the top of each bite. The salt enhances the sweetness of the chocolate and peanut butter, creating a truly irresistible flavor combination. Trust me, you won’t regret trying this!
These chocolate peanut butter bites are also incredibly versatile when it comes to dietary restrictions. They can easily be made vegan by using dairy-free chocolate and vegan peanut butter. And they’re naturally gluten-free, making them a great option for those with gluten sensitivities.
So, what are you waiting for? Gather your ingredients, put on your apron, and get ready to create some magic in the kitchen. I promise you won’t be disappointed. These chocolate peanut butter bites are a guaranteed crowd-pleaser, and they’re sure to become a new favorite in your recipe repertoire.
I’m so excited for you to try this recipe! And I would absolutely love to hear about your experience. Did you make any variations? Did you add any special ingredients? What did your friends and family think? Please share your thoughts and photos in the comments below. I can’t wait to see what you create! Happy baking!
Chocolate Peanut Butter Bites: The Ultimate No-Bake Recipe
Easy, no-bake chocolate-covered peanut butter bites with a creamy filling and rich chocolate coating. Perfect for a quick dessert or homemade gift.
Ingredients
- 1 cup creamy peanut butter (natural or regular)
- 1/2 cup powdered sugar
- 1/4 cup unsalted butter, softened
- 1 teaspoon vanilla extract
- 1/4 teaspoon salt
- 12 ounces semi-sweet chocolate chips
- 1 tablespoon coconut oil (or vegetable shortening)
- Optional: Sprinkles, chopped peanuts, sea salt for topping
Instructions
- In a medium bowl, combine peanut butter, powdered sugar, softened butter, vanilla extract, and salt. Mix with an electric mixer until smooth and creamy. If too dry, add a tiny splash of milk (1/2 teaspoon at a time).
- Taste and adjust sweetness if needed.
- Line a baking sheet with parchment paper.
- Roll peanut butter mixture into 1-inch balls and place on the baking sheet.
- Gently flatten the balls.
- Freeze for at least 30 minutes (or up to an hour).
- Microwave chocolate chips and coconut oil in 30-second intervals, stirring until melted and smooth. Be careful not to overheat.
- Place a heat-safe bowl over a simmering pot of water (bowl shouldn’t touch the water). Add chocolate chips and coconut oil. Stir until melted and smooth.
- Remove peanut butter balls from the freezer.
- Dip each ball into the melted chocolate, tapping off excess.
- Place dipped bite on parchment paper.
- Immediately decorate with sprinkles, chopped peanuts, or sea salt (optional).
- Repeat until all balls are coated.
- Freeze for 10-15 minutes to allow the chocolate to set.
- Transfer to an airtight container and store in the refrigerator for up to a week or in the freezer for up to a month. Let soften slightly at room temperature before serving.
Notes
- Freezing the peanut butter balls is crucial for easy dipping.
- Use a double boiler for the smoothest chocolate.
- Work quickly when dipping, as the peanut butter will soften.
- Add toppings immediately after dipping.
- Adjust sweetness of peanut butter filling to your preference.