
Crispy Baked Chicken Drumsticks: Forget the fryer! Are you craving that satisfying crunch of perfectly fried chicken but want a healthier, easier option? Then you’ve come to the right place. I’m about to share my foolproof method for achieving unbelievably crispy baked chicken drumsticks, without a drop of oil wasted in a deep fryer.
Chicken drumsticks, a humble cut of poultry, have been a staple in cuisines around the world for centuries. From simple roasted dinners to celebratory feasts, they represent comfort and deliciousness. In many cultures, chicken is a symbol of prosperity and good fortune, making it a welcome addition to any table.
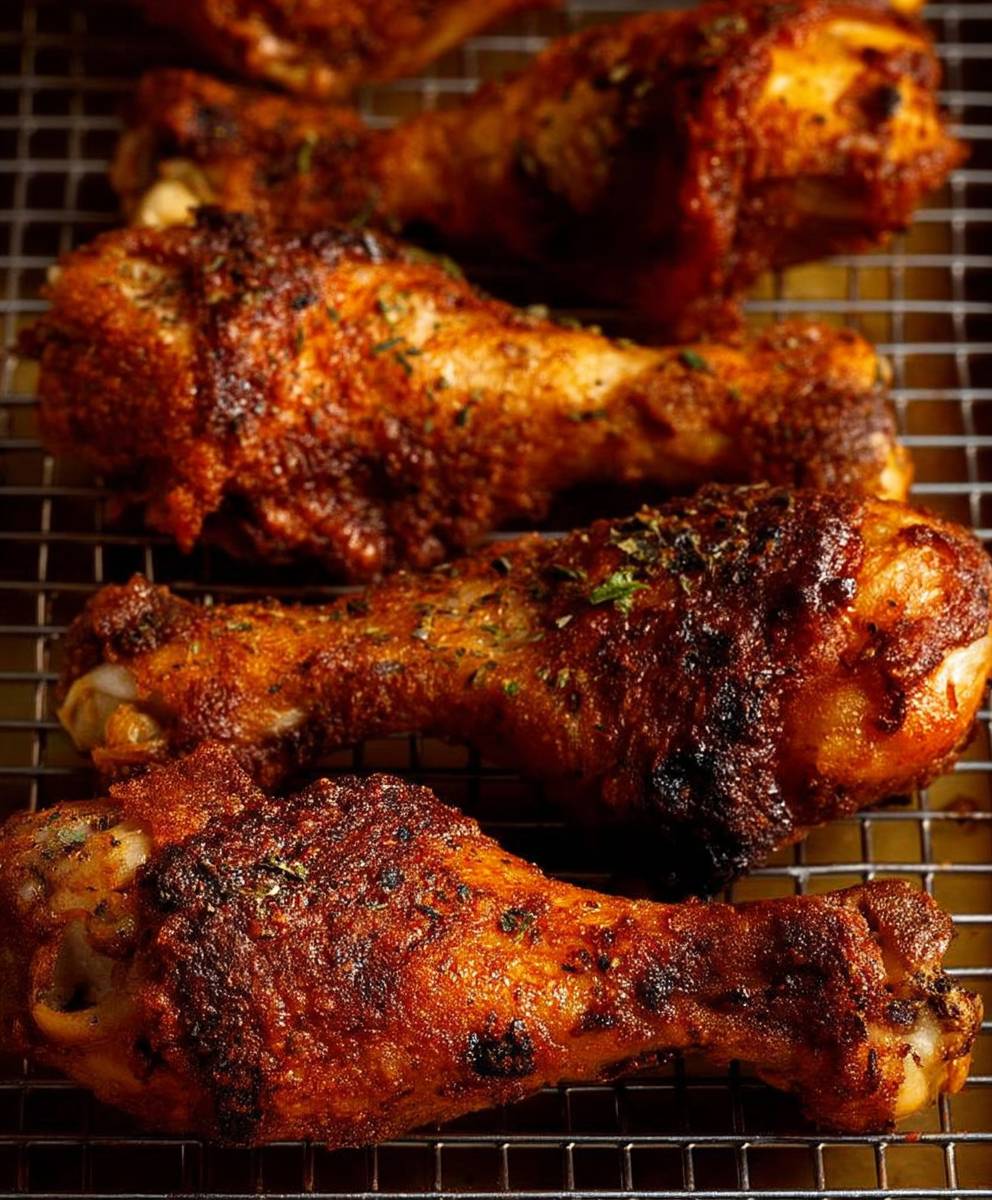
But what makes crispy baked chicken drumsticks so universally loved? It’s the irresistible combination of textures and flavors. The skin, when cooked just right, transforms into a shatteringly crisp shell, giving way to juicy, tender meat underneath. The savory seasoning, infused throughout, creates a symphony of taste that keeps you coming back for more. Plus, let’s be honest, they’re incredibly fun to eat! This recipe offers all of that, but with the added benefit of being baked, making it a healthier and less messy alternative to frying. Get ready to experience chicken drumstick perfection!

Ingredients:
- 12 Chicken Drumsticks (about 3 pounds)
- 1 cup Buttermilk
- 1 tablespoon Hot Sauce (I like Frank’s RedHot, but use your favorite!)
- 1 teaspoon Salt
- 1/2 teaspoon Black Pepper
- 1/2 teaspoon Garlic Powder
- 1/2 teaspoon Onion Powder
- 1/4 teaspoon Paprika
- 2 cups Panko Bread Crumbs
- 1/2 cup All-Purpose Flour
- 1/4 cup Grated Parmesan Cheese
- 2 tablespoons Olive Oil
- Cooking Spray
Marinating the Chicken
Okay, let’s get started! The key to super flavorful and juicy baked chicken drumsticks is a good marinade. This buttermilk marinade not only tenderizes the chicken but also helps the breading adhere beautifully. Trust me, don’t skip this step!
- Prepare the Buttermilk Marinade: In a large bowl, whisk together the buttermilk, hot sauce, salt, pepper, garlic powder, onion powder, and paprika. Make sure everything is well combined. The hot sauce adds a nice little kick, but it’s not overpowering, so don’t be scared!
- Marinate the Chicken: Add the chicken drumsticks to the buttermilk mixture. Use your hands (or tongs) to make sure each drumstick is fully coated in the marinade. This is important for even flavor distribution.
- Refrigerate: Cover the bowl with plastic wrap or transfer the chicken to a resealable plastic bag. Refrigerate for at least 2 hours, or preferably overnight. The longer the chicken marinates, the more flavorful and tender it will be. I usually aim for at least 4 hours if I have the time.
Preparing the Breading
While the chicken is marinating, you can get the breading ready. This is where the magic happens! The combination of panko bread crumbs, flour, and Parmesan cheese creates a crispy, flavorful crust that’s just irresistible.
- Combine Dry Ingredients: In a shallow dish or baking pan, combine the panko bread crumbs, all-purpose flour, and grated Parmesan cheese. Mix well to ensure everything is evenly distributed.
- Season the Breading: Add a pinch of salt, pepper, garlic powder, and onion powder to the breading mixture. This will add another layer of flavor to the chicken. Don’t be shy with the seasonings!
- Drizzle with Olive Oil: Drizzle the olive oil over the breading mixture. Use your fingers to rub the oil into the bread crumbs, creating a slightly moist and clumpy texture. This helps the breading adhere to the chicken and creates a crispier crust.
Breading the Chicken
Now comes the fun part breading the chicken! This can get a little messy, so I recommend using one hand for the wet ingredients (the chicken) and the other hand for the dry ingredients (the breading). This will help prevent your hands from becoming a sticky mess.
- Remove Chicken from Marinade: Remove the chicken drumsticks from the buttermilk marinade. Let any excess marinade drip off. You don’t want the chicken to be dripping wet, but a little moisture is fine.
- Coat in Breading: One at a time, place a drumstick into the breading mixture. Use your hands to press the breading firmly onto the chicken, making sure it’s completely coated on all sides. Don’t be afraid to really pack the breading on there!
- Place on Baking Sheet: Place the breaded drumstick on a baking sheet that has been lightly coated with cooking spray. Repeat with the remaining drumsticks, making sure to leave a little space between each one.
Baking the Chicken
We’re almost there! Baking the chicken is the final step. The key to crispy baked chicken is to bake it at a high temperature and to flip it halfway through cooking. This ensures that the chicken is cooked through and that the breading is evenly browned and crispy.
- Preheat Oven: Preheat your oven to 400°F (200°C). Make sure your oven is fully preheated before you put the chicken in.
- Bake: Place the baking sheet in the preheated oven and bake for 30 minutes.
- Flip and Continue Baking: After 30 minutes, carefully flip the chicken drumsticks over. This will ensure that both sides are evenly browned and crispy.
- Bake for Another 20-30 Minutes: Continue baking for another 20-30 minutes, or until the chicken is cooked through and the internal temperature reaches 165°F (74°C). Use a meat thermometer to check the internal temperature. Insert the thermometer into the thickest part of the drumstick, being careful not to touch the bone.
- Broil for Extra Crispiness (Optional): If you want your chicken to be extra crispy, you can broil it for the last few minutes of cooking. Keep a close eye on it, as it can burn quickly. Broil for 2-3 minutes per side, or until the breading is golden brown and crispy.
- Rest: Remove the baking sheet from the oven and let the chicken rest for 5-10 minutes before serving. This will allow the juices to redistribute, resulting in a more tender and flavorful chicken.
Tips for Extra Crispy Chicken
Want to take your crispy baked chicken drumsticks to the next level? Here are a few extra tips to ensure they’re perfectly crispy every time:
- Use Panko Bread Crumbs: Panko bread crumbs are larger and lighter than regular bread crumbs, which results in a crispier crust.
- Don’t Overcrowd the Baking Sheet: Make sure to leave a little space between each drumstick on the baking sheet. Overcrowding the baking sheet will cause the chicken to steam instead of bake, resulting in a soggy crust.
- Use a Wire Rack: Place a wire rack on top of the baking sheet before placing the chicken on it. This will allow air to circulate around the chicken, resulting in a crispier crust on all sides.
- Pat the Chicken Dry: Before breading the chicken, pat it dry with paper towels. This will help the breading adhere better and prevent it from becoming soggy.
- Double Dip: For an extra thick and crispy crust, you can double dip the chicken in the breading mixture. After the first coating, dip the chicken back into the buttermilk marinade and then back into the breading mixture.
Serving Suggestions
These crispy baked chicken drumsticks are delicious on their own, but they’re even better when served with your favorite sides. Here are a few serving suggestions:
- Mashed Potatoes and Gravy: A classic combination that’s always a crowd-pleaser.
- Coleslaw: The cool, creamy coleslaw provides a nice contrast to the crispy, savory chicken.
- Corn on the Cob: A simple and delicious side that’s perfect for summer.
- Mac and Cheese: Another classic comfort food that pairs perfectly with chicken.
- Green Beans: A healthy and flavorful side that’s easy to make.
Storage and Reheating
If you have any leftover chicken drumsticks (which is unlikely!), you can store them in the refrigerator for up to 3-4 days. To reheat, you can bake them in the oven at 350°F (175°C) for 15-20 minutes, or until heated through. You can also reheat them in the microwave, but they won’t be as crispy.
Enjoy your crispy baked chicken drumsticks! I hope you love them as much as I do!
Conclusion:
And there you have it! These Crispy Baked Chicken Drumsticks are truly a game-changer. Forget greasy, messy frying this recipe delivers all the satisfying crunch you crave, without the extra calories or hassle. I genuinely believe this will become a staple in your weeknight dinner rotation.
Why is this a must-try? Well, beyond the incredible crispiness, it’s the simplicity that really shines. We’re talking minimal ingredients, straightforward instructions, and a cooking process that practically takes care of itself. Plus, the flavor is completely customizable! The base recipe is delicious as is, but feel free to experiment with different spice blends to suit your taste. Think smoky paprika and cayenne for a spicy kick, Italian herbs for a Mediterranean twist, or even a touch of brown sugar for a hint of sweetness. The possibilities are endless!
But the real magic lies in the texture. That perfectly crisp skin, achieved entirely in the oven, is something you have to experience to believe. It’s the kind of satisfying crunch that makes you want to close your eyes and savor every single bite. And the juicy, tender chicken underneath? Pure perfection.
Now, let’s talk serving suggestions. These drumsticks are incredibly versatile. For a classic pairing, serve them with creamy mashed potatoes and your favorite steamed vegetable, like broccoli or green beans. A simple side salad also works wonders. Or, for a more casual meal, try them with crispy fries and coleslaw. They’re also fantastic cold, making them perfect for picnics or lunchboxes.
Looking for variations? Consider marinating the drumsticks before baking for even more intense flavor. A simple marinade of lemon juice, garlic, and herbs would be divine. You could also try coating them in panko breadcrumbs instead of regular breadcrumbs for an extra-crispy texture. Another fun idea is to toss the baked drumsticks in your favorite barbecue sauce for a sticky, sweet, and savory treat.
Don’t be afraid to get creative and make this recipe your own! That’s the beauty of cooking, after all. It’s all about experimenting and finding what you love.
I’m so confident that you’re going to love these Crispy Baked Chicken Drumsticks that I urge you to try them as soon as possible. Seriously, you won’t regret it! They’re the perfect solution for a quick, easy, and delicious weeknight meal.
Once you’ve given them a try, I would absolutely love to hear about your experience. Did you make any modifications to the recipe? What were your favorite serving suggestions? What did your family think? Share your thoughts and photos in the comments below! Your feedback is invaluable and helps me to continue creating recipes that you’ll love.
So, go ahead, grab some chicken drumsticks, preheat your oven, and get ready to enjoy the crispiest, most delicious baked chicken you’ve ever had. Happy cooking! I can’t wait to hear all about your culinary adventures. Let me know if you have any questions, and I’ll do my best to help. Enjoy!
Crispy Baked Chicken Drumsticks: The Ultimate Recipe for Juicy Perfection
Crispy baked chicken drumsticks with a flavorful buttermilk marinade and panko bread crumb coating. A healthier and delicious alternative to fried chicken!
Ingredients
- 12 Chicken Drumsticks (about 3 pounds)
- 1 cup Buttermilk
- 1 tablespoon Hot Sauce (Frank’s RedHot recommended)
- 1 teaspoon Salt
- 1/2 teaspoon Black Pepper
- 1/2 teaspoon Garlic Powder
- 1/2 teaspoon Onion Powder
- 1/4 teaspoon Paprika
- 2 cups Panko Bread Crumbs
- 1/2 cup All-Purpose Flour
- 1/4 cup Grated Parmesan Cheese
- 2 tablespoons Olive Oil
- Cooking Spray
Instructions
- Prepare the Buttermilk Marinade: In a large bowl, whisk together the buttermilk, hot sauce, salt, pepper, garlic powder, onion powder, and paprika.
- Marinate the Chicken: Add the chicken drumsticks to the buttermilk mixture, ensuring each drumstick is fully coated.
- Refrigerate: Cover and refrigerate for at least 2 hours, or preferably overnight (4+ hours recommended).
- Combine Dry Ingredients: In a shallow dish, combine the panko bread crumbs, all-purpose flour, and grated Parmesan cheese.
- Season the Breading: Add a pinch of salt, pepper, garlic powder, and onion powder to the breading mixture.
- Drizzle with Olive Oil: Drizzle the olive oil over the breading mixture and rub it in with your fingers to create a slightly moist texture.
- Remove Chicken from Marinade: Remove the chicken drumsticks from the buttermilk marinade, letting excess drip off.
- Coat in Breading: One at a time, place a drumstick into the breading mixture and press firmly to coat completely.
- Place on Baking Sheet: Place the breaded drumstick on a baking sheet lightly coated with cooking spray. Repeat with remaining drumsticks, leaving space between each.
- Preheat Oven: Preheat your oven to 400°F (200°C).
- Bake: Place the baking sheet in the preheated oven and bake for 30 minutes.
- Flip and Continue Baking: Carefully flip the chicken drumsticks over.
- Bake for Another 20-30 Minutes: Continue baking for another 20-30 minutes, or until the chicken is cooked through and the internal temperature reaches 165°F (74°C).
- Broil for Extra Crispiness (Optional): Broil for 2-3 minutes per side, or until the breading is golden brown and crispy. Watch carefully to prevent burning.
- Rest: Remove the baking sheet from the oven and let the chicken rest for 5-10 minutes before serving.
Notes
- Marinating the chicken for longer results in more flavorful and tender chicken.
- Using panko bread crumbs is key for extra crispiness.
- Don’t overcrowd the baking sheet to ensure even baking.
- Use a meat thermometer to ensure the chicken is cooked through.
- For an extra thick crust, double dip the chicken in the buttermilk and breading.
- Serve with mashed potatoes and gravy, coleslaw, corn on the cob, mac and cheese, or green beans.
- Store leftovers in the refrigerator for up to 3-4 days. Reheat in the oven for best results.