
Crispy Katsu Chicken, a culinary delight that transcends borders, is about to become your new favorite weeknight dinner! Imagine sinking your teeth into a perfectly golden-brown, irresistibly crunchy exterior, giving way to tender, juicy chicken within. Are you drooling yet? This isn’t just fried chicken; it’s an experience.
Katsu, derived from the English word “cutlet,” has a fascinating history in Japan. Introduced during the Meiji era as a Western-inspired dish, it quickly evolved into a beloved staple, adapted with Japanese techniques and flavors. Tonkatsu, the pork version, is perhaps the most well-known, but chicken katsu offers a lighter, equally satisfying alternative. It’s a testament to the beauty of culinary fusion, where East meets West in a symphony of taste and texture.
What makes Crispy Katsu Chicken so universally appealing? It’s the perfect combination of textures the satisfying crunch from the panko breadcrumbs, contrasted with the moist, flavorful chicken. It’s also incredibly versatile; enjoy it on its own with a tangy katsu sauce, nestled in a fluffy sandwich, or served atop a bed of rice with a vibrant salad. Plus, with my easy-to-follow recipe, you can achieve restaurant-quality katsu in the comfort of your own kitchen. Get ready to impress your family and friends with this incredibly delicious and surprisingly simple dish!

Ingredients:
- For the Chicken:
- 4 boneless, skinless chicken breasts (about 6-8 ounces each)
- 1 cup all-purpose flour
- 2 large eggs, beaten
- 2 cups panko breadcrumbs
- 1 teaspoon salt
- 1/2 teaspoon black pepper
- 1/2 teaspoon garlic powder
- 1/4 teaspoon paprika
- Vegetable oil, for frying (about 3-4 cups)
- For the Katsu Sauce:
- 1/2 cup ketchup
- 2 tablespoons Worcestershire sauce
- 1 tablespoon soy sauce
- 1 tablespoon oyster sauce (optional, but recommended)
- 1 tablespoon honey or brown sugar
- 1 teaspoon Dijon mustard
- 1/4 teaspoon ground ginger
- 1/4 teaspoon garlic powder
- Pinch of black pepper
- For Serving (Optional):
- Cooked white rice or brown rice
- Shredded cabbage
- Lemon wedges
- Sesame seeds
- Green onions, thinly sliced
Preparing the Chicken
- Pound the Chicken: This is a crucial step for achieving even cooking and tenderizing the chicken. Place each chicken breast between two sheets of plastic wrap or in a resealable plastic bag. Use a meat mallet or rolling pin to pound the chicken to an even thickness of about 1/4 to 1/2 inch. This ensures that the chicken cooks quickly and evenly, preventing it from drying out. Don’t over-pound, as you don’t want to tear the chicken.
- Season the Chicken: In a small bowl, combine the salt, pepper, garlic powder, and paprika. Sprinkle this mixture evenly over both sides of the pounded chicken breasts. This simple seasoning blend adds a lot of flavor to the chicken and complements the katsu sauce beautifully. Make sure to gently press the seasoning into the chicken so it adheres well.
- Set up the Breading Station: Prepare three shallow dishes. In the first dish, place the all-purpose flour. In the second dish, whisk the eggs until they are well combined. In the third dish, place the panko breadcrumbs. Make sure the panko breadcrumbs are spread out evenly in the dish. Using panko breadcrumbs is key to achieving that signature crispy texture of katsu.
- Bread the Chicken: Now comes the fun part! Take one chicken breast and dredge it thoroughly in the flour, making sure to coat all sides. Shake off any excess flour. Next, dip the floured chicken into the beaten eggs, ensuring it’s completely coated. Finally, transfer the egg-coated chicken to the panko breadcrumbs and press the breadcrumbs firmly onto both sides, making sure the chicken is completely covered. Repeat this process with the remaining chicken breasts.
- Rest the Breaded Chicken: Place the breaded chicken breasts on a wire rack and let them rest for about 10-15 minutes. This allows the breadcrumbs to adhere better to the chicken, preventing them from falling off during frying. This step is often overlooked, but it makes a significant difference in the final result.
Making the Katsu Sauce
- Combine the Ingredients: In a small saucepan, combine the ketchup, Worcestershire sauce, soy sauce, oyster sauce (if using), honey or brown sugar, Dijon mustard, ground ginger, garlic powder, and black pepper.
- Simmer the Sauce: Place the saucepan over medium heat and bring the sauce to a gentle simmer. Reduce the heat to low and let it simmer for about 5-7 minutes, stirring occasionally, until the sauce has thickened slightly and the flavors have melded together.
- Adjust the Flavor: Taste the sauce and adjust the seasonings as needed. If you prefer a sweeter sauce, add a little more honey or brown sugar. If you want a tangier sauce, add a splash of rice vinegar or a squeeze of lemon juice.
- Keep Warm: Once the sauce is ready, remove it from the heat and keep it warm until serving. You can also make the sauce ahead of time and store it in the refrigerator for up to a week. Just reheat it gently before serving.
Frying the Chicken
- Heat the Oil: Pour the vegetable oil into a large, deep skillet or pot. Heat the oil over medium-high heat until it reaches a temperature of 325-350°F (160-175°C). You can use a deep-fry thermometer to monitor the oil temperature. If you don’t have a thermometer, you can test the oil by dropping a small piece of breadcrumb into it. If the breadcrumb sizzles and turns golden brown in about 30 seconds, the oil is ready.
- Fry the Chicken: Carefully place the breaded chicken breasts into the hot oil, being careful not to overcrowd the pan. Fry the chicken for about 3-4 minutes per side, or until it is golden brown and cooked through. The internal temperature of the chicken should reach 165°F (74°C).
- Drain the Chicken: Once the chicken is cooked, remove it from the oil and place it on a wire rack lined with paper towels to drain off any excess oil. This helps to keep the chicken crispy.
- Repeat: Repeat the frying process with the remaining chicken breasts, making sure to maintain the oil temperature. If the oil temperature drops too low, the chicken will absorb more oil and become greasy.
Serving the Crispy Katsu Chicken
- Slice the Chicken: Using a sharp knife, slice the katsu chicken breasts into 1-inch thick strips. This makes it easier to eat and also looks more appealing.
- Assemble the Plate: Place a serving of cooked white rice or brown rice on a plate. Arrange the sliced katsu chicken next to the rice. Add a generous portion of shredded cabbage on the side.
- Drizzle with Sauce: Drizzle the katsu sauce generously over the chicken. You can also serve the sauce on the side for dipping.
- Garnish (Optional): Garnish the plate with lemon wedges, sesame seeds, and thinly sliced green onions. These garnishes add a pop of color and flavor to the dish.
- Serve Immediately: Serve the crispy katsu chicken immediately while it’s still hot and crispy. Enjoy!
Conclusion:
So there you have it! This Crispy Katsu Chicken recipe isn’t just another fried chicken dish; it’s an experience. The perfectly golden-brown, crunchy exterior giving way to juicy, tender chicken is a symphony of textures and flavors that will have you coming back for more. I truly believe this will become a staple in your kitchen, a go-to meal for weeknights or a crowd-pleasing centerpiece for weekend gatherings.
Why is this a must-try? Well, beyond the incredible taste, it’s surprisingly simple to make. I’ve broken down each step to ensure even beginner cooks can achieve restaurant-quality results. Plus, the versatility of this dish is unmatched. Think beyond just serving it with rice and shredded cabbage (though that’s a classic for a reason!).
Serving Suggestions and Variations:
Let’s talk about some exciting ways to enjoy your homemade Katsu! For a classic Japanese experience, serve it with steamed rice, a generous drizzle of Tonkatsu sauce, and a side of finely shredded cabbage. A dollop of Japanese mayonnaise adds a creamy richness that complements the crispy chicken beautifully. Don’t forget a sprinkle of toasted sesame seeds for added flavor and visual appeal!
But don’t feel limited by tradition! This Crispy Katsu Chicken is fantastic in sandwiches and wraps. Imagine it nestled in a soft brioche bun with lettuce, tomato, and a spicy mayo. Or, try slicing it thinly and adding it to a vibrant salad with a tangy ginger dressing. For a fun twist, use it as a topping for ramen or udon noodles, adding a satisfying crunch to your favorite noodle soup.
Feeling adventurous? Experiment with different seasonings in the breadcrumb mixture. A pinch of smoked paprika adds a smoky depth, while a dash of cayenne pepper brings a welcome kick. You could even incorporate some dried herbs like thyme or rosemary for a more savory profile. For a healthier option, consider baking the chicken instead of frying it. While it won’t be quite as crispy, it’s still a delicious and satisfying meal.
Another variation I love is using different cuts of chicken. While boneless, skinless chicken breasts are the most common choice, you can also use chicken thighs for a richer, more flavorful result. Just be sure to adjust the cooking time accordingly.
I’m so excited for you to try this recipe and discover your own favorite ways to enjoy it. I’ve poured my heart into perfecting this recipe, and I’m confident that you’ll love it as much as I do. The key is to not be intimidated by the frying process. Just follow the instructions carefully, and you’ll be rewarded with the most amazing Crispy Katsu Chicken you’ve ever tasted.
Now it’s your turn! Head to the kitchen, gather your ingredients, and get ready to create something truly special. And most importantly, don’t forget to share your experience! I’d love to hear how your Katsu turned out, what variations you tried, and what your favorite serving suggestions are. Leave a comment below, tag me in your photos on social media, and let’s celebrate the joy of cooking together. Happy cooking!
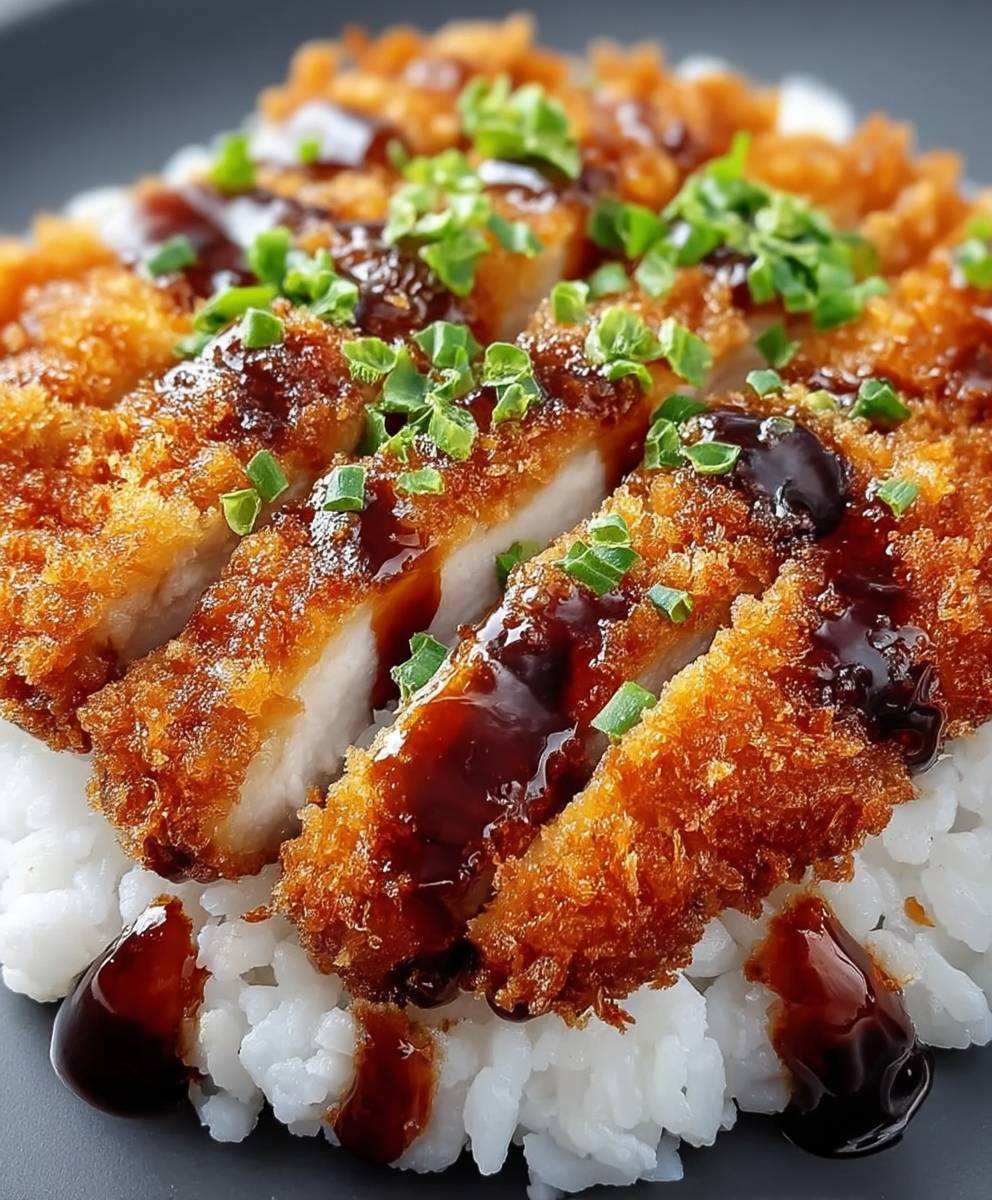
Crispy Katsu Chicken: The Ultimate Guide to Perfect Katsu
Crispy and flavorful Chicken Katsu, featuring tender chicken breasts coated in panko breadcrumbs and fried to golden perfection. Served with a tangy homemade Katsu sauce, this Japanese-inspired dish is a guaranteed crowd-pleaser.
Ingredients
- 4 boneless, skinless chicken breasts (about 6-8 ounces each)
- 1 cup all-purpose flour
- 2 large eggs, beaten
- 2 cups panko breadcrumbs
- 1 teaspoon salt
- 1/2 teaspoon black pepper
- 1/2 teaspoon garlic powder
- 1/4 teaspoon paprika
- Vegetable oil, for frying (about 3-4 cups)
- 1/2 cup ketchup
- 2 tablespoons Worcestershire sauce
- 1 tablespoon soy sauce
- 1 tablespoon oyster sauce (optional, but recommended)
- 1 tablespoon honey or brown sugar
- 1 teaspoon Dijon mustard
- 1/4 teaspoon ground ginger
- 1/4 teaspoon garlic powder
- Pinch of black pepper
- Cooked white rice or brown rice
- Shredded cabbage
- Lemon wedges
- Sesame seeds
- Green onions, thinly sliced
Instructions
- Pound the Chicken: Place each chicken breast between two sheets of plastic wrap or in a resealable plastic bag. Use a meat mallet or rolling pin to pound the chicken to an even thickness of about 1/4 to 1/2 inch.
- Season the Chicken: In a small bowl, combine the salt, pepper, garlic powder, and paprika. Sprinkle this mixture evenly over both sides of the pounded chicken breasts.
- Set up the Breading Station: Prepare three shallow dishes. In the first dish, place the all-purpose flour. In the second dish, whisk the eggs until they are well combined. In the third dish, place the panko breadcrumbs.
- Bread the Chicken: Take one chicken breast and dredge it thoroughly in the flour, making sure to coat all sides. Shake off any excess flour. Next, dip the floured chicken into the beaten eggs, ensuring it’s completely coated. Finally, transfer the egg-coated chicken to the panko breadcrumbs and press the breadcrumbs firmly onto both sides, making sure the chicken is completely covered. Repeat this process with the remaining chicken breasts.
- Rest the Breaded Chicken: Place the breaded chicken breasts on a wire rack and let them rest for about 10-15 minutes.
- Make the Katsu Sauce: In a small saucepan, combine the ketchup, Worcestershire sauce, soy sauce, oyster sauce (if using), honey or brown sugar, Dijon mustard, ground ginger, garlic powder, and black pepper.
- Simmer the Sauce: Place the saucepan over medium heat and bring the sauce to a gentle simmer. Reduce the heat to low and let it simmer for about 5-7 minutes, stirring occasionally, until the sauce has thickened slightly and the flavors have melded together.
- Adjust the Flavor: Taste the sauce and adjust the seasonings as needed. If you prefer a sweeter sauce, add a little more honey or brown sugar. If you want a tangier sauce, add a splash of rice vinegar or a squeeze of lemon juice. Keep warm.
- Heat the Oil: Pour the vegetable oil into a large, deep skillet or pot. Heat the oil over medium-high heat until it reaches a temperature of 325-350°F (160-175°C).
- Fry the Chicken: Carefully place the breaded chicken breasts into the hot oil, being careful not to overcrowd the pan. Fry the chicken for about 3-4 minutes per side, or until it is golden brown and cooked through. The internal temperature of the chicken should reach 165°F (74°C).
- Drain the Chicken: Once the chicken is cooked, remove it from the oil and place it on a wire rack lined with paper towels to drain off any excess oil.
- Repeat: Repeat the frying process with the remaining chicken breasts, making sure to maintain the oil temperature.
- Slice the Chicken: Using a sharp knife, slice the katsu chicken breasts into 1-inch thick strips.
- Assemble the Plate: Place a serving of cooked white rice or brown rice on a plate. Arrange the sliced katsu chicken next to the rice. Add a generous portion of shredded cabbage on the side.
- Drizzle with Sauce: Drizzle the katsu sauce generously over the chicken. You can also serve the sauce on the side for dipping.
- Garnish (Optional): Garnish the plate with lemon wedges, sesame seeds, and thinly sliced green onions.
- Serve Immediately: Serve the crispy katsu chicken immediately while it’s still hot and crispy. Enjoy!
Notes
- Pounding the chicken ensures even cooking and tenderizes the meat.
- Resting the breaded chicken helps the breadcrumbs adhere better during frying.
- Use a deep-fry thermometer to monitor the oil temperature for optimal results.
- Don’t overcrowd the pan when frying the chicken to maintain the oil temperature.
- The oyster sauce in the katsu sauce is optional but adds a depth of flavor.
- Katsu sauce can be made ahead of time and stored in the refrigerator for up to a week. Reheat gently before serving.