
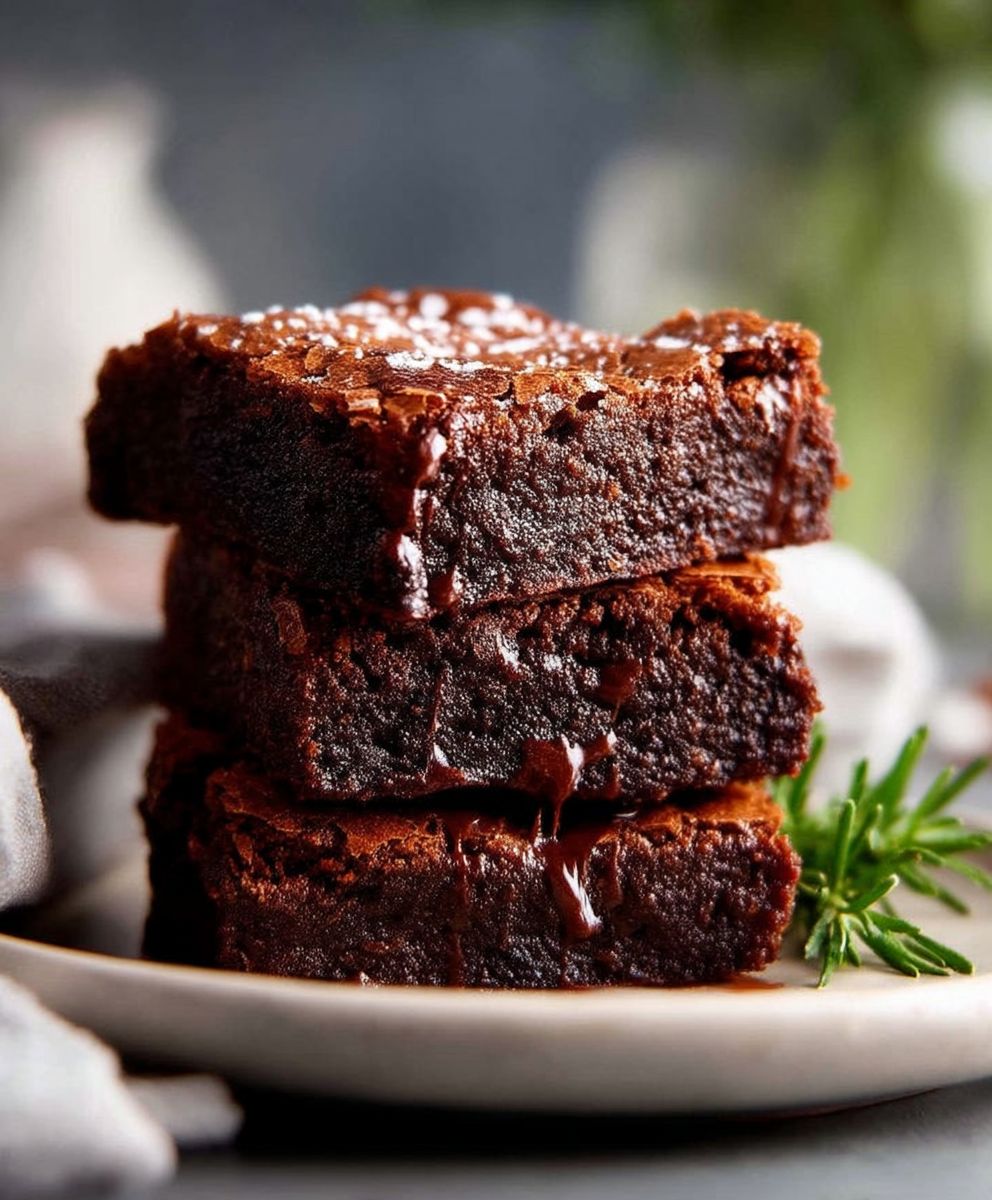
Flourless Chocolate Brownies: Prepare to indulge in a decadent treat that defies expectations! Imagine sinking your teeth into a fudgy, intensely chocolatey brownie, so rich and satisfying you’d never guess it’s made without flour. This isn’t just a dessert; it’s a chocolate lover’s dream come true.
While the exact origins of flourless brownies are debated, they’ve gained immense popularity in recent years, particularly among those seeking gluten-free options or simply craving a more intense chocolate experience. They offer a delightful twist on the classic brownie, showcasing the pure, unadulterated flavor of cocoa.
What makes these Flourless Chocolate Brownies so irresistible? It’s the perfect combination of a melt-in-your-mouth texture, a deep, dark chocolate flavor, and the sheer convenience of a recipe that comes together quickly with minimal ingredients. They’re incredibly easy to make, perfect for satisfying a sudden chocolate craving, and guaranteed to impress even the most discerning palates. Get ready to experience brownie bliss!

Ingredients:
- 1 cup (2 sticks) unsalted butter, melted
- 2 cups granulated sugar
- 1 cup unsweetened cocoa powder
- 1 teaspoon salt
- 1 teaspoon baking powder
- 1 tablespoon vanilla extract
- 4 large eggs
- 1 cup chocolate chips (semi-sweet or dark, your preference!)
- Optional: 1/2 cup chopped walnuts or pecans
Preparing the Brownie Batter:
- Get Ready to Melt! First things first, preheat your oven to 350°F (175°C). While the oven is heating up, grease and flour a 9×13 inch baking pan. This will prevent the brownies from sticking and make them easy to remove later. I like to use parchment paper lining for extra insurance it makes cleanup a breeze!
- Melt the Butter: In a large, microwave-safe bowl, melt the butter. You can do this in 30-second intervals, stirring in between, until it’s completely melted. Be careful not to overheat it! Alternatively, you can melt the butter in a saucepan over low heat on the stovetop.
- Sugar and Cocoa Power: Once the butter is melted, whisk in the granulated sugar until it’s well combined and the mixture is smooth. Then, add the unsweetened cocoa powder, salt, and baking powder. Whisk again until everything is thoroughly incorporated. The mixture will be quite thick at this point, don’t worry, that’s normal!
- Vanilla and Eggs: Now for the good stuff! Stir in the vanilla extract. Then, add the eggs one at a time, mixing well after each addition. It’s important to mix well after each egg to ensure they are fully incorporated and help create that fudgy texture we all love. Don’t overmix at this stage, just until the eggs disappear into the batter.
- Chocolate Chips (and Nuts!): Finally, fold in the chocolate chips (and chopped nuts, if you’re using them). I like to reserve a few chocolate chips to sprinkle on top before baking for a prettier presentation. Gently fold them in until they are evenly distributed throughout the batter.
Baking the Brownies:
- Pour into the Pan: Pour the brownie batter into the prepared baking pan and spread it evenly. If you reserved some chocolate chips, sprinkle them on top now.
- Baking Time! Bake in the preheated oven for 25-30 minutes, or until a toothpick inserted into the center comes out with moist crumbs attached. Be careful not to overbake them, as this will make them dry. The brownies should be set around the edges but still slightly soft in the center.
- Cooling is Key: Once the brownies are done, remove them from the oven and let them cool completely in the pan before cutting. This is crucial! If you try to cut them while they’re still warm, they will be too soft and messy. I know it’s tempting, but trust me, the wait is worth it. I usually let them cool for at least an hour, or even longer if I have the patience.
Cutting and Serving:
- Cutting Time: Once the brownies are completely cool, you can cut them into squares. I like to use a sharp knife and wipe it clean between each cut for neat, even squares. The size of the squares is up to you go for smaller squares if you want to make them last longer, or larger squares if you’re feeling indulgent!
- Serving Suggestions: These flourless chocolate brownies are delicious on their own, but they’re even better with a scoop of vanilla ice cream, a dollop of whipped cream, or a drizzle of chocolate sauce. You can also dust them with powdered sugar for a pretty presentation. They’re perfect for a party, a potluck, or just a cozy night in.
- Storage: Store leftover brownies in an airtight container at room temperature for up to 3 days, or in the refrigerator for up to a week. You can also freeze them for longer storage. Just wrap them individually in plastic wrap and then place them in a freezer bag. They will keep in the freezer for up to 2 months. To thaw, simply let them sit at room temperature for a few hours.
Tips and Tricks for Perfect Flourless Brownies:
- Use High-Quality Cocoa Powder: The quality of your cocoa powder will greatly affect the flavor of your brownies. I recommend using a Dutch-processed cocoa powder for a richer, more intense chocolate flavor.
- Don’t Overmix the Batter: Overmixing the batter can result in tough brownies. Mix just until the ingredients are combined.
- Adjust Baking Time as Needed: Baking times may vary depending on your oven. Keep an eye on the brownies and adjust the baking time as needed.
- Let Them Cool Completely: As I mentioned before, letting the brownies cool completely before cutting is essential for clean, even squares.
- Add a Pinch of Espresso Powder: For an even deeper chocolate flavor, add a pinch of espresso powder to the batter.
- Experiment with Toppings: Get creative with your toppings! Try adding different types of chocolate chips, nuts, or even dried fruit.
- Make Them Gluten-Free: These brownies are naturally gluten-free since they don’t contain any flour. Just be sure to use gluten-free chocolate chips if you are concerned about cross-contamination.
- For Extra Fudgy Brownies: Reduce the baking time by a few minutes. The center should still be slightly soft when you remove them from the oven.
- For Cakey Brownies: Increase the baking powder by 1/4 teaspoon. This will give the brownies a slightly lighter, more cake-like texture.
- Don’t Be Afraid to Experiment: The best way to find your perfect brownie recipe is to experiment! Try different variations and see what you like best.
Troubleshooting:
- Brownies are too dry: You may have overbaked them. Be sure to check them frequently and remove them from the oven when a toothpick inserted into the center comes out with moist crumbs attached.
- Brownies are too gooey: You may have underbaked them. Bake them for a few more minutes, or until the center is set.
- Brownies are too tough: You may have overmixed the batter. Mix just until the ingredients are combined.
- Brownies are sticking to the pan: Be sure to grease and flour the pan thoroughly, or use parchment paper lining.
- Brownies are not rising: Make sure your baking powder is fresh.
Nutritional Information (Approximate):
Please note that the nutritional information is an estimate and may vary depending on the specific ingredients used and portion sizes.
- Calories: Approximately 300-400 per brownie
- Fat: 20-30g
- Saturated Fat: 12-18g
- Cholesterol: 70-90mg
- Sodium: 100-150mg
- Carbohydrates: 30-40g
- Sugar: 25-35g
- Protein: 3-5g
Enjoy your delicious flourless chocolate brownies! I hope you love them as much as I do!
Conclusion:
And there you have it! These Flourless Chocolate Brownies are truly a game-changer. I know, I know, I might be a little biased, but trust me on this one. The fudgy texture, the intense chocolate flavor, and the sheer simplicity of the recipe make them an absolute must-try for anyone who loves a good brownie and who doesn’t?
What makes these brownies so special is that they deliver all the indulgence of a classic brownie without any of the gluten. This makes them perfect for those with dietary restrictions or anyone simply looking for a slightly healthier (yes, I said healthier!) way to satisfy their chocolate cravings. But don’t let the “flourless” part fool you; these brownies are anything but lacking in flavor or texture. They are rich, decadent, and incredibly satisfying.
Beyond the amazing taste and texture, the ease of preparation is another reason why you absolutely need to add this recipe to your repertoire. With just a handful of ingredients and a few simple steps, you can whip up a batch of these brownies in no time. Seriously, it’s so easy that even a novice baker can achieve brownie perfection. And let’s be honest, who doesn’t love a recipe that delivers impressive results with minimal effort?
Now, let’s talk about serving suggestions and variations because the possibilities are endless! For a classic presentation, simply cut the brownies into squares and serve them warm with a scoop of vanilla ice cream. The contrast between the warm, fudgy brownie and the cold, creamy ice cream is simply divine. You could also dust them with a little powdered sugar for an elegant touch.
But why stop there? Get creative and experiment with different toppings and mix-ins. Add a handful of chopped walnuts or pecans to the batter for a nutty crunch. Swirl in some peanut butter for a Reese’s-inspired treat. Or, for a truly decadent experience, top the baked brownies with a layer of chocolate ganache.
Another fun variation is to add a pinch of sea salt to the batter. The salt enhances the chocolate flavor and creates a delightful sweet-and-salty combination. You could also experiment with different types of chocolate. Use dark chocolate for a more intense flavor, or milk chocolate for a sweeter, more classic brownie taste.
These Flourless Chocolate Brownies are also fantastic served with a dollop of whipped cream and fresh berries. The tartness of the berries cuts through the richness of the brownie, creating a perfectly balanced dessert. And for a truly indulgent experience, try pairing them with a glass of red wine or a cup of strong coffee.
I truly believe that this recipe will become a staple in your kitchen. It’s perfect for satisfying your own sweet tooth, impressing guests at a dinner party, or bringing a smile to someone’s face with a homemade treat.
So, what are you waiting for? Gather your ingredients, preheat your oven, and get ready to experience the magic of these Flourless Chocolate Brownies. I promise you won’t be disappointed.
And most importantly, I want to hear about your experience! Once you’ve tried the recipe, please come back and leave a comment below. Let me know what you thought, what variations you tried, and any tips or tricks you discovered along the way. I love hearing from you and seeing your creations. Happy baking! I’m confident you’ll find this recipe for Flourless Chocolate Brownies as rewarding as I do.
Flourless Chocolate Brownies: The Ultimate Guide to Fudgy Perfection
Rich, decadent, intensely chocolatey flourless brownies. Easy to make, perfect for any occasion!
Ingredients
- 1 cup (2 sticks) unsalted butter, melted
- 2 cups granulated sugar
- 1 cup unsweetened cocoa powder
- 1 teaspoon salt
- 1 teaspoon baking powder
- 1 tablespoon vanilla extract
- 4 large eggs
- 1 cup chocolate chips (semi-sweet or dark, your preference!)
- Optional: 1/2 cup chopped walnuts or pecans
Instructions
- Preheat and Prep: Preheat your oven to 350°F (175°C). Grease and flour a 9×13 inch baking pan. Consider lining with parchment paper for easy removal.
- Melt Butter: In a large, microwave-safe bowl, melt the butter in 30-second intervals, stirring in between, until completely melted. Alternatively, melt in a saucepan over low heat.
- Combine Dry Ingredients: Whisk in the granulated sugar into the melted butter until smooth. Add the unsweetened cocoa powder, salt, and baking powder. Whisk until thoroughly incorporated.
- Add Vanilla and Eggs: Stir in the vanilla extract. Add the eggs one at a time, mixing well after each addition. Mix until just combined; do not overmix.
- Fold in Chocolate Chips (and Nuts): Fold in the chocolate chips (and chopped nuts, if using). Reserve some chocolate chips to sprinkle on top before baking, if desired.
- Pour and Bake: Pour the batter into the prepared pan and spread evenly. Sprinkle reserved chocolate chips on top, if using.
- Bake: Bake in the preheated oven for 25-30 minutes, or until a toothpick inserted into the center comes out with moist crumbs attached. Do not overbake.
- Cool Completely: Let the brownies cool completely in the pan before cutting (at least 1 hour).
- Cut and Serve: Cut into squares. Serve plain, with vanilla ice cream, whipped cream, or chocolate sauce.
- Storage: Store leftover brownies in an airtight container at room temperature for up to 3 days, or in the refrigerator for up to a week. Freeze for up to 2 months.
Notes
- Use high-quality cocoa powder for the best flavor (Dutch-processed recommended).
- Don’t overmix the batter.
- Adjust baking time as needed based on your oven.
- Cool completely before cutting for clean squares.
- Add a pinch of espresso powder for a deeper chocolate flavor.
- Experiment with different toppings.
- These brownies are naturally gluten-free.
- For extra fudgy brownies, reduce baking time slightly.
- For cakey brownies, increase baking powder by 1/4 teaspoon.