
French bread rolls are a delightful addition to any meal, offering a perfect balance of crusty exterior and soft, airy interior. These rolls are not just a staple in French cuisine; they have a rich history that dates back centuries, originating from the artisanal baking traditions of France. Each bite transports you to a quaint Parisian café, where the aroma of freshly baked bread fills the air.
People adore French bread rolls for their versatility and convenience. Whether served alongside a hearty soup, used to make a delicious sandwich, or enjoyed simply with butter, these rolls elevate any dining experience. Their delightful texture and subtle flavor make them a favorite among both home cooks and professional chefs alike. Join us as we explore the art of making these exquisite rolls, ensuring that you can bring a taste of France into your own kitchen.

Ingredients:
- 4 cups all-purpose flour
- 1 ½ cups warm water (110°F to 115°F)
- 2 teaspoons active dry yeast
- 2 teaspoons salt
- 1 tablespoon sugar
- 2 tablespoons olive oil (optional, for added flavor)
- 1 egg (for egg wash, optional)
- Coarse sea salt (for sprinkling on top, optional)
Preparing the Dough
- In a small bowl, combine the warm water, sugar, and active dry yeast. Stir gently and let it sit for about 5-10 minutes until it becomes frothy. This indicates that the yeast is active.
- In a large mixing bowl, combine the flour and salt. Mix well to ensure the salt is evenly distributed throughout the flour.
- Once the yeast mixture is frothy, pour it into the bowl with the flour and salt. If you are using olive oil, add it at this stage as well.
- Using a wooden spoon or your hands, mix the ingredients until they come together to form a shaggy dough. It should be slightly sticky but manageable.
- Transfer the dough onto a lightly floured surface. Knead the dough for about 8-10 minutes until it becomes smooth and elastic. If the dough is too sticky, sprinkle a little more flour as needed, but be careful not to add too much.
First Rise
- Shape the kneaded dough into a ball and place it in a lightly greased bowl. Cover the bowl with a clean kitchen towel or plastic wrap.
- Let the dough rise in a warm, draft-free area for about 1 to 1.5 hours, or until it has doubled in size. This is the first rise, and it is crucial for developing the bread’s texture.
Shaping the Rolls
- Once the dough has risen, punch it down gently to release the air. Turn it out onto a floured surface.
- Divide the dough into 12 equal pieces using a bench scraper or a sharp knife. Each piece should weigh about 3-4 ounces.
- To shape each piece into a roll, take one piece of dough and flatten it slightly. Fold the edges towards the center to create a round shape. Then, flip it over so the seam side is down and roll it gently on the surface to create a smooth ball.
- Repeat this process for all pieces of dough, placing the shaped rolls on a baking sheet lined with parchment paper, leaving enough space between each roll for expansion.
Second Rise
- Cover the shaped rolls with a kitchen towel and let them rise for another 30-45 minutes, or until they have puffed up and are nearly doubled in size.
- While the rolls are rising, preheat your oven to 375°F (190°C). This ensures that the rolls will bake evenly and develop a nice crust.
Preparing for Baking
- If you want a shiny crust, beat the egg in a small bowl and brush it over the tops of the rolls using a pastry brush. This step is optional but adds a beautiful golden color.
- For added texture and flavor, sprinkle coarse sea salt over the tops of the rolls before baking.
Baking the Rolls
- Place the baking sheet in the preheated oven and bake for 20-25 minutes, or until the rolls are golden brown and sound hollow when tapped on the bottom.
- For an extra crispy crust, you can place a small oven-safe dish filled with water on the bottom rack of the oven while baking. This creates steam, which helps develop a crusty exterior.
- Once baked, remove the rolls from the oven and let them cool on a wire rack for about 10 minutes before serving. This cooling period allows the steam to escape and prevents the rolls from becoming soggy.
Serving Suggestions
- These French bread rolls
Conclusion:
In summary, these French Bread Rolls are a must-try for anyone looking to elevate their baking game and impress family and friends with a delightful homemade treat. Their golden crust and soft, airy interior make them the perfect accompaniment to any meal, whether you’re serving them alongside a hearty soup, a fresh salad, or as the base for a delicious sandwich. You can also experiment with variations by adding herbs, cheese, or even garlic for an extra burst of flavor. Don’t hesitate to get creative with your serving suggestionstry them warm with a pat of butter, or use them to soak up your favorite sauces. The possibilities are endless! We encourage you to give this recipe a go and share your experience with us. Whether you stick to the classic version or put your own spin on it, we would love to hear how your French Bread Rolls turn out. Happy baking! Print
French Bread Rolls: The Perfect Recipe for Soft and Delicious Homemade Buns
- Total Time: 135 minutes
- Yield: 12 rolls 1x
Description
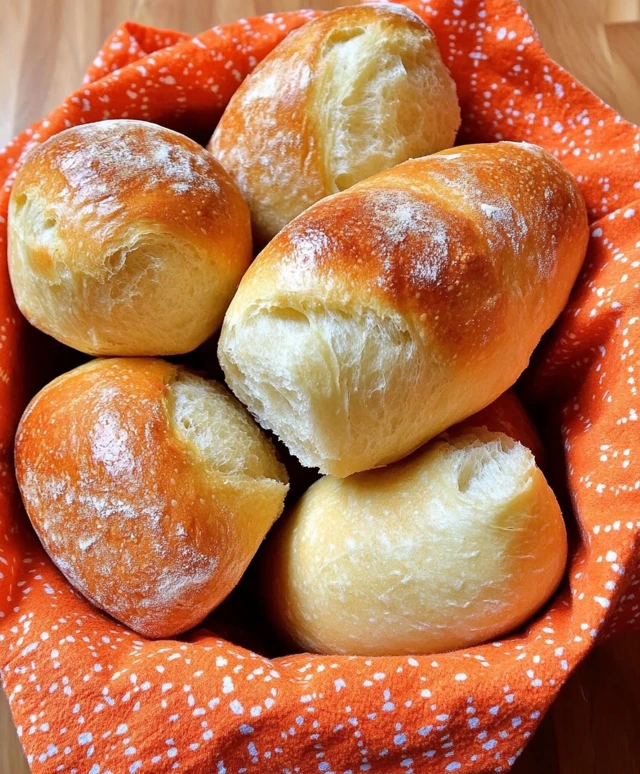
Enjoy the warm, fluffy goodness of homemade French bread rolls, perfectly golden and crusty on the outside while remaining soft and airy on the inside. These delightful rolls are ideal for any meal, whether served fresh out of the oven or as a tasty accompaniment to soups and salads.
Ingredients
Scale- 4 cups all-purpose flour
- 1 ½ cups warm water (110°F to 115°F)
- 2 teaspoons active dry yeast
- 2 teaspoons salt
- 1 tablespoon sugar
- 2 tablespoons olive oil (optional, for added flavor)
- 1 egg (for egg wash, optional)
- Coarse sea salt (for sprinkling on top, optional)
Instructions
- In a small bowl, combine the warm water, sugar, and active dry yeast. Stir gently and let it sit for about 5-10 minutes until it becomes frothy.
- In a large mixing bowl, combine the flour and salt. Mix well to ensure even distribution.
- Once the yeast mixture is frothy, pour it into the bowl with the flour and salt. Add olive oil if using.
- Mix the ingredients with a wooden spoon or your hands until a shaggy dough forms.
- Transfer the dough to a lightly floured surface and knead for about 8-10 minutes until smooth and elastic.
- Shape the dough into a ball and place it in a lightly greased bowl. Cover with a kitchen towel or plastic wrap.
- Let it rise in a warm area for about 1 to 1.5 hours, or until doubled in size.
- Punch down the risen dough gently and turn it out onto a floured surface.
- Divide the dough into 12 equal pieces (3-4 ounces each).
- Shape each piece into a roll by flattening it, folding the edges to the center, flipping it seam-side down, and rolling it into a smooth ball.
- Place the shaped rolls on a parchment-lined baking sheet, leaving space between each.
- Cover the rolls with a kitchen towel and let them rise for another 30-45 minutes until puffed up.
- Preheat your oven to 375°F (190°C).
- If desired, beat the egg and brush it over the tops of the rolls for a shiny crust.
- Sprinkle coarse sea salt on top for added flavor and texture.
- Bake in the preheated oven for 20-25 minutes, or until golden brown and hollow-sounding when tapped.
- For a crispy crust, place a small oven-safe dish of water on the bottom rack while baking.
- Remove from the oven and cool on a wire rack for about 10 minutes before serving.
Notes
- For best results, ensure your yeast is fresh and active.
- Adjust the amount of flour as needed based on humidity and dough consistency.
- These rolls can be stored in an airtight container for a few days or frozen for longer storage.
- Prep Time: 20 minutes
- Cook Time: 25 minutes