
Homemade Apple Juice: Is there anything that screams autumn quite like the crisp, sweet taste of freshly pressed apples? Imagine biting into a juicy apple, and then amplify that flavor tenfold that’s what awaits you with this simple, yet incredibly satisfying recipe. Forget the store-bought stuff loaded with preservatives and added sugars; we’re talking pure, unadulterated apple goodness straight from your kitchen.
Apple juice has been a beloved beverage for centuries, with evidence suggesting its production dates back to ancient civilizations. While the methods have evolved from simple crushing to modern juicing techniques, the essence remains the same: capturing the natural sweetness and nutrients of this remarkable fruit. In many cultures, apple juice symbolizes abundance, health, and the simple pleasures of life.
People adore homemade apple juice for its vibrant flavor, refreshing qualities, and the sheer joy of knowing exactly what goes into it. The taste is far superior to anything you can buy in a carton, boasting a natural sweetness and a delightful tang that dances on your tongue. Plus, it’s incredibly versatile! Enjoy it as a refreshing drink on its own, use it as a base for smoothies, or even incorporate it into your favorite baking recipes. So, are you ready to experience the magic of homemade apple juice? Let’s get started!

Ingredients:
- Approximately 6-8 pounds of apples (a mix of varieties is best for flavor I like Gala, Fuji, Honeycrisp, and Granny Smith)
- 1/2 lemon, juiced (optional, helps prevent browning and adds a touch of brightness)
- 1/4 teaspoon ground cinnamon (optional, for a warm, spiced flavor)
- 1/4 teaspoon ground nutmeg (optional, for a warm, spiced flavor)
- Water (for washing the apples)
Preparing the Apples:
Before we get started with the juicing process, it’s crucial to properly prepare the apples. This ensures a clean and flavorful juice.
- Wash the Apples Thoroughly: Fill a large bowl or your sink with cold water. Add the apples and gently scrub each one to remove any dirt, debris, or wax. I sometimes use a vegetable brush for this, especially if the apples aren’t organic. Rinse them well under running water after scrubbing.
- Core and Chop the Apples: This step is important for two reasons. First, apple cores contain seeds, which can impart a slightly bitter taste to the juice. Second, chopping the apples into smaller pieces makes them easier for your juicer to process.
- Using a sharp knife, carefully cut each apple into quarters.
- Remove the core from each quarter. You can use a small paring knife or an apple corer for this.
- Chop the apple quarters into smaller pieces, about 1-inch chunks. This size works well for most juicers.
- Lemon Juice (Optional): If you’re concerned about the apples browning, especially if you’re not juicing them immediately, toss the chopped apples with the juice of half a lemon. The lemon juice acts as a natural antioxidant and helps to preserve the color of the apples.
Juicing the Apples:
Now comes the fun part extracting that delicious apple juice! The method you use will depend on the type of juicer you have.
Using a Centrifugal Juicer:
Centrifugal juicers are generally faster and more affordable. They work by shredding the fruit with a spinning blade and then separating the juice from the pulp using centrifugal force.
- Prepare the Juicer: Make sure your juicer is clean and properly assembled according to the manufacturer’s instructions. Place a juice pitcher or container under the juice spout and a pulp container under the pulp ejection spout.
- Feed the Apples into the Juicer: Turn on the juicer and gradually feed the chopped apple pieces into the feed chute. Don’t overload the juicer; feed the apples in small batches to allow it to process them efficiently. Use the pusher (if your juicer has one) to gently guide the apples down the chute.
- Monitor the Juice and Pulp: As the juicer processes the apples, you’ll see the juice flowing into the pitcher and the pulp being ejected into the pulp container. If the juicer starts to sound strained or the pulp seems excessively wet, it might be a sign that you’re feeding the apples too quickly. Slow down the process and allow the juicer to catch up.
- Empty the Pulp Container: Depending on the amount of apples you’re juicing, you may need to empty the pulp container several times. A full pulp container can reduce the efficiency of the juicer.
Using a Masticating Juicer (Slow Juicer):
Masticating juicers, also known as slow juicers or cold-press juicers, use an auger to crush and squeeze the fruit, extracting more juice and nutrients while producing a drier pulp. They are generally more expensive than centrifugal juicers but are considered to produce higher-quality juice.
- Prepare the Juicer: Ensure your masticating juicer is clean and properly assembled. Place a juice pitcher or container under the juice spout and a pulp container under the pulp ejection spout.
- Feed the Apples into the Juicer: Turn on the juicer and slowly feed the chopped apple pieces into the feed chute. Masticating juicers typically have a smaller feed chute than centrifugal juicers, so you may need to cut the apple pieces into even smaller chunks. Use the pusher to gently guide the apples down the chute.
- Allow the Juicer to Work: Masticating juicers work at a slower pace than centrifugal juicers, so be patient. Allow the juicer to thoroughly crush and squeeze the apples.
- Monitor the Juice and Pulp: The juice produced by a masticating juicer will typically be smoother and have less foam than juice produced by a centrifugal juicer. The pulp will also be drier.
- Empty the Pulp Container: As with a centrifugal juicer, you may need to empty the pulp container several times during the juicing process.
No Juicer? Using a Blender and Cheesecloth:
Don’t have a juicer? No problem! You can still make homemade apple juice using a blender and some cheesecloth. This method requires a bit more effort, but it’s a great option if you don’t want to invest in a juicer.
- Blend the Apples: Place the chopped apples in a blender. Add just enough water to help the blender process the apples into a smooth puree. Start with about 1/2 cup of water and add more as needed.
- Blend Until Smooth: Blend the apples until they are completely smooth and liquefied. This may take a few minutes, depending on the power of your blender.
- Strain the Puree: Line a large bowl with several layers of cheesecloth. Pour the apple puree into the cheesecloth-lined bowl.
- Squeeze the Juice: Gather the edges of the cheesecloth together to form a pouch. Twist the pouch tightly to squeeze out the juice. You can also gently press down on the pouch with your hands to extract more juice.
- Repeat if Necessary: If the pulp is still quite wet, you can repeat the straining process with fresh cheesecloth.
Flavoring and Serving:
Once you’ve extracted the apple juice, it’s time to customize it to your liking!
- Taste and Adjust: Taste the juice and adjust the flavor as needed. If it’s too tart, you can add a touch of honey or maple syrup. If it’s too sweet, you can add a squeeze of lemon juice.
- Add Spices (Optional): For a warm, spiced apple juice, stir in a pinch of ground cinnamon and/or nutmeg. I find that 1/4 teaspoon of each spice per batch of juice is a good starting point, but you can adjust the amount to your preference.
- Chill the Juice: For the best flavor, chill the apple juice in the refrigerator for at least 30 minutes before serving. This allows the flavors to meld together and makes the juice more refreshing.
- Serve and Enjoy: Pour the chilled apple juice into glasses and serve immediately. You can garnish with a slice of apple or a cinnamon stick, if desired.
Tips and Variations:
Here are a few extra tips and ideas to help you make the perfect homemade apple juice:
- Use a Variety of Apples: As I mentioned earlier, using a mix of apple varieties will result in a more complex and flavorful juice. Experiment with different combinations to find your favorite blend.
- Add Other Fruits and Vegetables: Don’t be afraid to add other fruits and vegetables to your apple juice. Carrots, ginger, and beets are all great additions that can boost the nutritional value and flavor of your juice.
- Adjust the Sweetness: The sweetness of your apple juice will depend on the type of apples you use. If you prefer a sweeter juice, use sweeter varieties like Fuji or Honeycrisp. If you prefer a tarter juice, use Granny Smith apples.
- Strain the Juice Again: If you prefer a very clear juice, you can strain it again through a fine-mesh sieve or cheesecloth after juicing. This will remove any remaining pulp.
- Store the Juice Properly: Homemade apple juice is best consumed fresh, but it can be stored in an airtight container in the refrigerator for up to 2-3 days. The juice may separate slightly during storage, so be sure to shake it well before serving.
- Freeze the Juice: If you want to store the juice for longer, you can freeze it. Pour the juice into freezer-safe containers, leaving some headspace to allow for expansion. Frozen apple juice can be stored for up to 2-3 months. Thaw it in the refrigerator before serving
Conclusion:
And there you have it! Making your own Homemade Apple Juice is truly a game-changer. It’s fresher, tastier, and you know exactly what’s going into it no preservatives, no added sugars, just pure apple goodness. I genuinely believe that once you’ve tasted homemade, you’ll never go back to the store-bought stuff. The vibrant flavor and the satisfying feeling of creating something so delicious from scratch make this recipe a must-try for anyone who loves apples.
But the best part? It’s incredibly versatile! While this recipe focuses on a classic, crisp apple juice, don’t be afraid to experiment. Try blending different varieties of apples to create your own unique flavor profile. A mix of sweet Honeycrisp and tart Granny Smith apples is a personal favorite of mine, offering a delightful balance of sweetness and tang. You could also add a touch of spice a pinch of cinnamon or a sliver of ginger during the juicing process can elevate the flavor to a whole new level, especially during the cooler months.
Serving Suggestions and Variations:
* Sparkling Apple Cider: Add a splash of sparkling water or club soda to your homemade apple juice for a refreshing and bubbly treat. Garnish with a slice of apple and a sprig of mint for an extra touch of elegance.
* Apple Juice Smoothie: Blend your homemade apple juice with frozen berries, a banana, and a scoop of protein powder for a healthy and delicious smoothie. This is a great way to start your day or refuel after a workout.
* Apple Juice Popsicles: Pour your homemade apple juice into popsicle molds and freeze for a refreshing and healthy summer treat. You can add chunks of fruit or herbs to the molds for extra flavor and visual appeal.
* Apple Juice Marinade: Use your homemade apple juice as a base for a marinade for chicken or pork. The natural sugars in the juice will help to tenderize the meat and create a delicious caramelized crust.
* Warm Spiced Apple Cider: Gently heat your homemade apple juice with cinnamon sticks, cloves, and star anise for a comforting and aromatic warm beverage. This is perfect for cozy evenings by the fireplace.I truly encourage you to give this recipe a try. It’s simpler than you might think, and the results are absolutely worth it. Imagine the look on your family’s faces when you serve them a glass of freshly made Homemade Apple Juice, knowing that you created it with your own two hands. It’s a small act of love that makes a big difference.
And please, don’t keep this delicious secret to yourself! Once you’ve mastered the art of homemade apple juice, I’d love to hear about your experience. Share your photos, your variations, and your tips in the comments below. Did you try a different apple combination? Did you add any spices or herbs? What was your favorite way to serve it? Your feedback is invaluable and helps inspire others to embark on their own apple juice adventures. Let’s create a community of apple juice enthusiasts and share the joy of homemade goodness! Happy juicing!
Homemade Apple Juice: The Ultimate Guide to Fresh & Delicious Juice
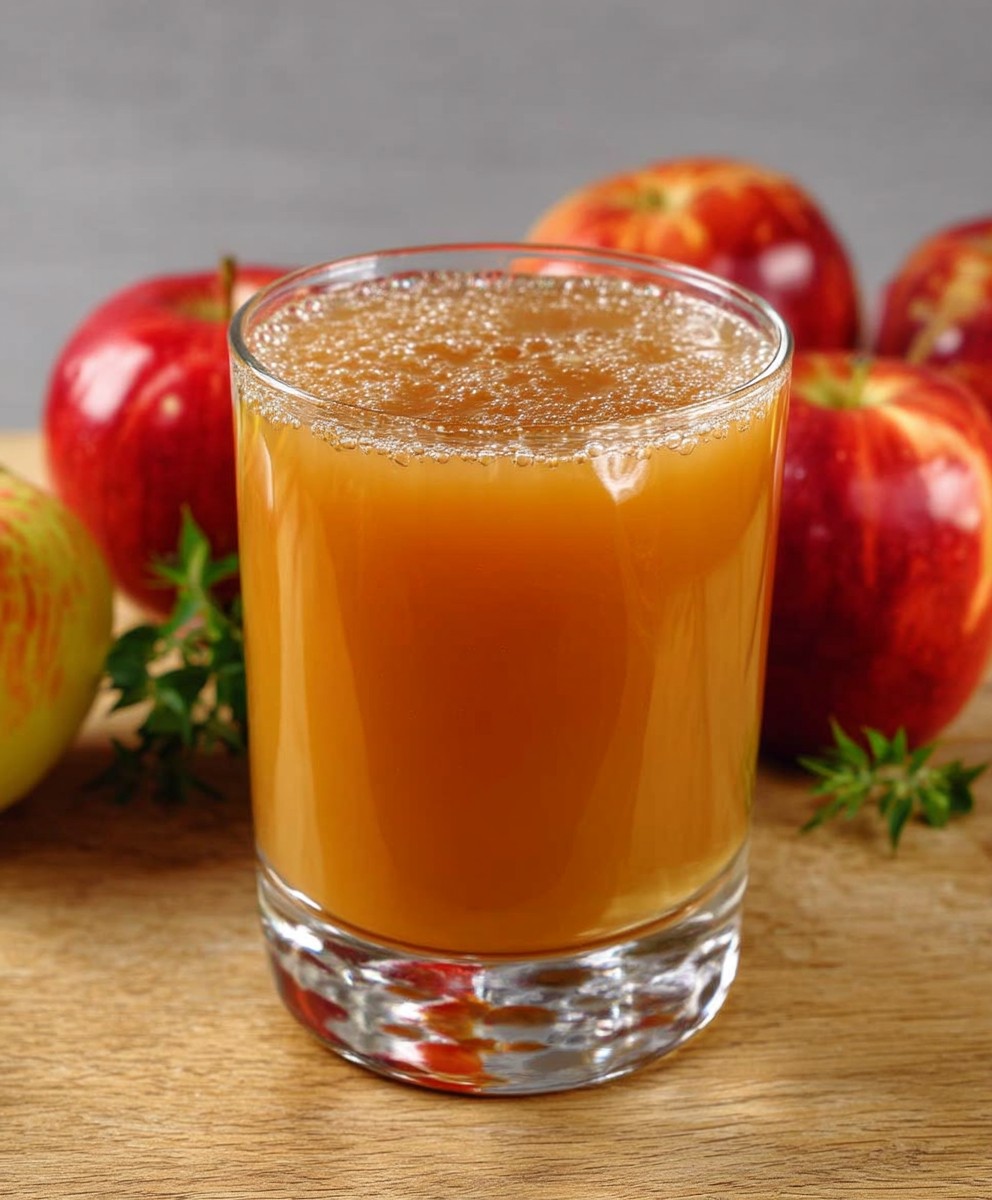
Fresh, homemade apple juice bursting with flavor! Use a variety of apples for the best taste, and enjoy this refreshing and healthy drink.
Ingredients
- 6-8 pounds apples (mix of varieties like Gala, Fuji, Honeycrisp, and Granny Smith recommended)
- 1/2 lemon, juiced (optional)
- 1/4 teaspoon ground cinnamon (optional)
- 1/4 teaspoon ground nutmeg (optional)
- Water (for washing and, if using a blender, for blending)
Instructions
- Thoroughly wash apples in cold water, scrubbing to remove dirt and wax. Rinse well.
- Cut each apple into quarters, remove the core, and chop into 1-inch chunks.
- Toss chopped apples with lemon juice to prevent browning.
- Prepare the juicer.
- Feed the apples gradually into the feed chute.
- Monitor the juice and pulp.
- Empty the pulp container as needed.
- Prepare the juicer.
- Slowly feed the chopped apple pieces into the feed chute.
- Allow the juicer to work.
- Monitor the juice and pulp.
- Empty the pulp container as needed.
- Blend the apples with just enough water to create a smooth puree.
- Blend until smooth.
- Line a bowl with cheesecloth and pour in the puree.
- Gather the cheesecloth and squeeze out the juice.
- Repeat if necessary.
- Taste and Adjust: Adjust sweetness with honey or maple syrup, or tartness with lemon juice.
- Add Spices (Optional): Stir in cinnamon and/or nutmeg.
- Chill the Juice: Refrigerate for at least 30 minutes.
- Serve and Enjoy: Pour into glasses and serve immediately. Garnish with apple slice or cinnamon stick (optional).
Notes
- Use a variety of apples for the best flavor.
- Add other fruits and vegetables like carrots, ginger, or beets.
- Adjust sweetness based on apple varieties.
- Strain the juice again for a clearer juice.
- Store in an airtight container in the refrigerator for up to 2-3 days. Shake well before serving.
- Freeze for longer storage (up to 2-3 months). Thaw in the refrigerator before serving.