
Irish potato farls, also known as potato cakes or fadge, are a delightful taste of Ireland that you can easily bring into your own kitchen. Imagine sinking your teeth into a warm, subtly savory, and incredibly comforting flatbread, perfect for breakfast, lunch, or as a side to your favorite dinner. Have I got your attention?
These humble potato cakes have a rich history, deeply rooted in the resourcefulness of Irish cooking. Originating as a way to use leftover mashed potatoes, Irish potato farls became a staple in many households, particularly in Ulster. They represent a time when simple ingredients were transformed into something truly special, a testament to the ingenuity and resilience of Irish culinary traditions.
What makes these farls so beloved? It’s a combination of factors! The soft, slightly chewy texture is incredibly satisfying, and the mild potato flavor pairs beautifully with a variety of toppings and accompaniments. They’re quick and easy to make, requiring only a handful of ingredients you likely already have on hand. Whether you enjoy them fried until golden brown and crispy, or simply warmed through, Irish potato farls offer a comforting and versatile culinary experience that’s sure to become a new favorite in your home.

Ingredients:
- 1 kg (2.2 lbs) Floury Potatoes, such as Maris Piper or Russet
- 100g (½ cup) All-Purpose Flour, plus extra for dusting
- 50g (¼ cup) Butter, melted
- 1 tsp Salt
- ½ tsp Black Pepper
- Vegetable Oil or Butter, for greasing the griddle or pan
Preparing the Potatoes:
Okay, let’s start with the most important part: the potatoes! The type of potato you use really makes a difference here. You want a floury potato, something that will mash up nicely and not be too waxy. Maris Piper or Russet potatoes are perfect. If you can’t find those, any good baking potato will do.
- Peel the Potatoes: First things first, give those potatoes a good scrub and peel them. Make sure you get all the eyes and any blemishes off.
- Chop and Boil: Chop the peeled potatoes into roughly equal-sized chunks. This helps them cook evenly. Pop them into a large pot and cover them with cold water. Add a pinch of salt to the water this helps season the potatoes from the inside out. Bring the water to a boil over high heat, then reduce the heat to medium and let them simmer until they are fork-tender. This usually takes about 15-20 minutes. You should be able to easily pierce them with a fork.
- Drain and Dry: Once the potatoes are cooked, drain them really well. The drier the potatoes, the better the farls will be. You can even put them back in the pot over low heat for a minute or two to help evaporate any excess moisture. Just be careful not to burn them!
- Mash Thoroughly: Now for the fun part mashing! You can use a potato ricer for the absolute smoothest results, but a regular potato masher works just fine. The key is to get rid of any lumps. You want a perfectly smooth, creamy mash. If you’re using a masher, put some elbow grease into it!
Making the Dough:
Alright, with the potatoes perfectly mashed, we can move on to making the dough. This is where the magic happens!
- Combine Ingredients: In a large bowl, add the mashed potatoes, flour, melted butter, salt, and pepper.
- Mix Well: Now, get your hands in there! Start mixing the ingredients together. At first, it will seem like it’s not coming together, but keep working at it. The heat from the potatoes will help melt the butter and bind everything. You want to form a soft, slightly sticky dough. Don’t overwork it, though, or the farls will be tough.
- Adjust Flour (If Needed): If the dough is too sticky and unmanageable, add a little more flour, a tablespoon at a time, until it comes together into a workable dough. If it seems too dry, add a tiny bit more melted butter or even a splash of milk. The consistency should be soft and pliable.
- Turn Out and Knead Lightly: Lightly flour a clean work surface. Turn the dough out onto the floured surface and gently knead it for just a minute or two. This helps to smooth it out and bring it together. Again, don’t overwork it!
Shaping the Farls:
Now comes the shaping! This is where you get to decide how big you want your farls to be. I like mine on the smaller side, but you can make them larger if you prefer.
- Divide the Dough: Divide the dough into four equal portions.
- Roll Out Each Portion: On a lightly floured surface, roll out each portion of dough into a circle about ¼ inch thick. Don’t worry about making them perfectly round rustic is good!
- Cut into Farls: Using a sharp knife or a pizza cutter, cut each circle into quarters. These are your farls! They should be triangular in shape.
- Dust with Flour: Lightly dust each farl with flour. This helps to prevent them from sticking to the griddle or pan.
Cooking the Farls:
Time to cook these beauties! You can use a griddle, a frying pan, or even a cast-iron skillet. The key is to get it nice and hot before you start cooking.
- Heat the Griddle/Pan: Heat a griddle or frying pan over medium heat. Lightly grease it with vegetable oil or butter. You don’t want it swimming in oil, just a light coating to prevent sticking.
- Cook the Farls: Place the farls on the hot griddle or pan, being careful not to overcrowd them. Cook for about 4-5 minutes per side, or until they are golden brown and slightly crispy. You should see some nice browning and maybe even a few little bubbles forming.
- Adjust Heat (If Needed): If the farls are browning too quickly, reduce the heat slightly. You want them to cook through without burning. If they’re not browning enough, increase the heat a little.
- Turn Carefully: Use a spatula to carefully flip the farls over. They can be a little delicate, so be gentle.
- Cook Until Golden Brown: Continue cooking until the second side is also golden brown and slightly crispy.
- Remove and Drain: Remove the cooked farls from the griddle or pan and place them on a wire rack to cool slightly. This helps to prevent them from getting soggy.
Serving and Enjoying:
And there you have it! Your very own homemade Irish potato farls. Now for the best part eating them!
- Serve Warm: Potato farls are best served warm, straight from the griddle.
- With Butter: A simple pat of butter is all you really need. The warmth of the farl will melt the butter beautifully.
- With a Full Irish Breakfast: Of course, potato farls are a classic component of a full Irish breakfast. Serve them alongside bacon, sausage, eggs, black pudding, white pudding, and grilled tomatoes.
- As a Side Dish: They also make a great side dish for soups, stews, or any hearty meal.
- Toasted: You can even toast leftover farls for a crispy treat.
Tips and Variations:
- Add Herbs: For a little extra flavor, try adding some chopped fresh herbs to the dough, such as chives, parsley, or thyme.
- Spice it Up: A pinch of cayenne pepper or some smoked paprika can add a nice kick.
- Cheese, Please!: A little grated cheddar cheese mixed into the dough is always a good idea.
- Make Ahead: You can make the dough ahead of time and store it in the refrigerator for up to 24 hours. Just bring it to room temperature before rolling and cooking.
- Freezing: Cooked farls can be frozen for up to 2 months. Wrap them tightly in plastic wrap and then in a freezer bag. Reheat them in a toaster or oven.
I hope you enjoy making and eating these delicious Irish potato farls! They’re a simple but satisfying treat that’s perfect for breakfast, lunch, or dinner. Let me know in the comments if you try them out and what you think!
Conclusion:
Well, there you have it! I truly believe this recipe for Irish potato farls is a must-try, and here’s why: it’s incredibly simple, uses ingredients you likely already have in your kitchen, and delivers a taste of authentic Irish comfort food that’s both satisfying and versatile. Forget complicated baking projects; these farls come together quickly and easily, making them perfect for a weeknight meal or a weekend brunch. The slightly crisp exterior and soft, fluffy interior are simply irresistible, and the subtle potato flavor is surprisingly addictive. But the best part? The possibilities are endless! Serve these warm, freshly cooked farls as a delicious side to a hearty Irish stew or a comforting bowl of soup. They’re also fantastic as part of a traditional Irish breakfast, alongside crispy bacon, sausages, and fried eggs. For a lighter meal, try topping them with smoked salmon and a dollop of crème fraîche, or simply spread them with butter and your favorite jam. Looking for variations? Absolutely! For a savory twist, add a handful of chopped chives or scallions to the dough. A pinch of garlic powder or onion powder can also enhance the flavor. If you’re feeling adventurous, try incorporating some grated cheese, like cheddar or Gruyère, for a cheesy potato farl that’s perfect for snacking. For a sweeter version, add a sprinkle of cinnamon and a touch of sugar to the dough before cooking. You could even experiment with different types of potatoes Yukon Gold potatoes will give you a richer, creamier farl, while Russet potatoes will result in a lighter, fluffier texture. Don’t be intimidated by the simplicity of this recipe. It’s all about getting the basics right and then letting your creativity shine. The key is to not overwork the dough, as this can make the farls tough. A gentle touch is all you need to create these delightful potato cakes. And remember, practice makes perfect! The more you make them, the better you’ll become at judging the consistency of the dough and achieving that perfect golden-brown crust. I’m so excited for you to try this recipe and experience the joy of homemade Irish potato farls. I truly believe they’ll become a new favorite in your household. They are a great way to introduce a little bit of Irish culture into your kitchen. So, what are you waiting for? Gather your ingredients, preheat your griddle, and get ready to embark on a culinary adventure. I’m confident that you’ll be delighted with the results. And most importantly, I’d love to hear about your experience! Did you try any of the variations I suggested? Did you serve them with a particular dish? Share your photos and stories in the comments below. I can’t wait to see what you create! Happy cooking! I hope you enjoy this little taste of Ireland as much as I do. Let me know if you have any questions, and I’ll do my best to help. Enjoy! Print
Irish Potato Farls: A Delicious and Authentic Recipe
- Total Time: 50 minutes
- Yield: 16 farls 1x
Description
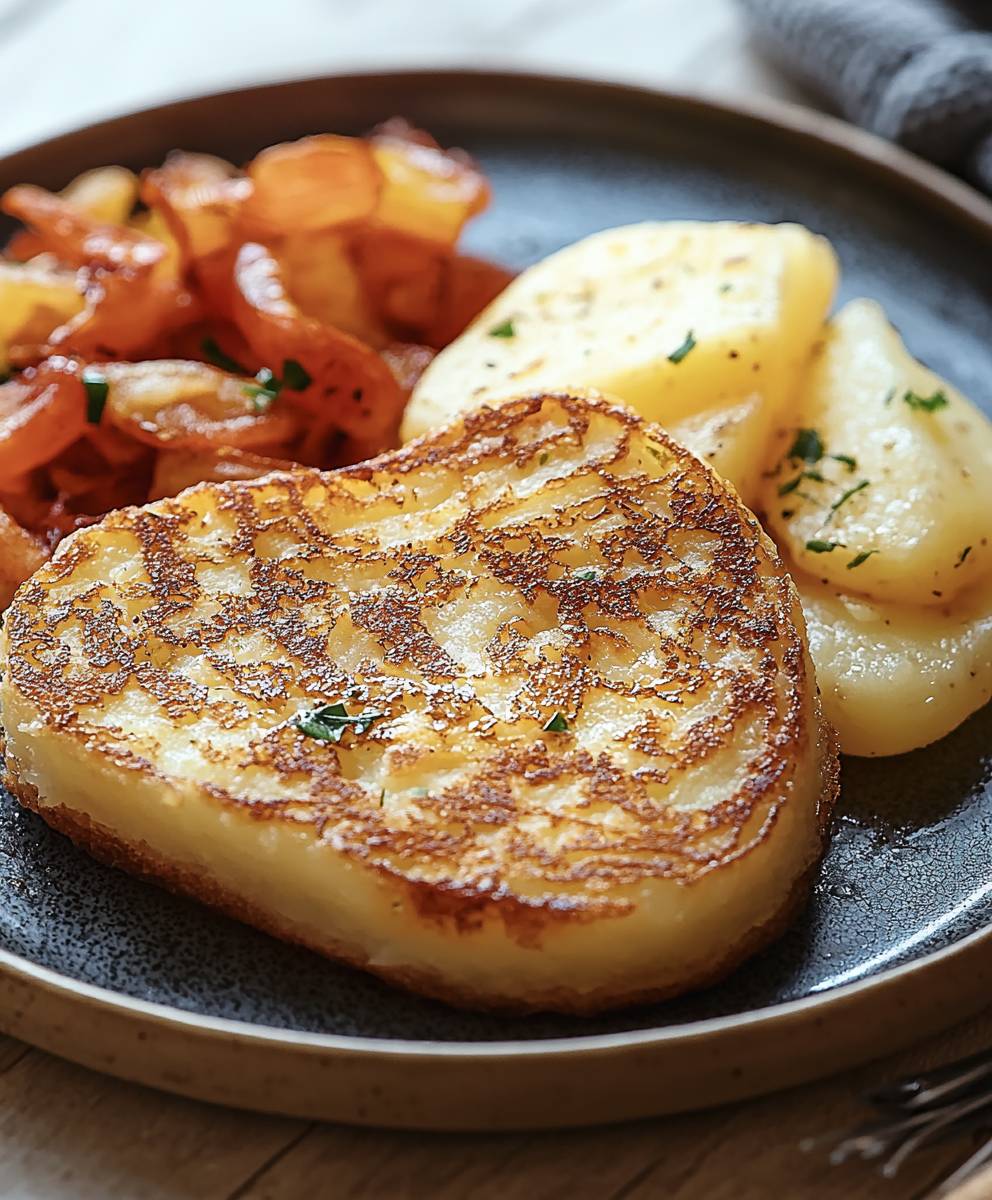
Fluffy and golden Irish Potato Farls, a traditional griddle bread made with mashed potatoes, flour, and butter. Perfect for breakfast, as a side, or toasted!
Ingredients
- 1 kg (2.2 lbs) Floury Potatoes, such as Maris Piper or Russet
- 100g (½ cup) All-Purpose Flour, plus extra for dusting
- 50g (¼ cup) Butter, melted
- 1 tsp Salt
- ½ tsp Black Pepper
- Vegetable Oil or Butter, for greasing the griddle or pan
Instructions
- Prepare the Potatoes: Peel the potatoes, chop into equal-sized chunks, and boil in salted water until fork-tender (15-20 minutes).
- Drain and Dry: Drain the potatoes well. Return to the pot over low heat for a minute or two to remove excess moisture.
- Mash Thoroughly: Mash the potatoes until completely smooth. Use a ricer for best results.
- Combine Ingredients: In a large bowl, combine the mashed potatoes, flour, melted butter, salt, and pepper.
- Mix Well: Mix the ingredients together with your hands until a soft, slightly sticky dough forms.
- Adjust Flour (If Needed): If the dough is too sticky, add flour, 1 tablespoon at a time. If too dry, add a little more melted butter or milk.
- Turn Out and Knead Lightly: Lightly flour a clean surface. Turn the dough out and gently knead for a minute or two.
- Divide the Dough: Divide the dough into four equal portions.
- Roll Out Each Portion: On a lightly floured surface, roll each portion into a circle about ¼ inch thick.
- Cut into Farls: Cut each circle into quarters to form triangular farls.
- Dust with Flour: Lightly dust each farl with flour.
- Heat the Griddle/Pan: Heat a griddle or frying pan over medium heat. Lightly grease with vegetable oil or butter.
- Cook the Farls: Place the farls on the hot griddle, being careful not to overcrowd. Cook for 4-5 minutes per side, or until golden brown and slightly crispy.
- Adjust Heat (If Needed): Reduce heat if browning too quickly, increase if not browning enough.
- Turn Carefully: Use a spatula to carefully flip the farls over.
- Cook Until Golden Brown: Continue cooking until the second side is golden brown and slightly crispy.
- Remove and Drain: Remove the cooked farls and place them on a wire rack to cool slightly.
- Serve Warm: Serve warm with butter, as part of a full Irish breakfast, or as a side dish.
Notes
- Use floury potatoes like Maris Piper or Russet for the best texture.
- Ensure potatoes are well-drained to avoid a sticky dough.
- Don’t overwork the dough, or the farls will be tough.
- Add herbs, spices, or cheese to the dough for variations.
- Dough can be made ahead and stored in the refrigerator for up to 24 hours.
- Cooked farls can be frozen for up to 2 months.
- Prep Time: 20 minutes
- Cook Time: 30 minutes