
Quick Miracle Cake: the name says it all! Imagine sinking your fork into a moist, decadent cake that requires minimal effort and ingredients. Sounds too good to be true? It’s not! This recipe is a game-changer for busy weeknights, unexpected guests, or simply when you crave a sweet treat without spending hours in the kitchen.
While the exact origins of this particular “miracle” variation are somewhat shrouded in mystery, the concept of simple, no-fuss cakes has been around for generations. Think of it as a modern take on the classic depression-era cakes, born out of resourcefulness and a desire for comforting flavors. These cakes often rely on pantry staples and clever techniques to create something truly special.
What makes this Quick Miracle Cake so beloved? It’s the perfect combination of ease and deliciousness. The texture is incredibly soft and tender, almost melting in your mouth. The flavor is rich and satisfying, adaptable to your favorite add-ins like chocolate chips, nuts, or berries. Plus, the minimal cleanup is a major bonus! Whether you’re a seasoned baker or a complete novice, this recipe is guaranteed to impress. Get ready to experience a baking miracle!

Ingredients:
- 1 ½ cups all-purpose flour
- 1 cup granulated sugar
- ¼ cup unsweetened cocoa powder
- 1 teaspoon baking soda
- ½ teaspoon salt
- 1 cup cold water
- 1 tablespoon white vinegar
- 6 tablespoons vegetable oil
- 1 teaspoon vanilla extract
Preparing the Cake Batter
Okay, let’s get started! This cake is so easy, it practically makes itself. First things first, preheat your oven to 350°F (175°C). While the oven is heating up, grab an 8×8 inch square baking pan. I like to use a glass pan, but metal works just fine too. Grease it really well with shortening or butter. You can also use baking spray whatever you prefer to keep the cake from sticking.
- Combine Dry Ingredients: In a large mixing bowl, whisk together the flour, sugar, cocoa powder, baking soda, and salt. Make sure everything is evenly distributed. This step is important because it helps prevent clumps of baking soda or cocoa powder in your final cake. I usually whisk for about 30 seconds to a minute, just to be sure.
- Add Wet Ingredients: Now, make a well in the center of the dry ingredients. Pour in the cold water, white vinegar, vegetable oil, and vanilla extract.
- Mix Until Just Combined: Using a whisk or a spoon, gently mix the wet and dry ingredients together. Be careful not to overmix! Overmixing can develop the gluten in the flour, which can result in a tough cake. Mix until the batter is just combined and there are no large lumps of flour remaining. A few small lumps are okay. The batter will be quite thin, almost like a pancake batter, and that’s perfectly normal for this recipe.
Baking the Cake
Now comes the easiest part baking! This cake bakes up beautifully, and the aroma that fills your kitchen is simply divine.
- Pour Batter into Pan: Pour the cake batter into your prepared 8×8 inch baking pan. Spread it out evenly. Since the batter is thin, it should level itself out pretty well.
- Bake: Place the pan in the preheated oven and bake for 30-35 minutes, or until a wooden skewer inserted into the center comes out clean. Start checking for doneness around the 30-minute mark. Ovens can vary, so it’s always best to err on the side of caution. If the skewer comes out with wet batter on it, bake for a few more minutes and check again.
- Cool Completely: Once the cake is done, remove it from the oven and let it cool completely in the pan before frosting or serving. This is crucial! If you try to frost it while it’s still warm, the frosting will melt and slide right off. I usually let it cool for at least an hour, or even longer if I have the time.
Optional: Chocolate Ganache Frosting
While this cake is delicious on its own, a simple chocolate ganache frosting takes it to the next level. This is totally optional, but I highly recommend it! It’s so easy to make and adds a rich, decadent touch.
Ingredients for Ganache:
- 1 cup semi-sweet chocolate chips
- ½ cup heavy cream
Instructions for Ganache:
- Heat the Cream: In a small saucepan, heat the heavy cream over medium heat until it just begins to simmer. Do not let it boil!
- Pour over Chocolate: Remove the saucepan from the heat and pour the hot cream over the chocolate chips in a heatproof bowl.
- Let Sit: Let the mixture sit for about a minute to allow the heat from the cream to melt the chocolate.
- Whisk Until Smooth: Gently whisk the cream and chocolate together until smooth and glossy. Be patient, it may take a minute or two for the chocolate to fully melt and incorporate into the cream.
- Cool Slightly: Let the ganache cool slightly for about 10-15 minutes before frosting the cake. This will allow it to thicken up a bit, making it easier to spread.
- Frost the Cake: Once the cake is completely cool, spread the chocolate ganache evenly over the top. You can use a spatula or a knife to do this.
Serving Suggestions
This Quick Miracle Cake is incredibly versatile. You can serve it plain, with a dusting of powdered sugar, or with the chocolate ganache frosting. Here are a few other ideas:
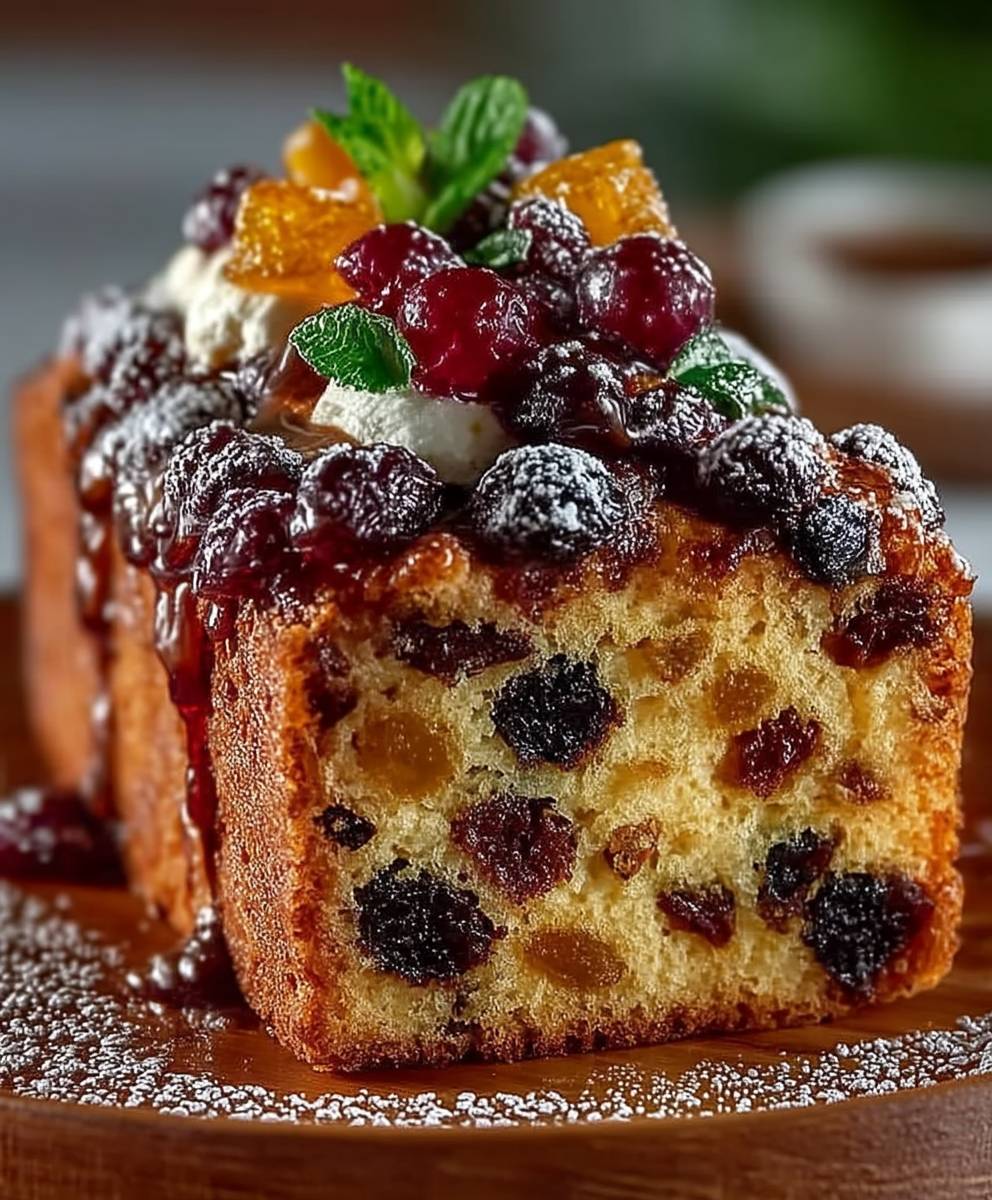
- With Berries: Top the cake with fresh berries like strawberries, raspberries, or blueberries for a burst of freshness and color.
- With Ice Cream: Serve a slice of warm cake with a scoop of vanilla ice cream or chocolate ice cream for a decadent dessert.
- With Whipped Cream: A dollop of whipped cream adds a light and airy touch.
- As Cupcakes: You can also bake this batter as cupcakes! Simply line a muffin tin with cupcake liners and fill each liner about 2/3 full. Bake for 18-20 minutes, or until a wooden skewer inserted into the center comes out clean.
- Add Nuts: Sprinkle chopped nuts like walnuts, pecans, or almonds over the frosting for added texture and flavor.
- Make it a Mocha Cake: Add 1-2 teaspoons of instant coffee granules to the dry ingredients for a mocha flavor.
- Add Chocolate Chips: Stir in ½ cup of chocolate chips to the batter before baking for an extra chocolatey treat.
Tips and Tricks for the Perfect Cake
Even though this cake is super easy, here are a few tips and tricks to ensure it turns out perfectly every time:
- Measure Accurately: Accurate measurements are key to baking success. Use measuring cups and spoons specifically designed for baking. For dry ingredients like flour, spoon the flour into the measuring cup and level it off with a knife. Do not pack the flour into the cup.
- Don’t Overmix: As mentioned earlier, overmixing the batter can lead to a tough cake. Mix until the ingredients are just combined.
- Use Room Temperature Ingredients (for Ganache): While the cake itself uses cold water, for the ganache, make sure your heavy cream is at room temperature for the best results. This helps the chocolate melt smoothly.
- Grease the Pan Well: Make sure to grease the baking pan thoroughly to prevent the cake from sticking. You can use shortening, butter, or baking spray.
- Check for Doneness: Start checking for doneness around the 30-minute mark. Ovens can vary, so it’s always best to err on the side of caution.
- Cool Completely: Let the cake cool completely in the pan before frosting or serving. This will prevent the frosting from melting and sliding off.
- Storage: Store leftover cake in an airtight container at room temperature for up to 3 days. You can also store it in the refrigerator for up to a week.
Troubleshooting
Sometimes things don’t go exactly as planned. Here are a few common problems and how to fix them:
- Cake is Dry: This could be due to overbaking. Make sure to check for doneness frequently and remove the cake from the oven as soon as a wooden skewer inserted into the center comes out clean.
- Cake is Dense: This could be due to overmixing the batter. Mix until the ingredients are just combined.
- Cake is Sinking in the Middle: This could be due to underbaking. Make sure to bake the cake until a wooden skewer inserted into the center comes out clean.
- Cake is Sticking to the Pan: This could be due to not greasing the pan well enough. Make sure to grease the pan thoroughly before pouring in the batter.
- Ganache is Grainy: This could be due to overheating the chocolate. Make sure to heat the cream gently and remove it from the heat before pouring it over the chocolate.
Variations
Want to switch things up? Here are a few variations you can try:
- Peanut Butter Cake: Add ¼ cup of peanut butter to the batter for a peanut butter flavor. You can also swirl peanut butter on top of the batter before baking.
- Spice Cake: Add 1 teaspoon of cinnamon, ½ teaspoon of nutmeg, and ¼ teaspoon of cloves to the dry ingredients for a spice cake.
- Lemon Cake: Add the zest of one lemon and 2 tablespoons of lemon juice to the batter for a lemon cake.
- Orange Cake: Add the zest of one orange and 2 tablespoons of orange juice to the
Conclusion:
And there you have it! This Quick Miracle Cake recipe is truly a must-try for anyone craving a delicious, fuss-free dessert. From its incredibly simple preparation to its moist and flavorful crumb, this cake is guaranteed to become a new family favorite. I know I’ve made it countless times, and it always disappears in a flash!
What makes this cake so special? It’s the perfect balance of convenience and taste. You don’t need any fancy equipment or hard-to-find ingredients. Everything you need is likely already in your pantry. Plus, the one-bowl method means minimal cleanup a definite win in my book! But don’t let the simplicity fool you; the resulting cake is anything but basic. It’s rich, tender, and bursting with flavor, making it ideal for any occasion, from a casual weeknight treat to a last-minute birthday celebration.
But the best part? It’s incredibly versatile! Feel free to get creative and customize it to your liking. For a simple yet elegant touch, dust the cooled cake with powdered sugar. Or, for a more indulgent experience, try topping it with a luscious chocolate ganache or a creamy vanilla frosting. A dollop of whipped cream and fresh berries also makes a beautiful and delicious addition.
Looking for variations? Consider adding a handful of chocolate chips, chopped nuts, or dried fruit to the batter for extra texture and flavor. A swirl of peanut butter or Nutella would also be divine. You could even experiment with different extracts, like almond or lemon, to create a unique flavor profile. If you’re feeling adventurous, try adding a layer of fruit preserves or a homemade compote between two layers of the cake for a truly decadent dessert.
For a lighter version, you can substitute applesauce for some of the oil. This will reduce the fat content without sacrificing moisture. You can also use whole wheat flour for a slightly healthier option, although the texture may be a bit denser.
Serving suggestions are endless! This Quick Miracle Cake is wonderful on its own, but it also pairs perfectly with a scoop of vanilla ice cream, a cup of hot coffee, or a glass of cold milk. It’s also a great addition to a dessert buffet or a potluck gathering. I’ve even been known to enjoy a slice for breakfast (don’t judge!).
I truly believe that this recipe is a game-changer for anyone who loves cake but doesn’t always have the time or energy for complicated baking projects. It’s a reliable, foolproof recipe that delivers consistently delicious results every time.
So, what are you waiting for? Gather your ingredients, preheat your oven, and get ready to bake a Quick Miracle Cake that will impress your family and friends. I’m confident that you’ll love it as much as I do.
And most importantly, I want to hear about your experience! Did you try the recipe? What variations did you make? How did it turn out? Share your photos and comments below. I can’t wait to see your creations and hear your feedback. Happy baking!
Quick Miracle Cake: The Easiest Recipe You'll Ever Bake
Easy, egg-free, dairy-free chocolate cake perfect for a quick dessert. Enjoy plain, dusted with powdered sugar, or with chocolate ganache.
Ingredients
#ERROR!Instructions
- Prepare: Preheat oven to 350°F (175°C). Grease an 8×8 inch square baking pan.
- Combine Dry Ingredients: In a large mixing bowl, whisk together the flour, sugar, cocoa powder, baking soda, and salt.
- Add Wet Ingredients: Make a well in the center of the dry ingredients. Pour in the cold water, white vinegar, vegetable oil, and vanilla extract.
- Mix: Gently mix the wet and dry ingredients together until just combined. Do not overmix. The batter will be thin.
- Bake: Pour the batter into the prepared pan and spread evenly. Bake for 30-35 minutes, or until a wooden skewer inserted into the center comes out clean.
- Cool: Let the cake cool completely in the pan before frosting or serving.
- Heat Cream: In a small saucepan, heat the heavy cream over medium heat until it just begins to simmer. Do not let it boil.
- Pour over Chocolate: Remove the saucepan from the heat and pour the hot cream over the chocolate chips in a heatproof bowl.
- Let Sit: Let the mixture sit for about a minute to allow the heat from the cream to melt the chocolate.
- Whisk: Gently whisk the cream and chocolate together until smooth and glossy.
- Cool Slightly: Let the ganache cool slightly for about 10-15 minutes before frosting the cake.
- Frost: Once the cake is completely cool, spread the chocolate ganache evenly over the top.
Notes
- Overmixing the cake batter can result in a tough cake. Mix until just combined.
- The cake batter will be quite thin, almost like pancake batter. This is normal.
- Ensure the cake cools completely before frosting to prevent the frosting from melting.
- For best results with the ganache, use room temperature heavy cream.
- Store leftover cake in an airtight container at room temperature for up to 3 days or in the refrigerator for up to a week.