
Turtle Sundae Dessert is a delightful treat that brings together the rich flavors of chocolate, caramel, and nuts, creating a symphony of taste that is hard to resist. This indulgent dessert has its roots in the classic turtle candy, which originated in the early 20th century and has since evolved into various forms, including this creamy sundae version. I love how the Turtle Sundae Dessert combines the smoothness of ice cream with the crunch of pecans, making each bite a perfect balance of textures. It’s not just a dessert; it’s a celebration of flavors that evokes nostalgia and joy. Whether you’re hosting a gathering or simply treating yourself, this Turtle Sundae Dessert is sure to impress and satisfy your sweet cravings!

Ingredients:
- 4 cups vanilla ice cream
- 1 cup chocolate syrup
- 1 cup caramel sauce
- 1 cup chopped pecans or walnuts
- 1 cup whipped cream
- 1/2 cup maraschino cherries
- 1/2 cup chocolate chips (optional)
- 1/2 cup crushed graham crackers (optional, for added crunch)
Preparing the Base
To start off, I like to gather all my ingredients and set them out on the counter. This makes the process smoother and more enjoyable. Heres how I prepare the base for my Turtle Sundae Dessert:
- Take the vanilla ice cream out of the freezer and let it sit at room temperature for about 10-15 minutes. This will make it easier to scoop.
- While the ice cream is softening, I prepare my toppings. I chop the pecans or walnuts into smaller pieces if they arent already chopped. This helps distribute the nutty flavor throughout the sundae.
- If youre using chocolate chips, I recommend measuring them out now. You can also toast the nuts in a dry skillet over medium heat for a few minutes to enhance their flavor, but this step is optional.
Assembling the Sundae
Now that everything is prepped, its time to assemble the sundae. This is where the fun begins!
- Grab a large sundae glass or a bowl. I love using clear glass bowls so I can see all the layers of deliciousness.
- Scoop 1 cup of softened vanilla ice cream into the bottom of the glass. Make sure to pack it in gently to create a solid base.
- Drizzle about 2 tablespoons of chocolate syrup over the ice cream. I like to let it drip down the sides for a beautiful presentation.
- Next, add a generous drizzle of caramel sauce, about 2 tablespoons. The combination of chocolate and caramel is what makes this dessert a true turtle sundae!
- Sprinkle a handful of chopped pecans or walnuts on top of the sauces. This adds a nice crunch and nutty flavor.
- Repeat the layering process: add another scoop of ice cream, followed by chocolate syrup, caramel sauce, and nuts. I usually do this for a total of three layers, but you can adjust based on your preference and the size of your glass.
Finishing Touches
Now that the main layers are complete, its time to add the finishing touches that will take this sundae to the next level.
- Top the final layer of ice cream with a generous dollop of whipped cream. I like to use a piping bag for a fancy look, but a spoon works just as well!
- Drizzle more chocolate syrup and caramel sauce over the whipped cream. Dont be shy; this is a dessert after all!
- If youre feeling extra indulgent, sprinkle some chocolate chips on top for an added chocolatey crunch.
- Finally, place a maraschino cherry on top. This classic touch not only looks great but adds a pop of sweetness.
Serving the Turtle Sundae Dessert
Now that your Turtle Sundae Dessert is beautifully assembled, its time to serve it up!
- Grab a long spoon and dig in! I love to serve this dessert immediately after assembling it to ensure the ice cream is still creamy and the toppings are fresh.
- If youre making multiple sundaes, you can prepare them all at once and keep them in the freezer for a short time, but I recommend serving them right away for the best experience.
- Feel free to customize your sundae with additional toppings like crushed graham crackers for a bit of crunch, or even a drizzle of peanut butter for a different flavor twist.
Tips for the Perfect Turtle Sundae
Here are some of my favorite tips to ensure your Turtle Sundae Dessert turns out perfectly every time:
- Use high-quality ice cream for the best flavor. I prefer a rich, creamy vanilla ice cream, but you can experiment
Conclusion:
In summary, the Turtle Sundae Dessert is an absolute must-try for anyone looking to indulge in a sweet treat that combines rich flavors and delightful textures. The creamy ice cream, luscious caramel, and crunchy pecans come together to create a dessert that is not only visually appealing but also incredibly satisfying to the taste buds. Whether you’re serving it at a family gathering, a birthday party, or simply treating yourself after a long day, this dessert is sure to impress. For serving suggestions, consider adding a drizzle of chocolate sauce on top for an extra layer of decadence, or swap out the pecans for walnuts if you prefer a different nutty flavor. You can also experiment with different ice cream flavorsvanilla, chocolate, or even coffee ice cream can elevate this dessert to new heights. I encourage you to give this Turtle Sundae Dessert a try and make it your own! Dont forget to share your experience and any creative twists you come up with. Id love to hear how it turns out for you! So grab your ingredients, whip up this delightful treat, and enjoy every delicious bite. Trust me, once you try this Turtle Sundae Dessert, it will become a staple in your dessert repertoire! Print
Turtle Sundae Dessert: Indulge in This Decadent Treat Today!
- Total Time: 15 minutes
- Yield: 4 servings 1x
Description
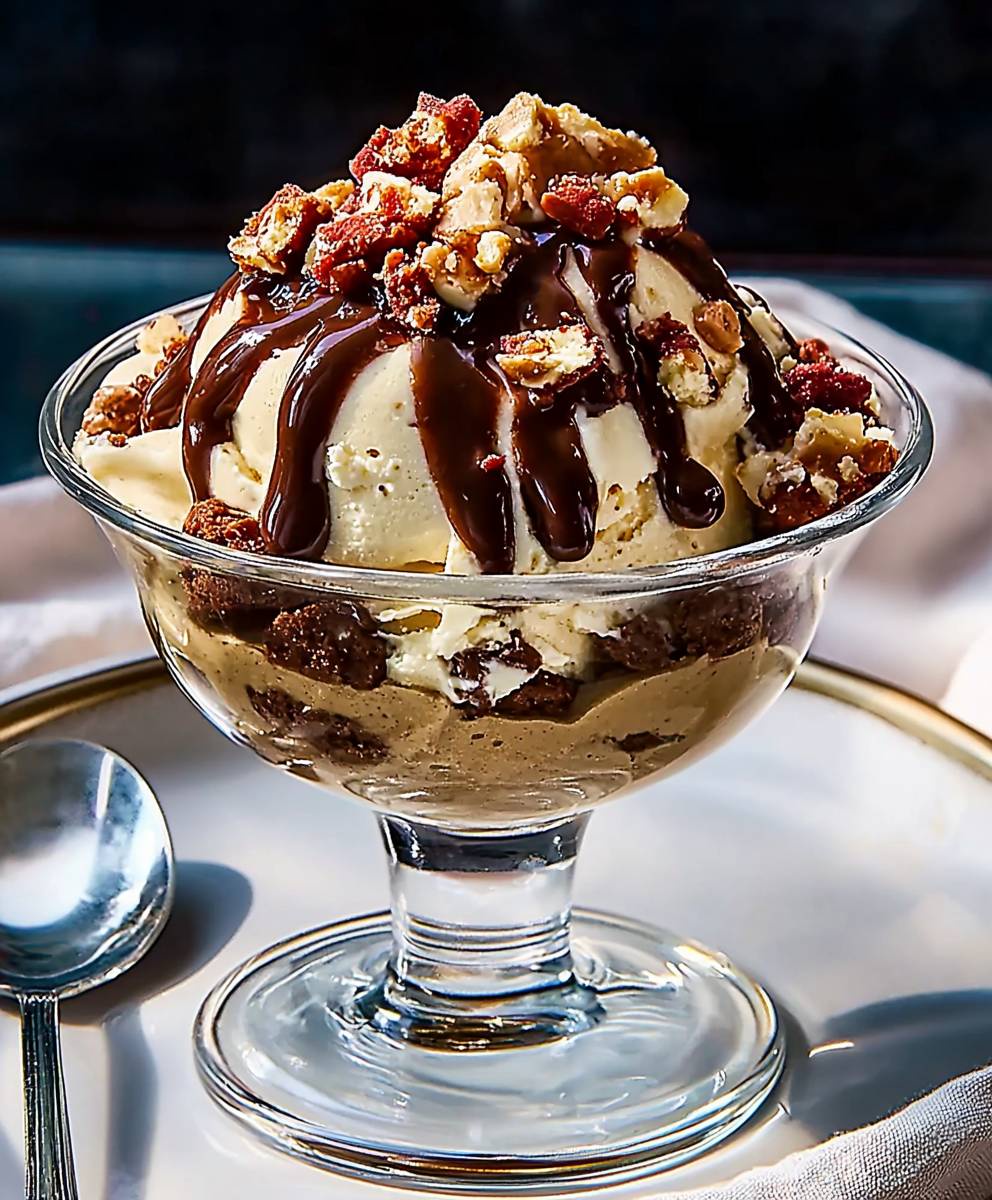
Indulge in a Turtle Sundae Dessert featuring creamy vanilla ice cream layered with rich chocolate syrup, luscious caramel sauce, and crunchy nuts. Topped with whipped cream and a cherry, this delightful treat is perfect for any occasion!
Ingredients
- 4 cups vanilla ice cream
- 1 cup chocolate syrup
- 1 cup caramel sauce
- 1 cup chopped pecans or walnuts
- 1 cup whipped cream
- 1/2 cup maraschino cherries
- 1/2 cup chocolate chips (optional)
- 1/2 cup crushed graham crackers (optional, for added crunch)
Instructions
- Take the vanilla ice cream out of the freezer and let it sit at room temperature for about 10-15 minutes to soften.
- While the ice cream is softening, chop the pecans or walnuts into smaller pieces for better distribution.
- Measure out the chocolate chips if using. Optionally, toast the nuts in a dry skillet over medium heat for enhanced flavor.
- Grab a large sundae glass or bowl.
- Scoop 1 cup of softened vanilla ice cream into the bottom of the glass, packing it gently.
- Drizzle about 2 tablespoons of chocolate syrup over the ice cream, allowing it to drip down the sides.
- Add a generous drizzle of caramel sauce (about 2 tablespoons).
- Sprinkle a handful of chopped pecans or walnuts on top.
- Repeat the layering process for a total of three layers, adjusting based on your preference and glass size.
- Top the final layer of ice cream with a generous dollop of whipped cream.
- Drizzle more chocolate syrup and caramel sauce over the whipped cream.
- Optionally, sprinkle chocolate chips on top for added crunch.
- Finish with a maraschino cherry on top.
- Serve immediately with a long spoon to enjoy the creamy ice cream and fresh toppings.
- If making multiple sundaes, you can prepare them all at once and keep them in the freezer for a short time, but serving right away is recommended for the best experience.
- Customize with additional toppings like crushed graham crackers or a drizzle of peanut butter for a unique twist.
Notes
- Use high-quality ice cream for the best flavor.
- Feel free to experiment with different nuts or toppings based on your preference.
- Prep Time: 15 minutes
- Cook Time: 0 minutes